During an incident it’s important to keep your customers in the loop, so they know you’re working on it, and when they can expect things to change. Read more on how to write a great status page update in our guide to incident management. Publishing an incident to your status page gives your customers a place to check in for the latest information, and can optionally send messages to your subscribers to proactively tell them what’s going on. You can publish a new incident from our dashboard, or via Slack, using the /incident statuspage command. Read more about publishing from Slack in this article. Let’s walk through publishing a new incident to your status page from the dashboard.
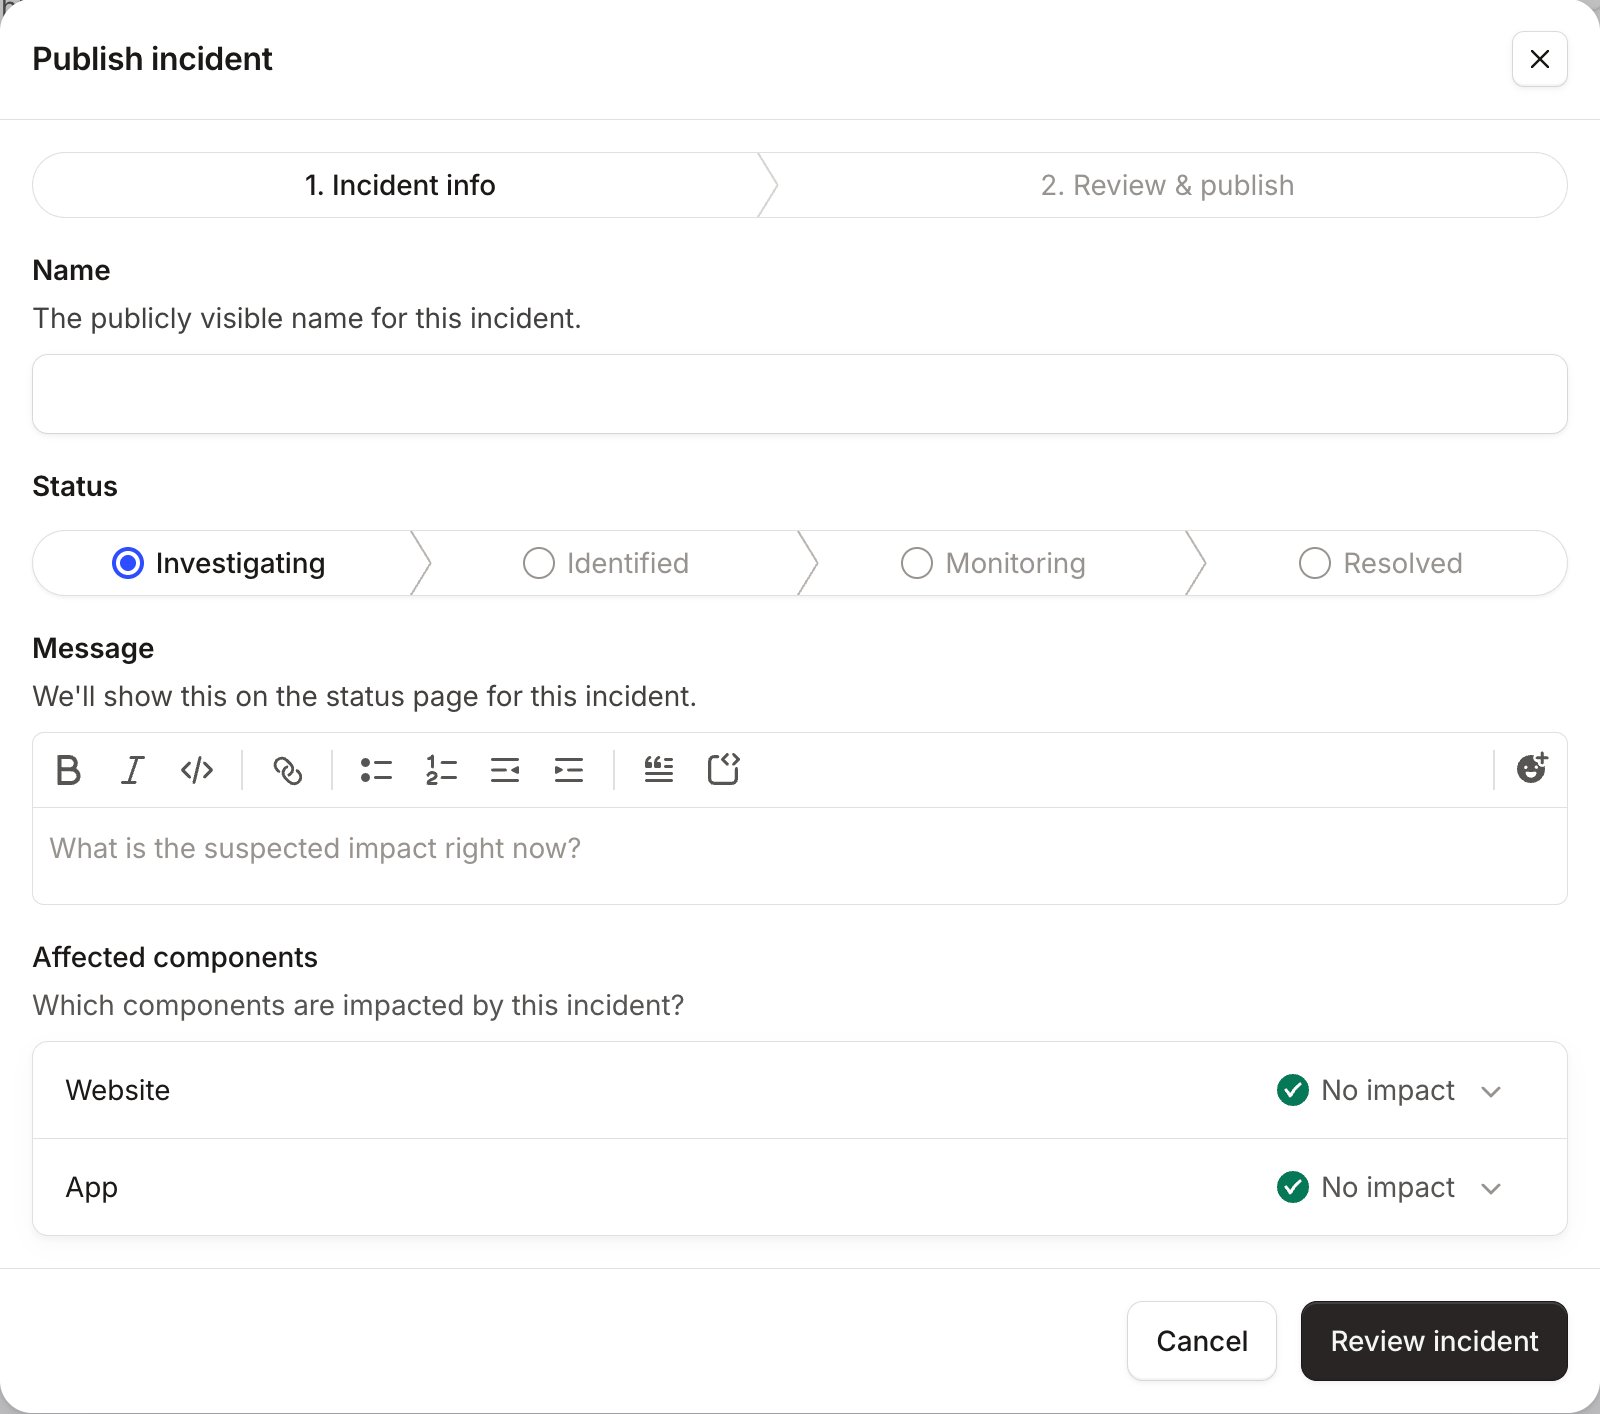
First, navigate to your status pages list, and select the status page you want to update. Click ‘Publish incident’ in the top-right. You’ll see a form like this: The Publish incident form at step 1, Incident info, with Name, Status, Message and Affected components There’s four key things here:
  1. The incident name
What’s the headline of this incident in a few words? We’ll show this:
  • Anywhere there’s a link to this incident
  • As the subject line for emails to subscribers
  • As the heading on the status page for this incident
  1. What’s the status right now?
There’s four statuses available:
  1. Investigating : you’re not sure what the issue is yet.
  2. Identified : you’re working on a resolution for this issue.
  3. Monitoring : your customers should expect things to be back to normal, but your response hasn’t wrapped up yet.
  4. Resolved : everything is back to normal
  5. Message
This is a longer-form update you can use to communicate in more detail with your customers. We’ll show this on your status page while the incident is ongoing, and on the page for this incident.
  1. Affected components
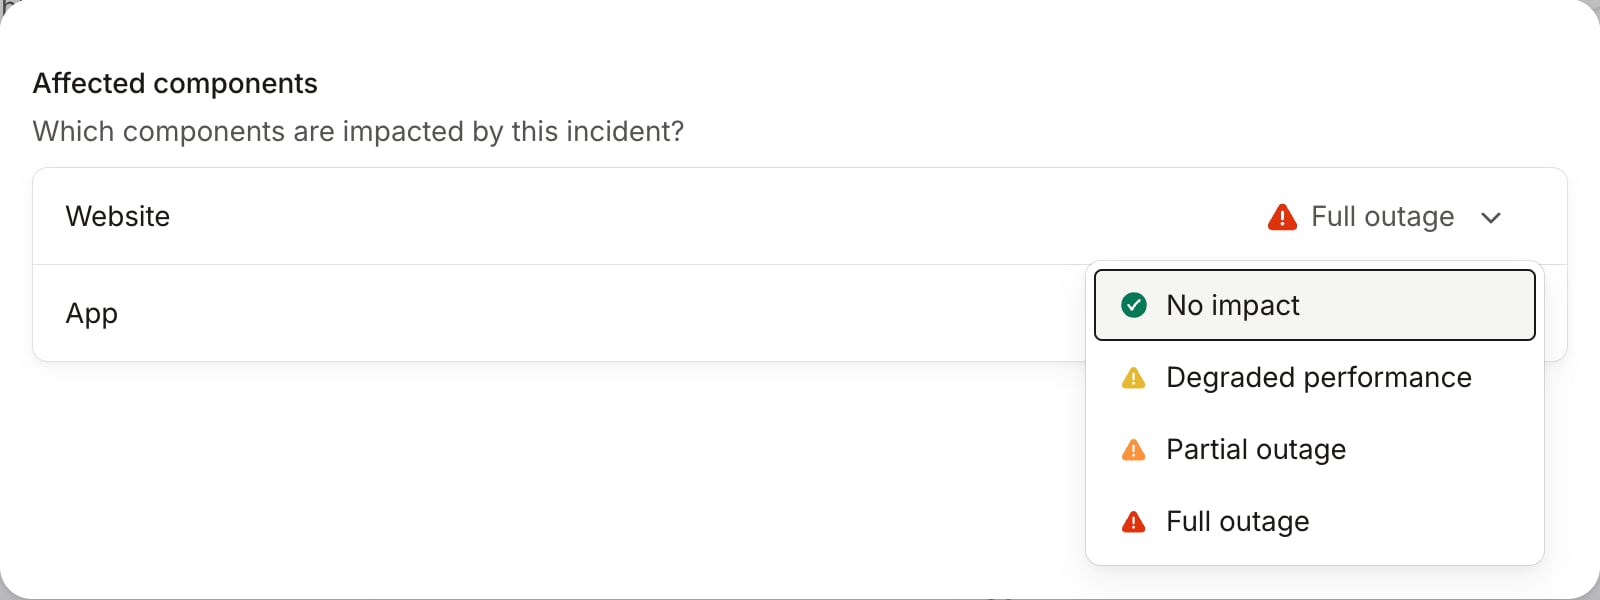
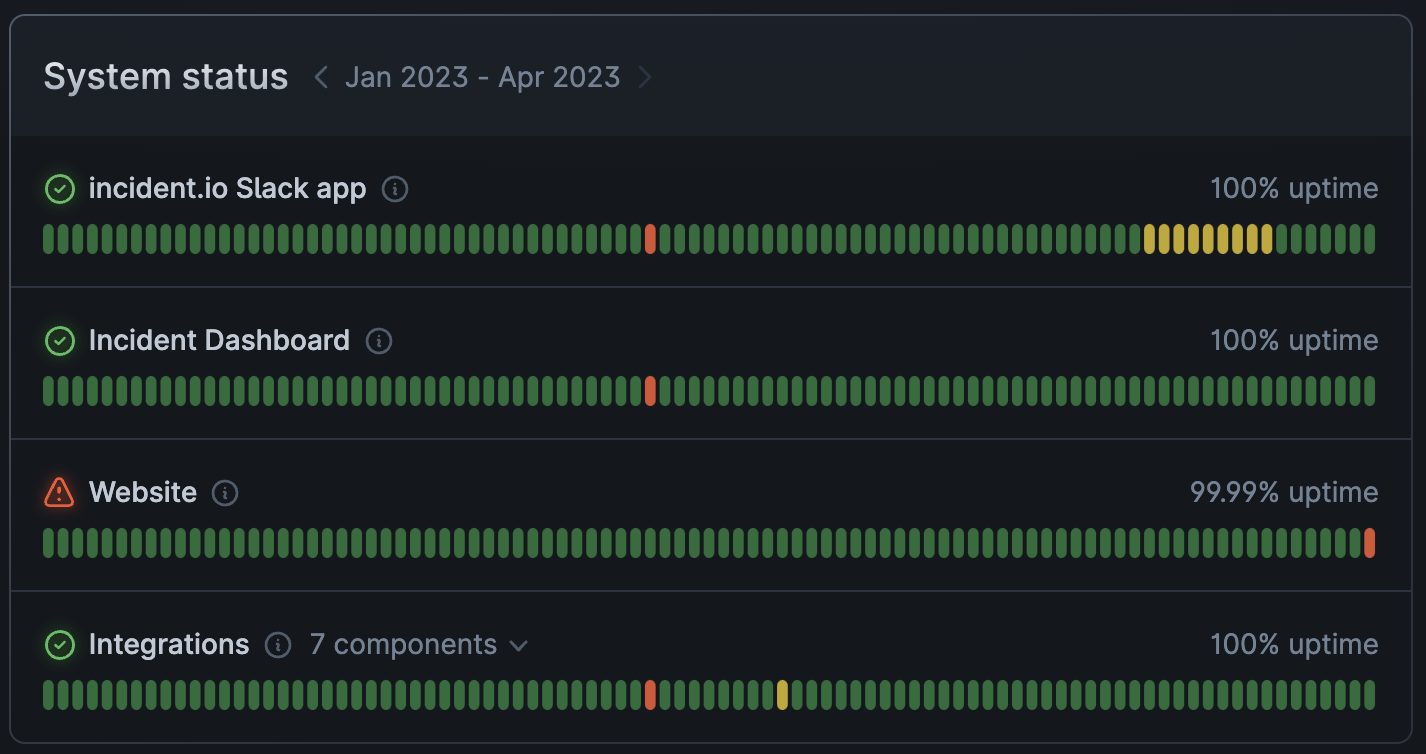
Some customers might not use all parts of your product or service. Help them quickly understand what might not be working as normal using component statuses. For example, if only the website is affected by this incident, you might select ‘Full outage’ for that component: Component impact dropdown open on Website, offering No impact, Degraded performance, Partial outage and Full outage This will appear in the System Status part of your status page: The System status section of a status page, with Website showing a warning icon and 99.99% uptime If there are multiple incidents ongoing at once, marking a component as No impact will not overwrite another incident that has marked it as affected. You should choose the impact levels you set based on this incident alone, and we’ll aggregate the values across all open incidents when working out the current status.
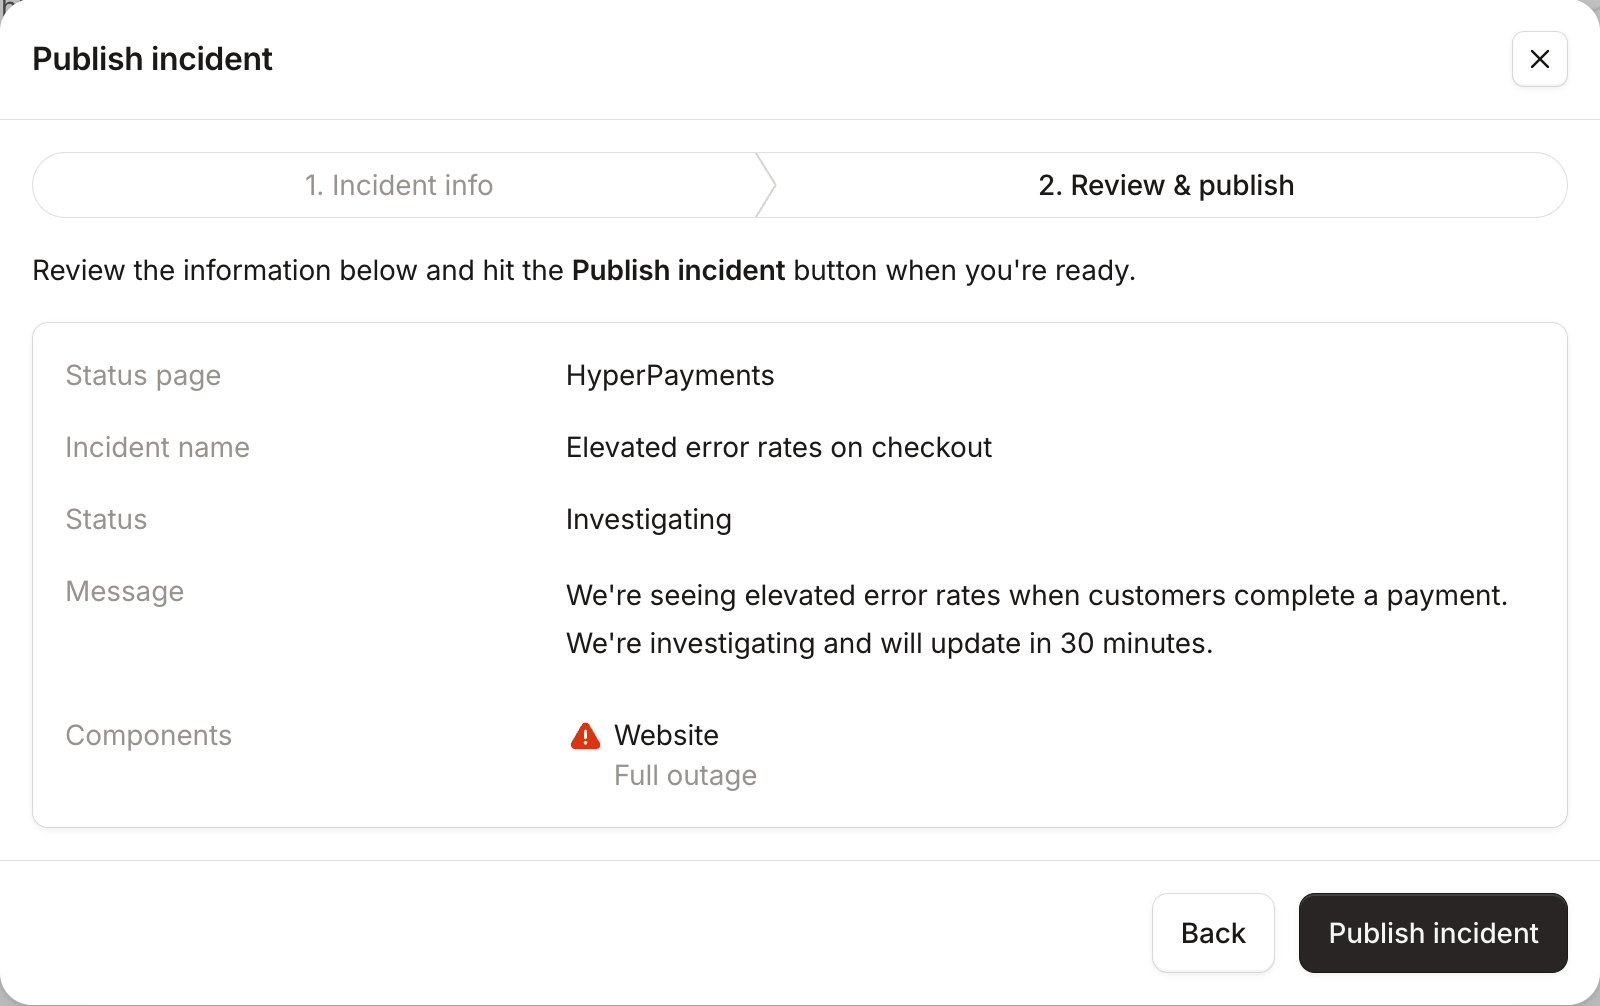
Now it’s time to review and publish your incident. Click ‘Review incident’. This is your opportunity to proof-read the details, and make sure everything is ready to go: Step 2, Review & publish, summarising the name, status, message and Website at Full outage Whether subscribers are proactively notified is controlled by the status page’s own Subscriptions settings, not by this step. Once you’re ready, click ‘Publish incident’ and you’re all set