1. Link your policies
There’s two important policies to link to from your status page: your privacy policy, and your terms of service. These are particularly important if you’re allowing your customers to subscribe to updates from your status page, since they’ll govern how those messages will be delivered, and how customers can unsubscribe. We suggest that you chat with your organization’s legal team first, but your organization’s standard privacy policy and terms of service, usually found in the footer at the bottom of your main website, should suffice.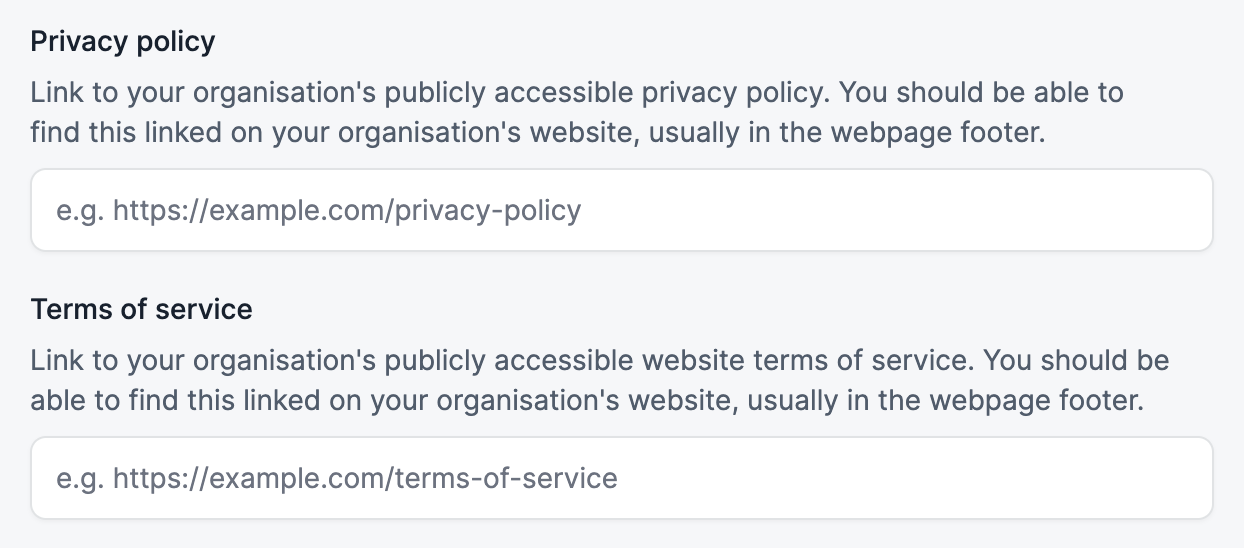
2. Enable search engine indexing
There’s two main ways for your customers to find your status page: via a direct link, or via a search engine. To get your status page appearing in search results, you’ll need to enable search engine indexing in the settings page:
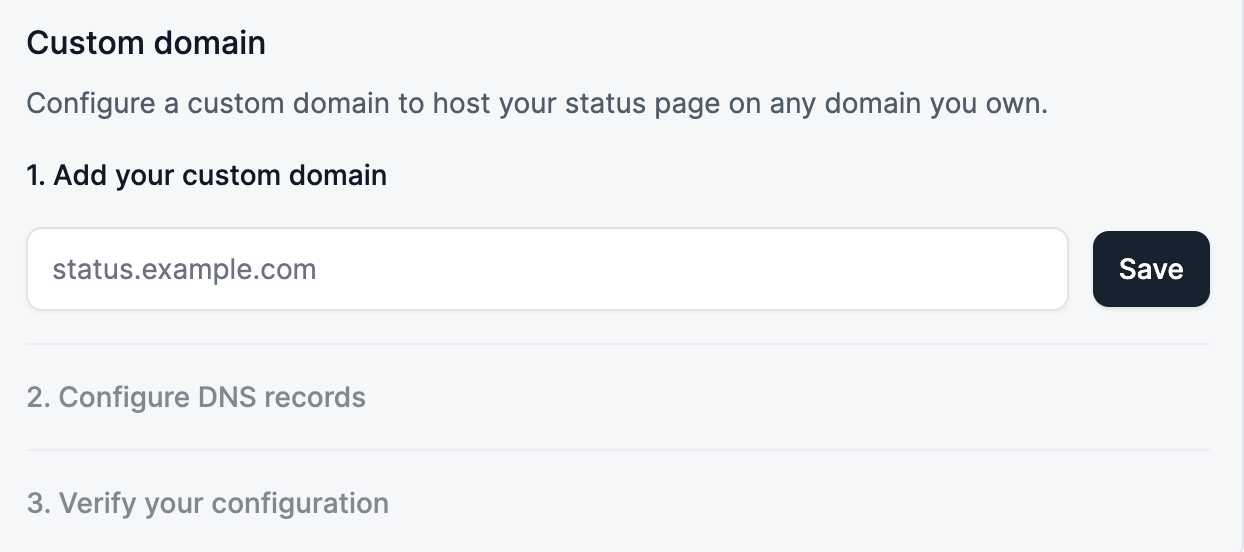
3. Set up a custom domain
Using your own domain name for your status page helps your customers know they’re in the right place. We’d recommend usingstatus.your-domain.com.
There’s three steps to getting this set up:
First, enter the domain you’d like to use and click ‘Save’:
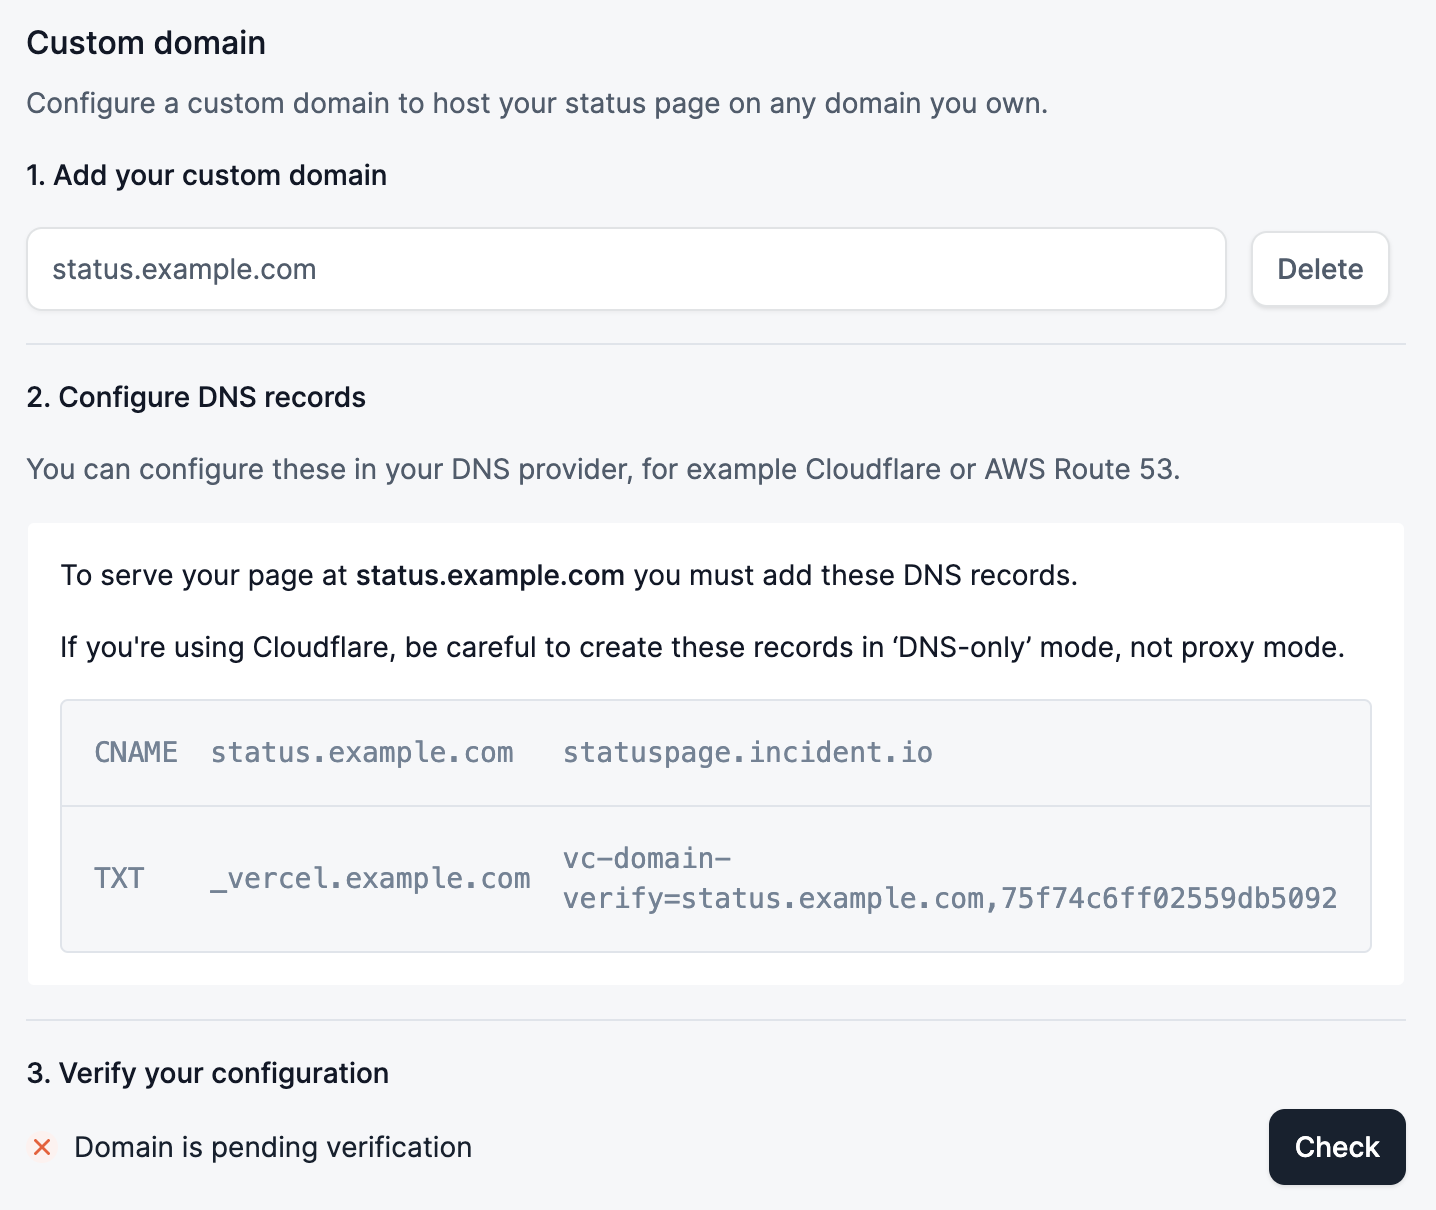
CNAME, which directs traffic to our servers.
You might also need to set a TXT record: this is a security measure to verify that you own the domain. You can remove this record once the domain is verified.