- Incident Lead: the person coordinating the response and driving it to resolution. This role always exists and can’t be removed, though you’re free to rename it and rewrite its description and instructions.
- Reporter: set automatically to whoever declares the incident, so there’s always a record of who raised it.
Creating and editing roles
You can manage roles in Settings → Incident Roles. Managing roles requires the Manage organization settings permission.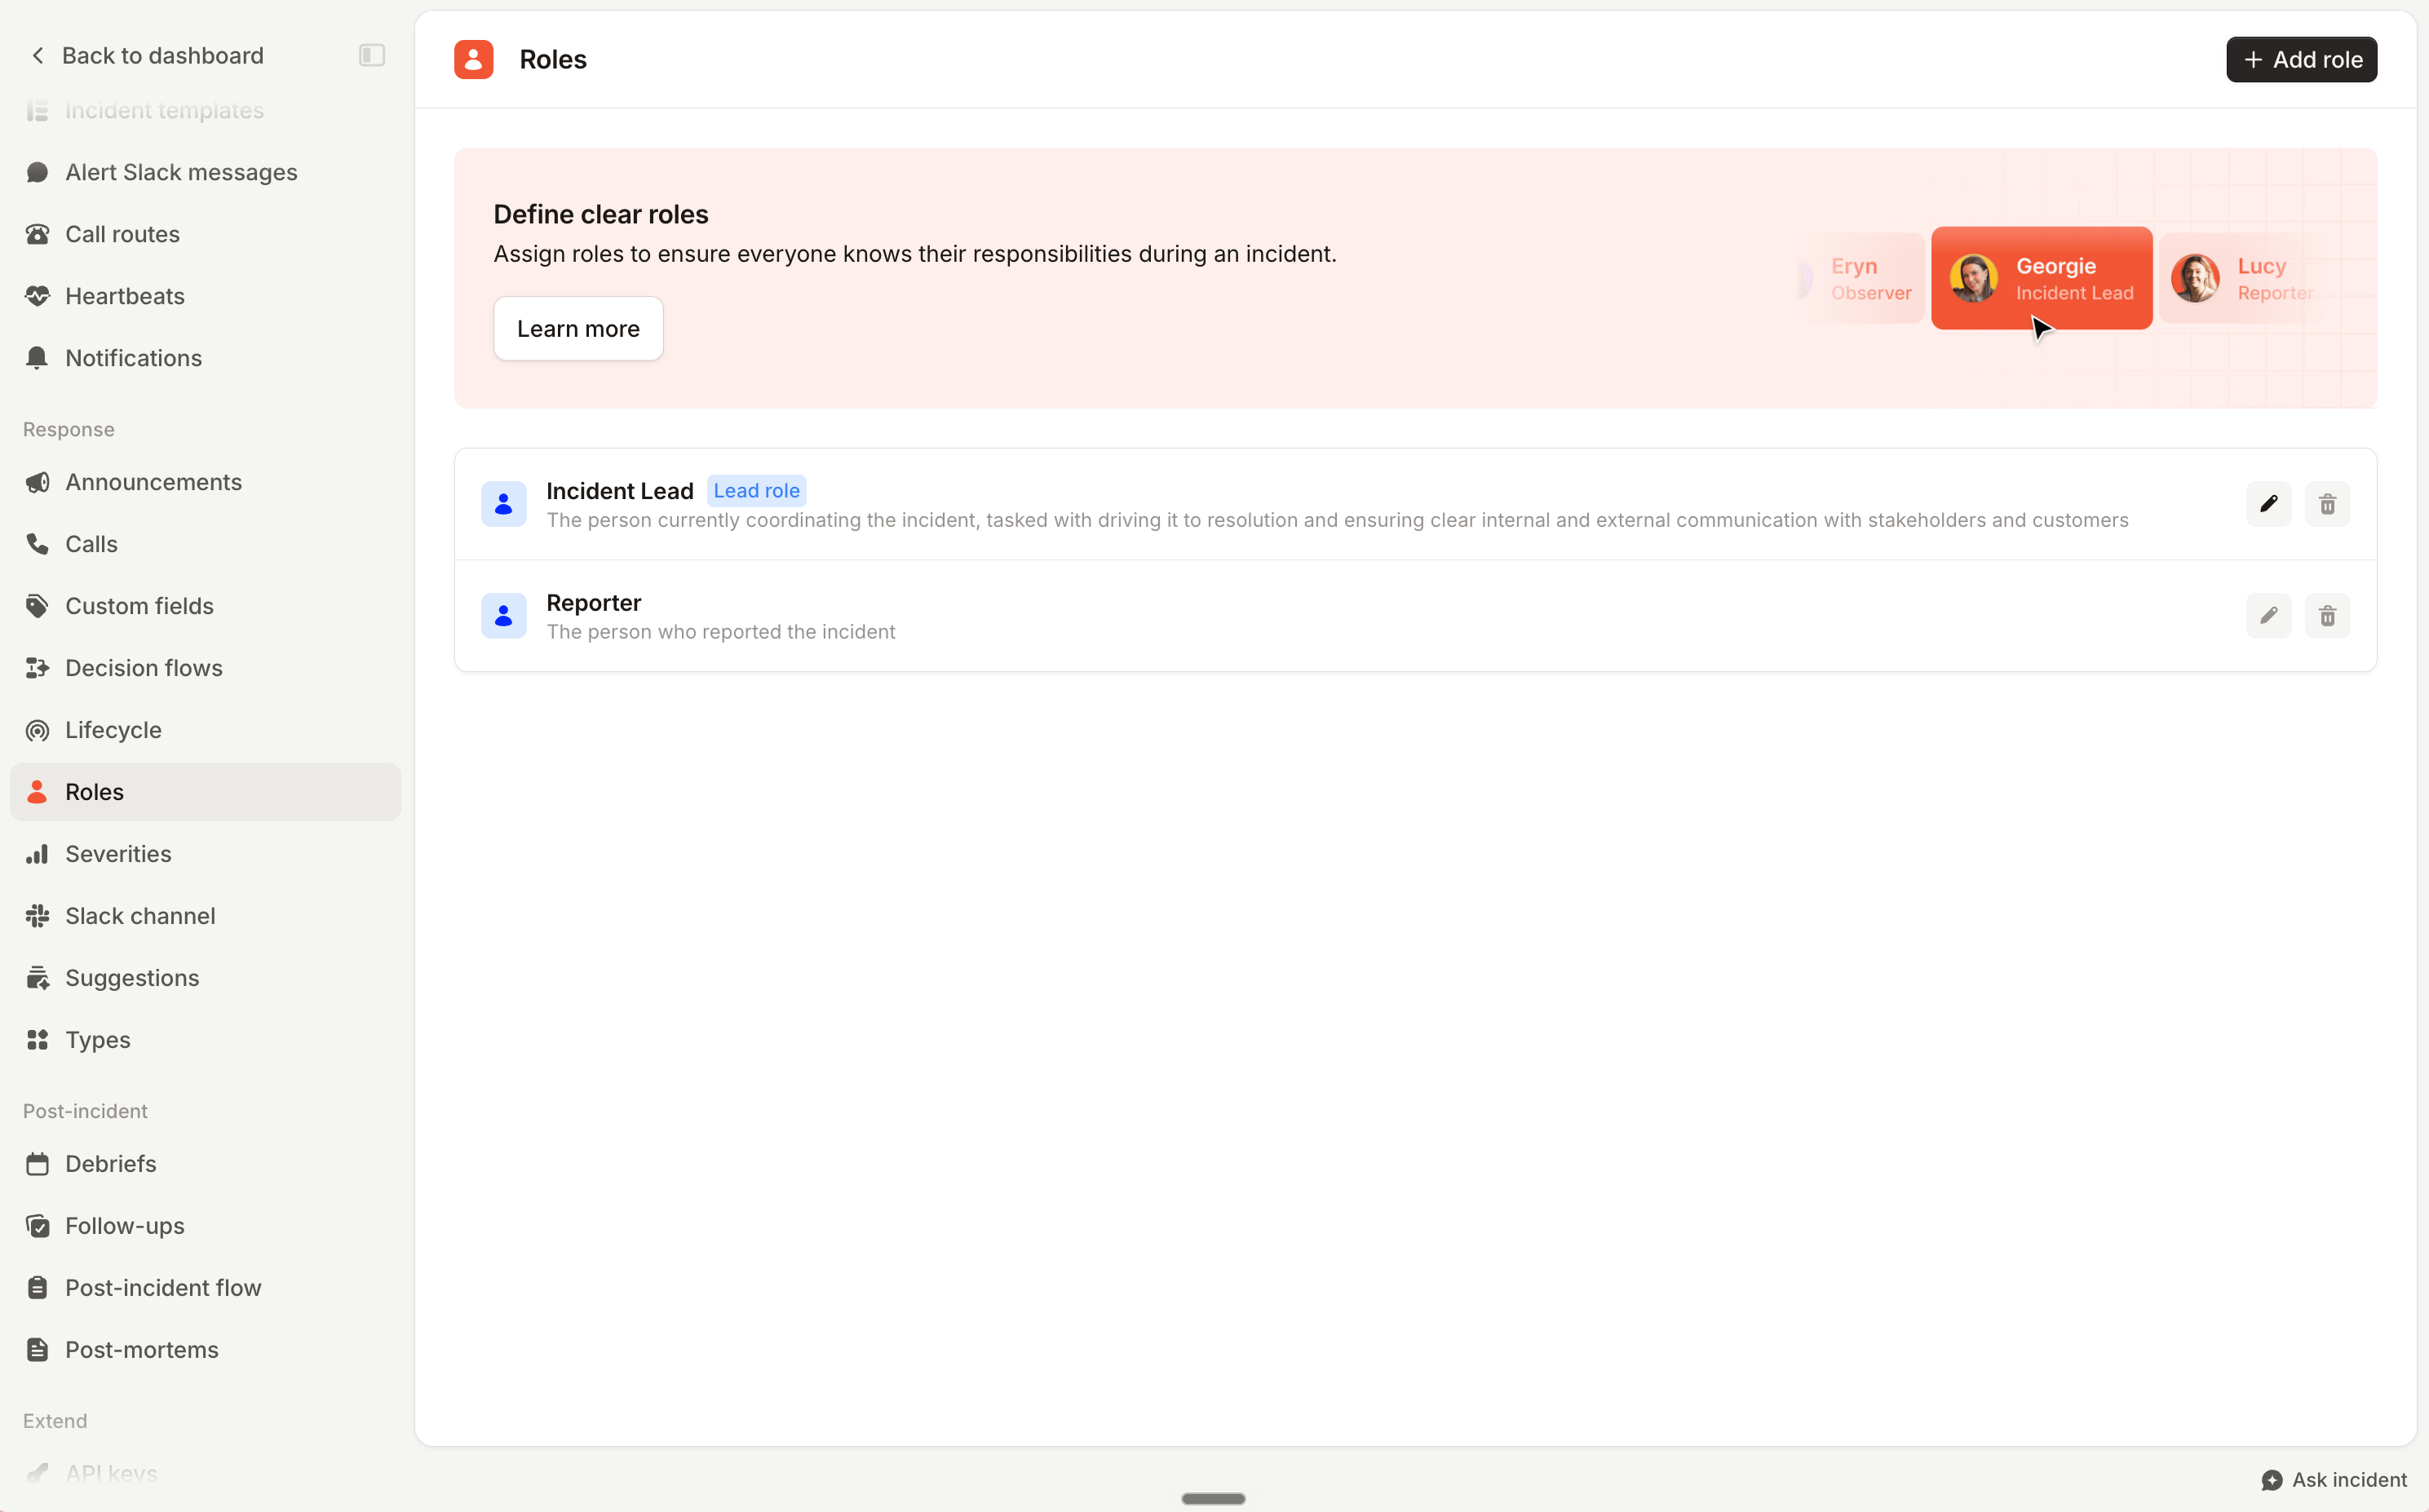
- Name: what the role is called, for example Communications Lead. This is what responders pick from when assigning roles.
- Slack reference: a shorthand for assigning the role quickly in Slack, so
commslets you run/inc role comms @beato make Bea the Communications Lead. It must be lowercase with no spaces, andleadandcommanderare reserved. This field only appears if Slack is your primary platform. In Microsoft Teams, roles are assigned from the incident’s page in the dashboard, so there’s no reference to set. - Description: a short explanation of the role, shown beneath it wherever someone’s assigning roles, on both Slack and Microsoft Teams. Aim to make the primary responsibility clear at a glance.
- Instructions: guidance we send to whoever takes the role, the moment they’re assigned, as a message in the Slack incident channel that only they can see. This is a good place to link out to a runbook or playbook. It’s optional, and you can leave it blank. On Microsoft Teams, put what responders need to know in the description, which shows wherever roles are assigned.
Scoping roles to incident types
Not every role applies to every incident. A Security Lead might only make sense for security incidents, while a Customer Comms role only matters when customers are affected. Once you have incident types, you can add conditions to a role so it only appears on the incidents it applies to. Set these from the incident type’s configuration, or on the role itself; both do the same thing, so you don’t need to keep them in sync. The Incident Lead always applies and can’t be scoped this way.Restricting who can hold a role
For sensitive roles, you can control who’s eligible. For example, you might require that only members of your Security team can be the Incident Lead on a security incident. Role restrictions are configured per incident type, under Settings → Types. In the same place you can grant a role additional permissions during an incident, like letting the Incident Lead manage the lifecycle while other participants can’t.Assigning roles automatically
You don’t have to assign roles by hand. Use workflows to fill roles the moment an incident is declared, so the right people are in place without anyone lifting a finger. Common patterns include:- Assign from an on-call schedule: put whoever’s currently on call for a schedule into a role. See assigning on-call roles to incident roles.
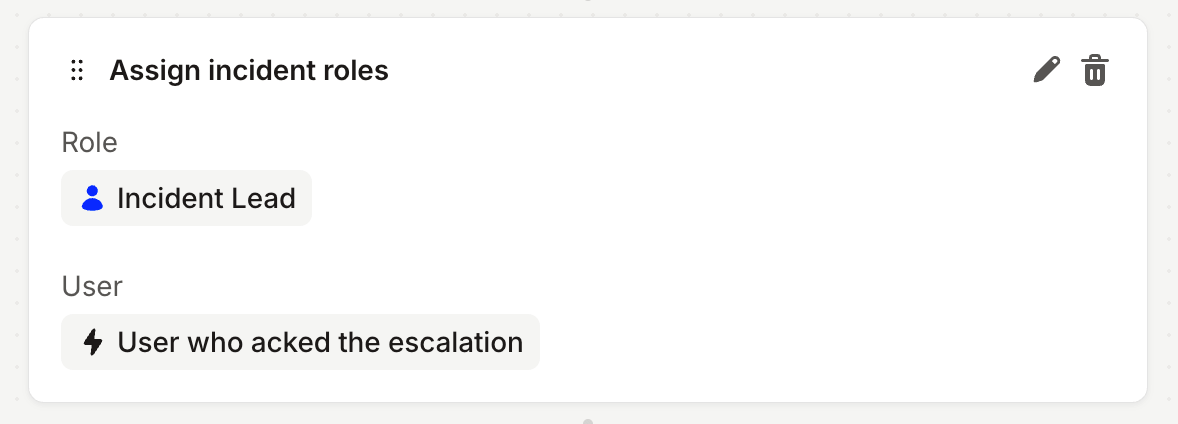
- Assign whoever was paged: use the Auto-assign incident lead template workflow to make the person who acknowledges the escalation the Incident Lead.