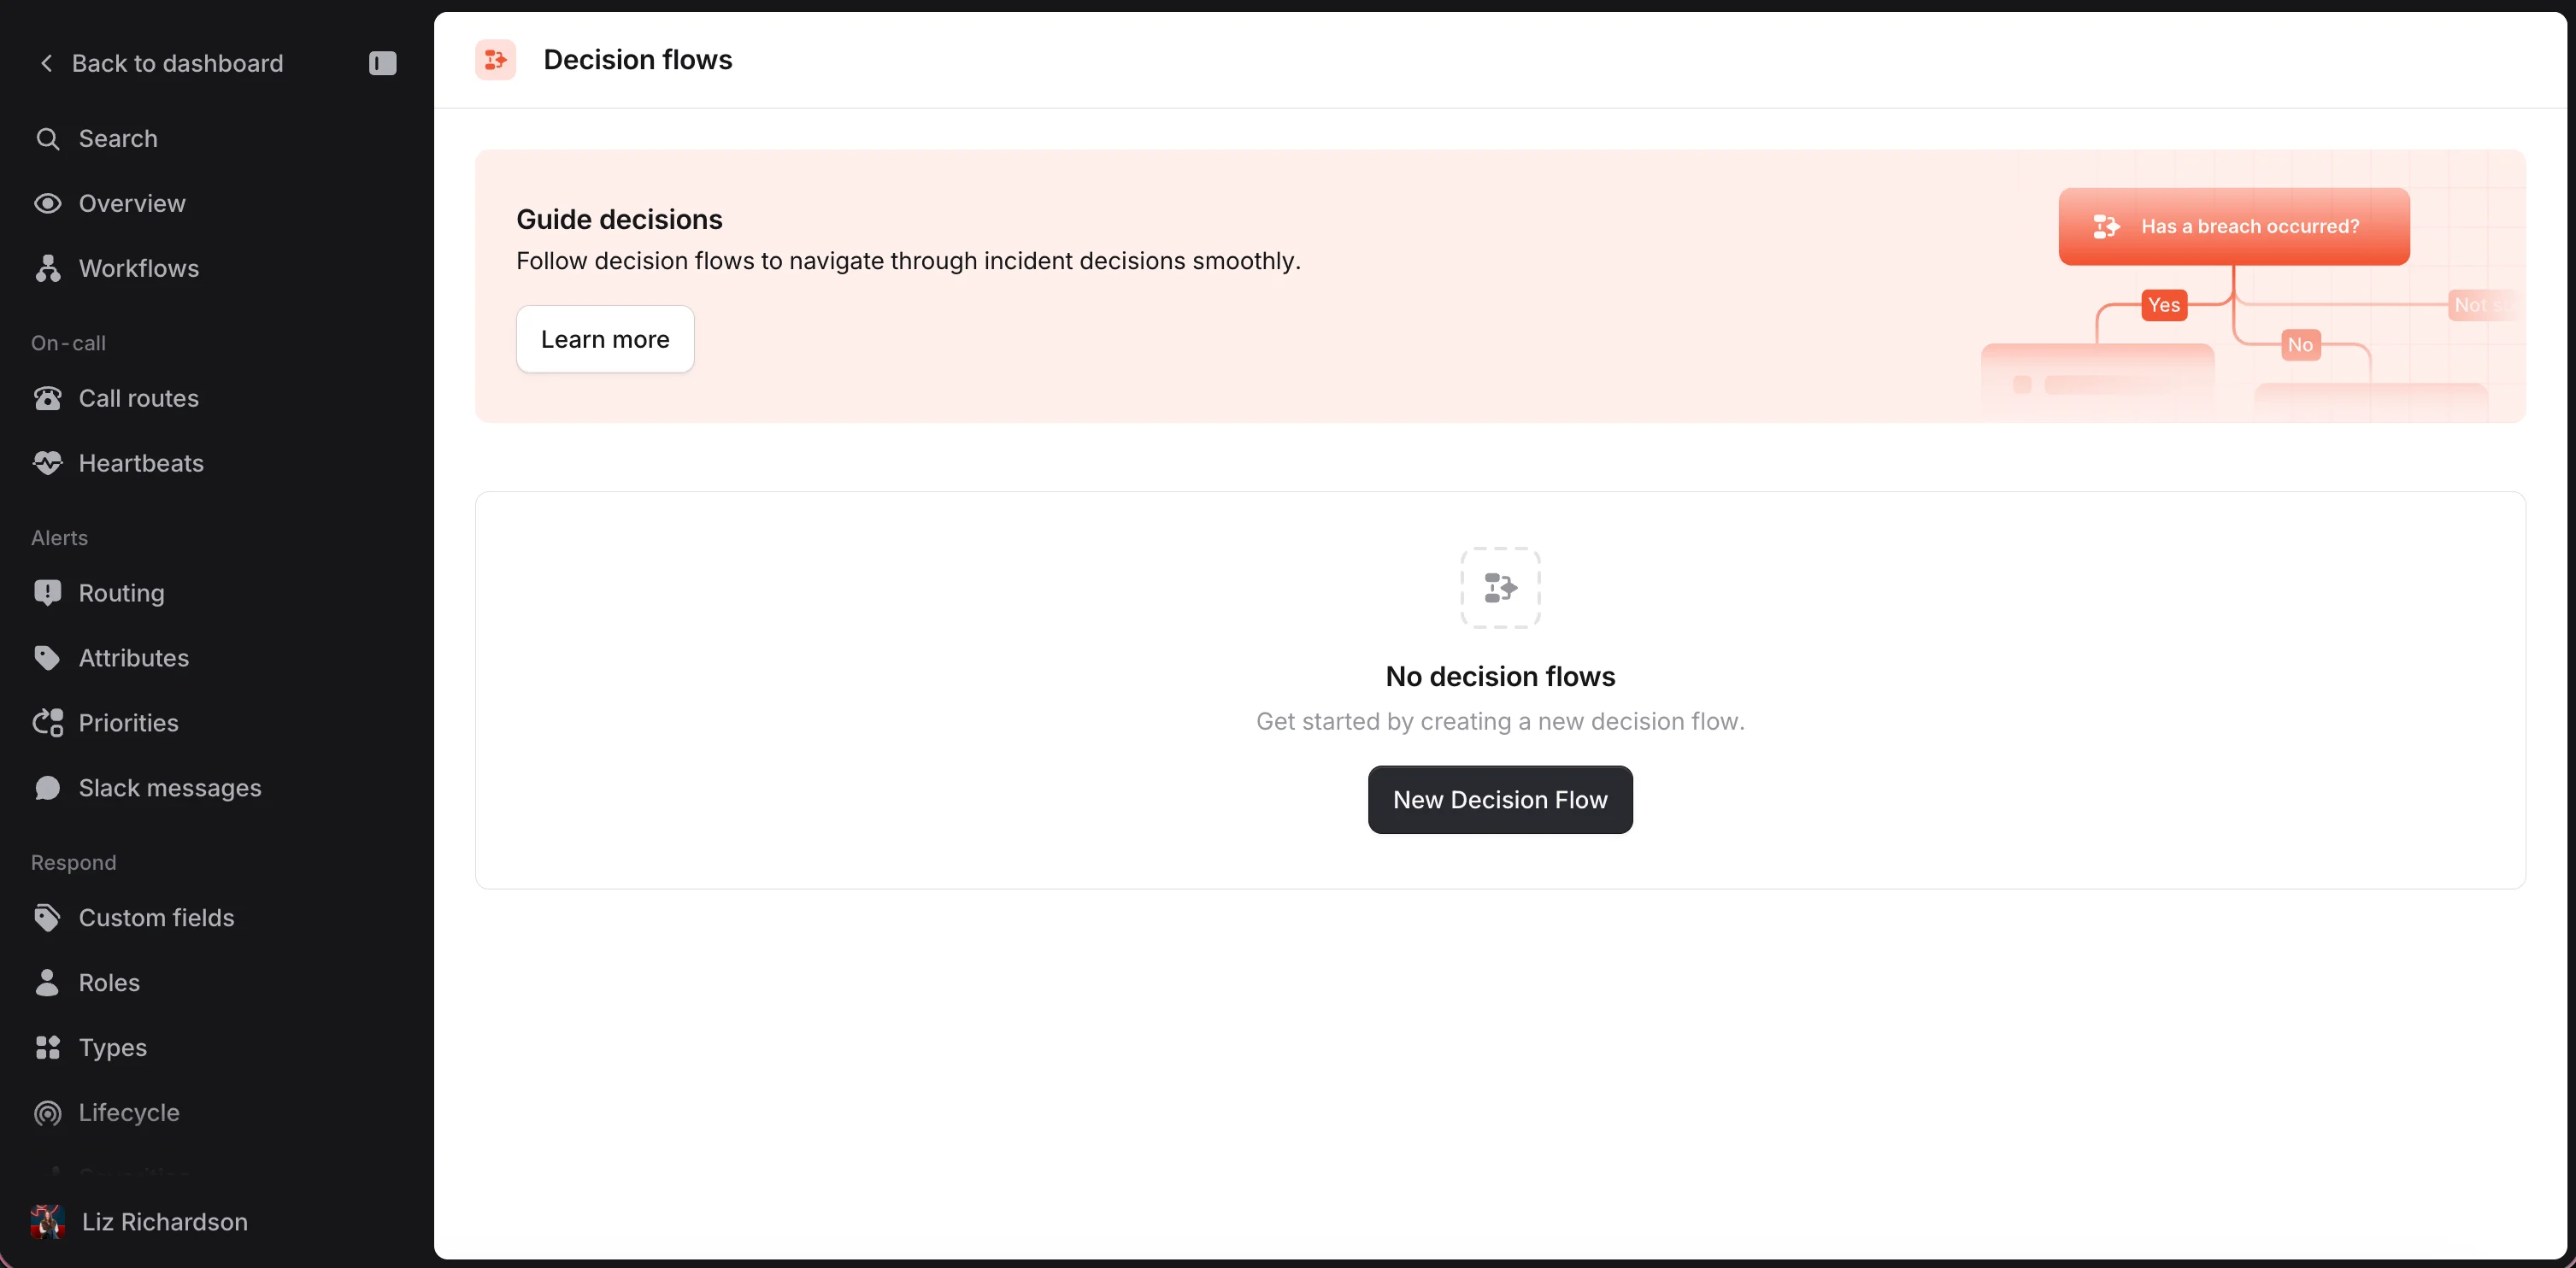
- You can find Decisions Flows under settings on your incident.io page.
- Click ”+ New Decision Flow”
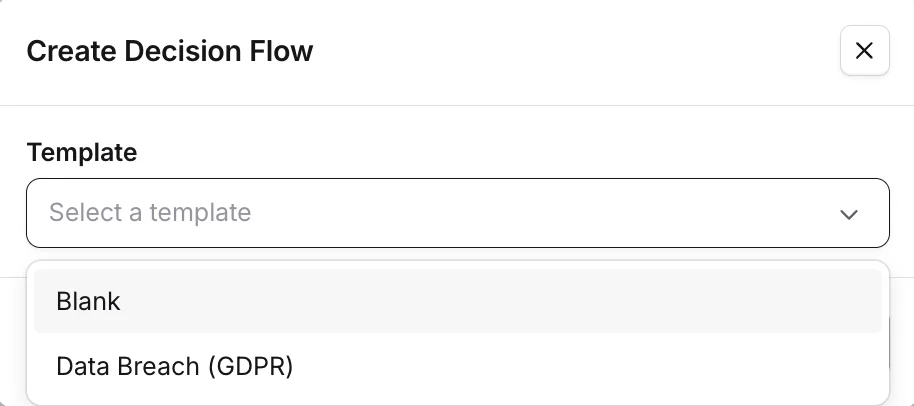
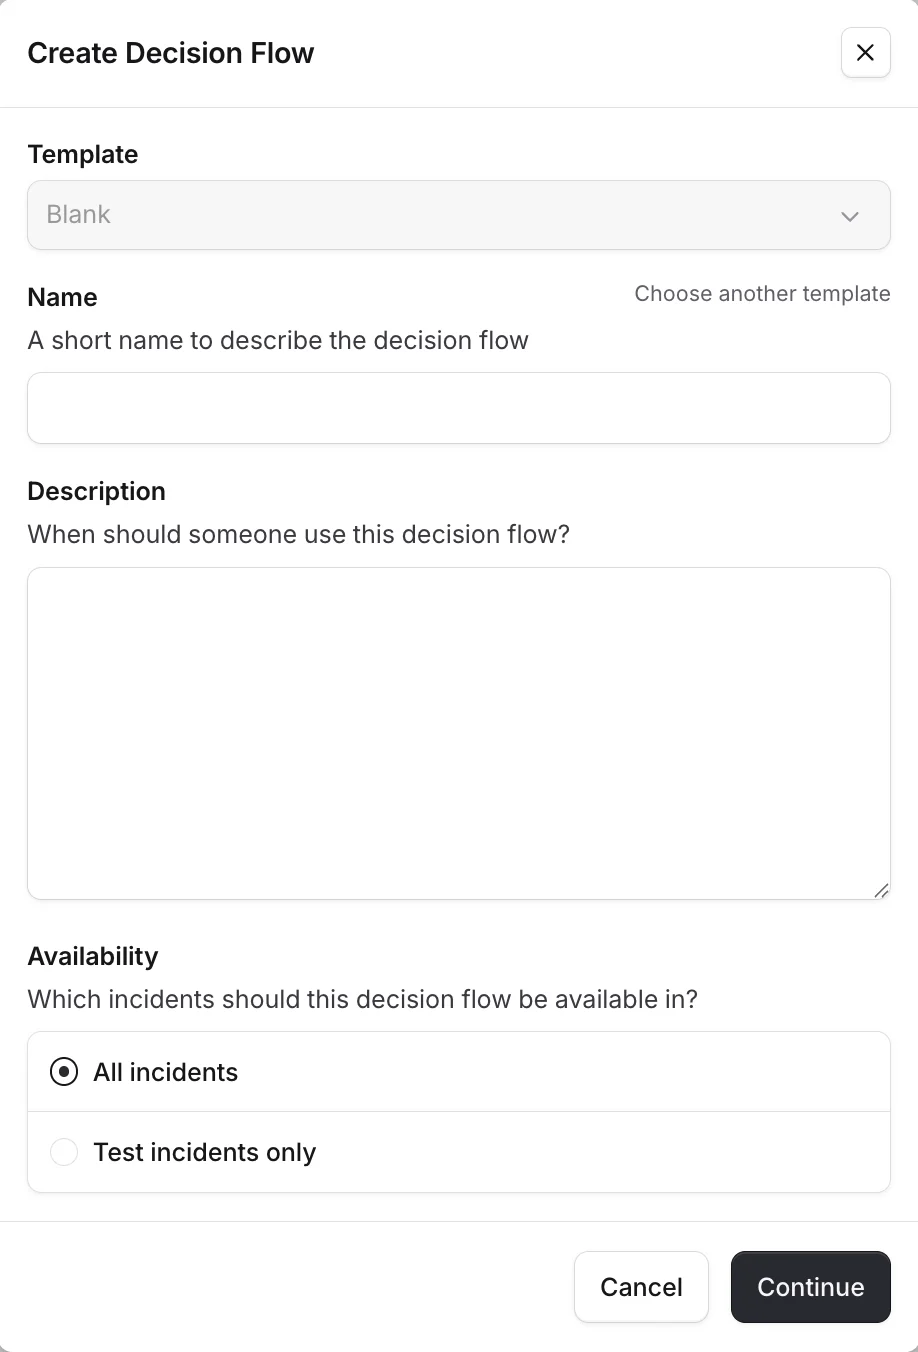
- Name the decision flow, and add a description.
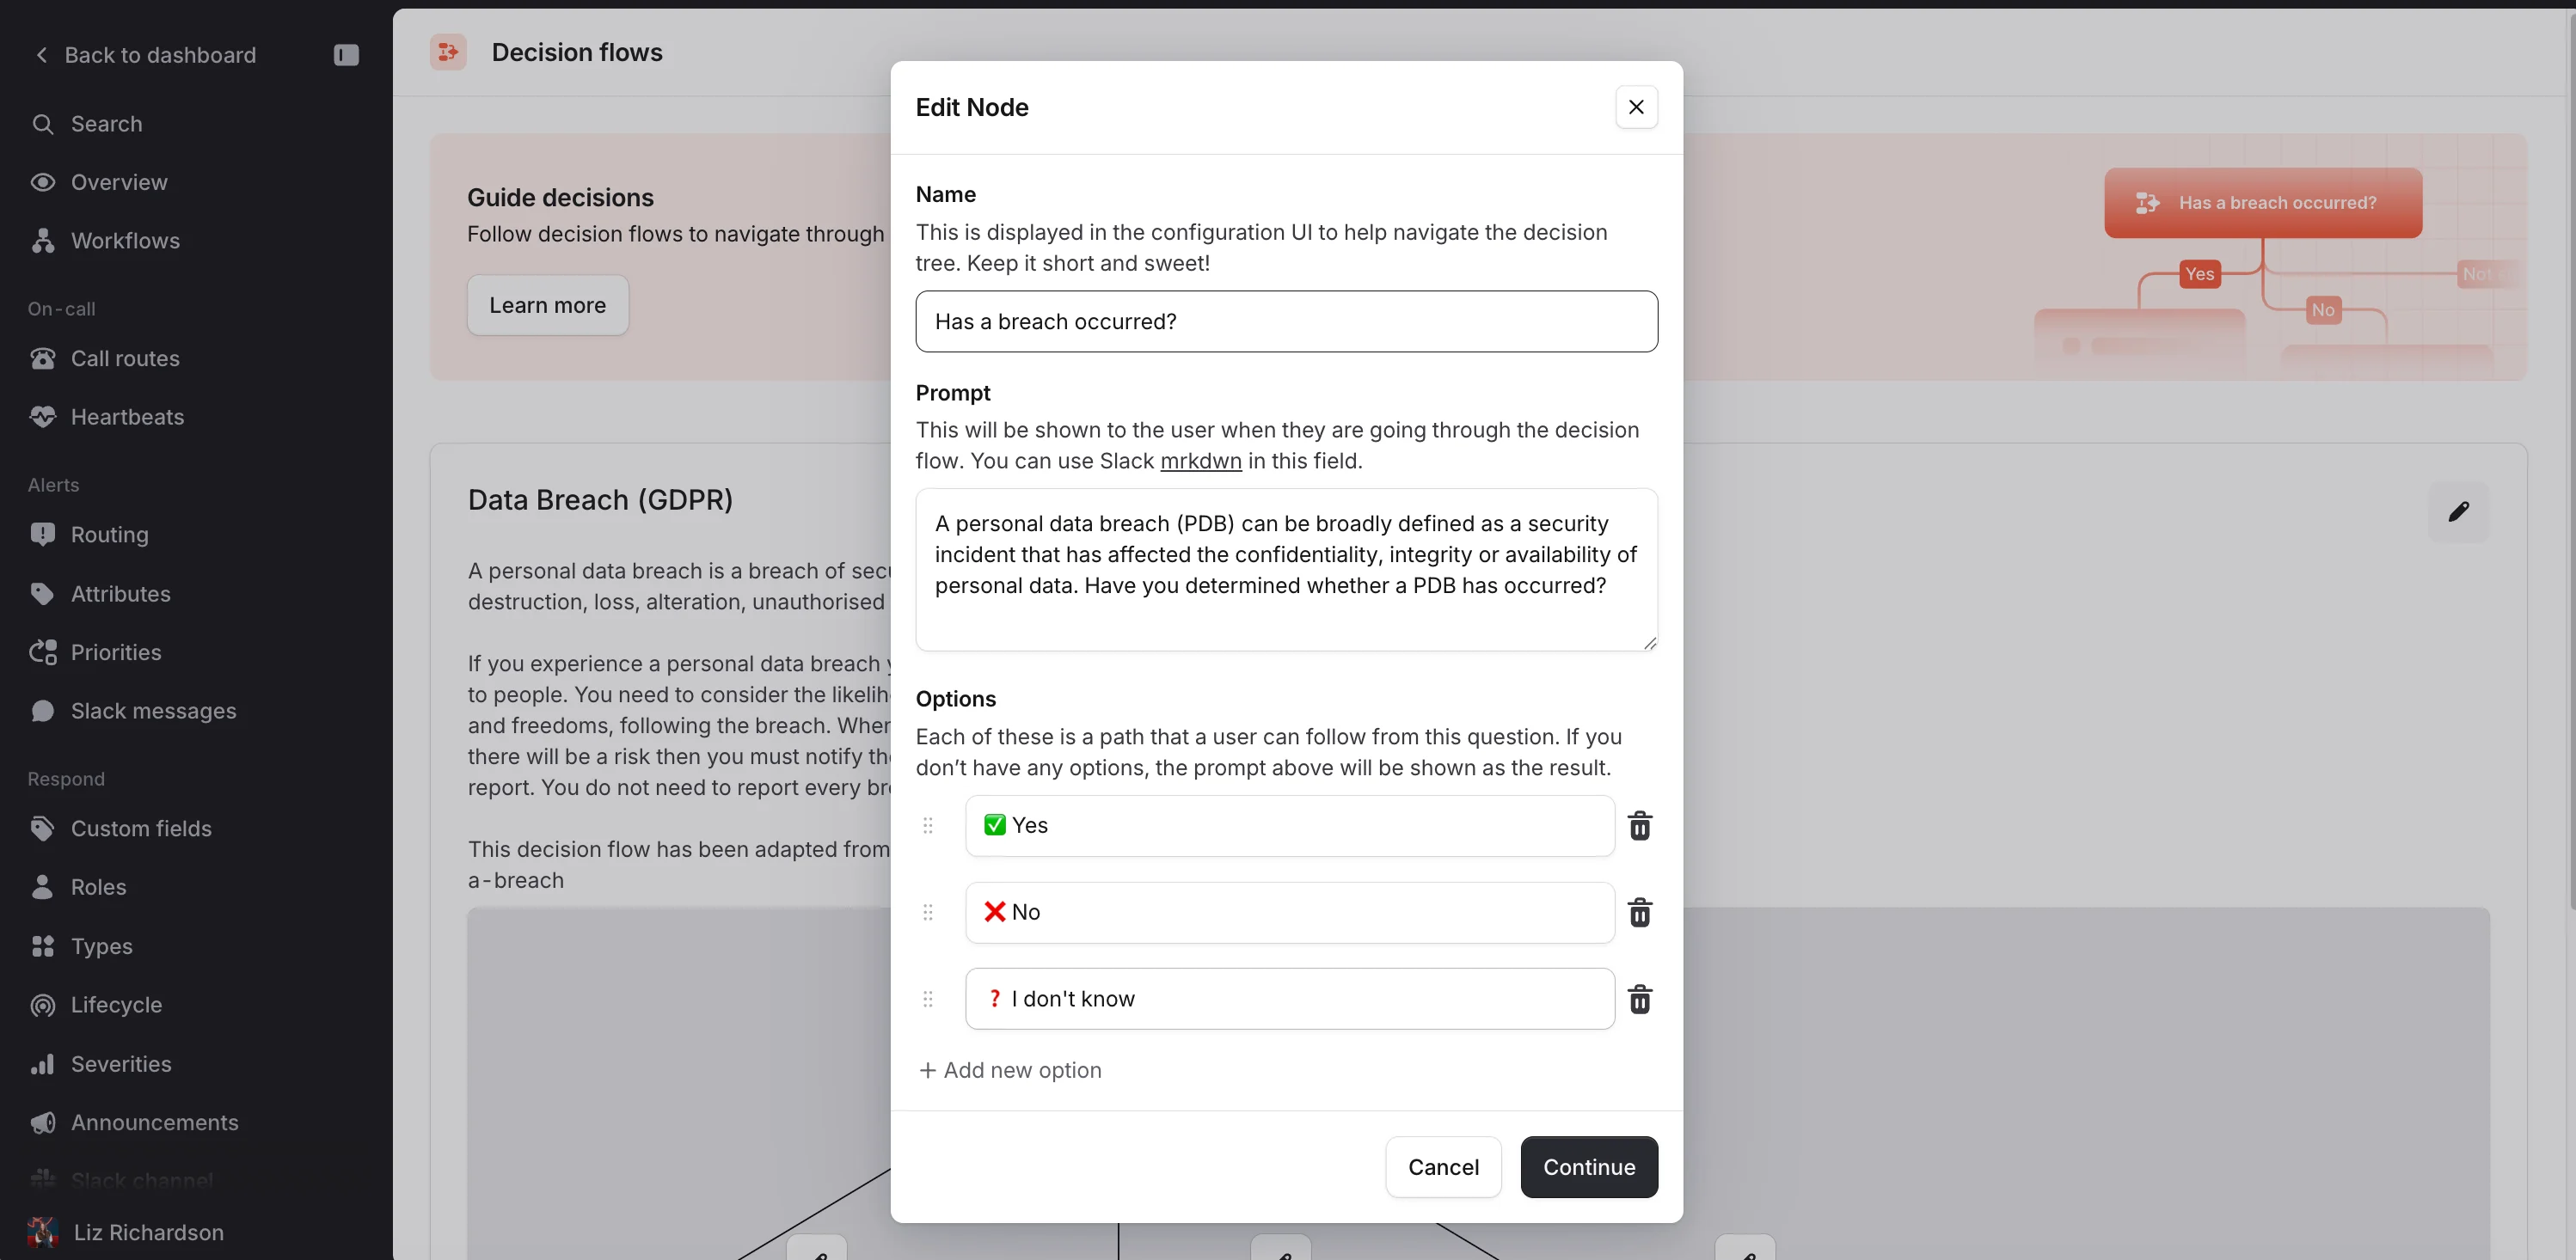
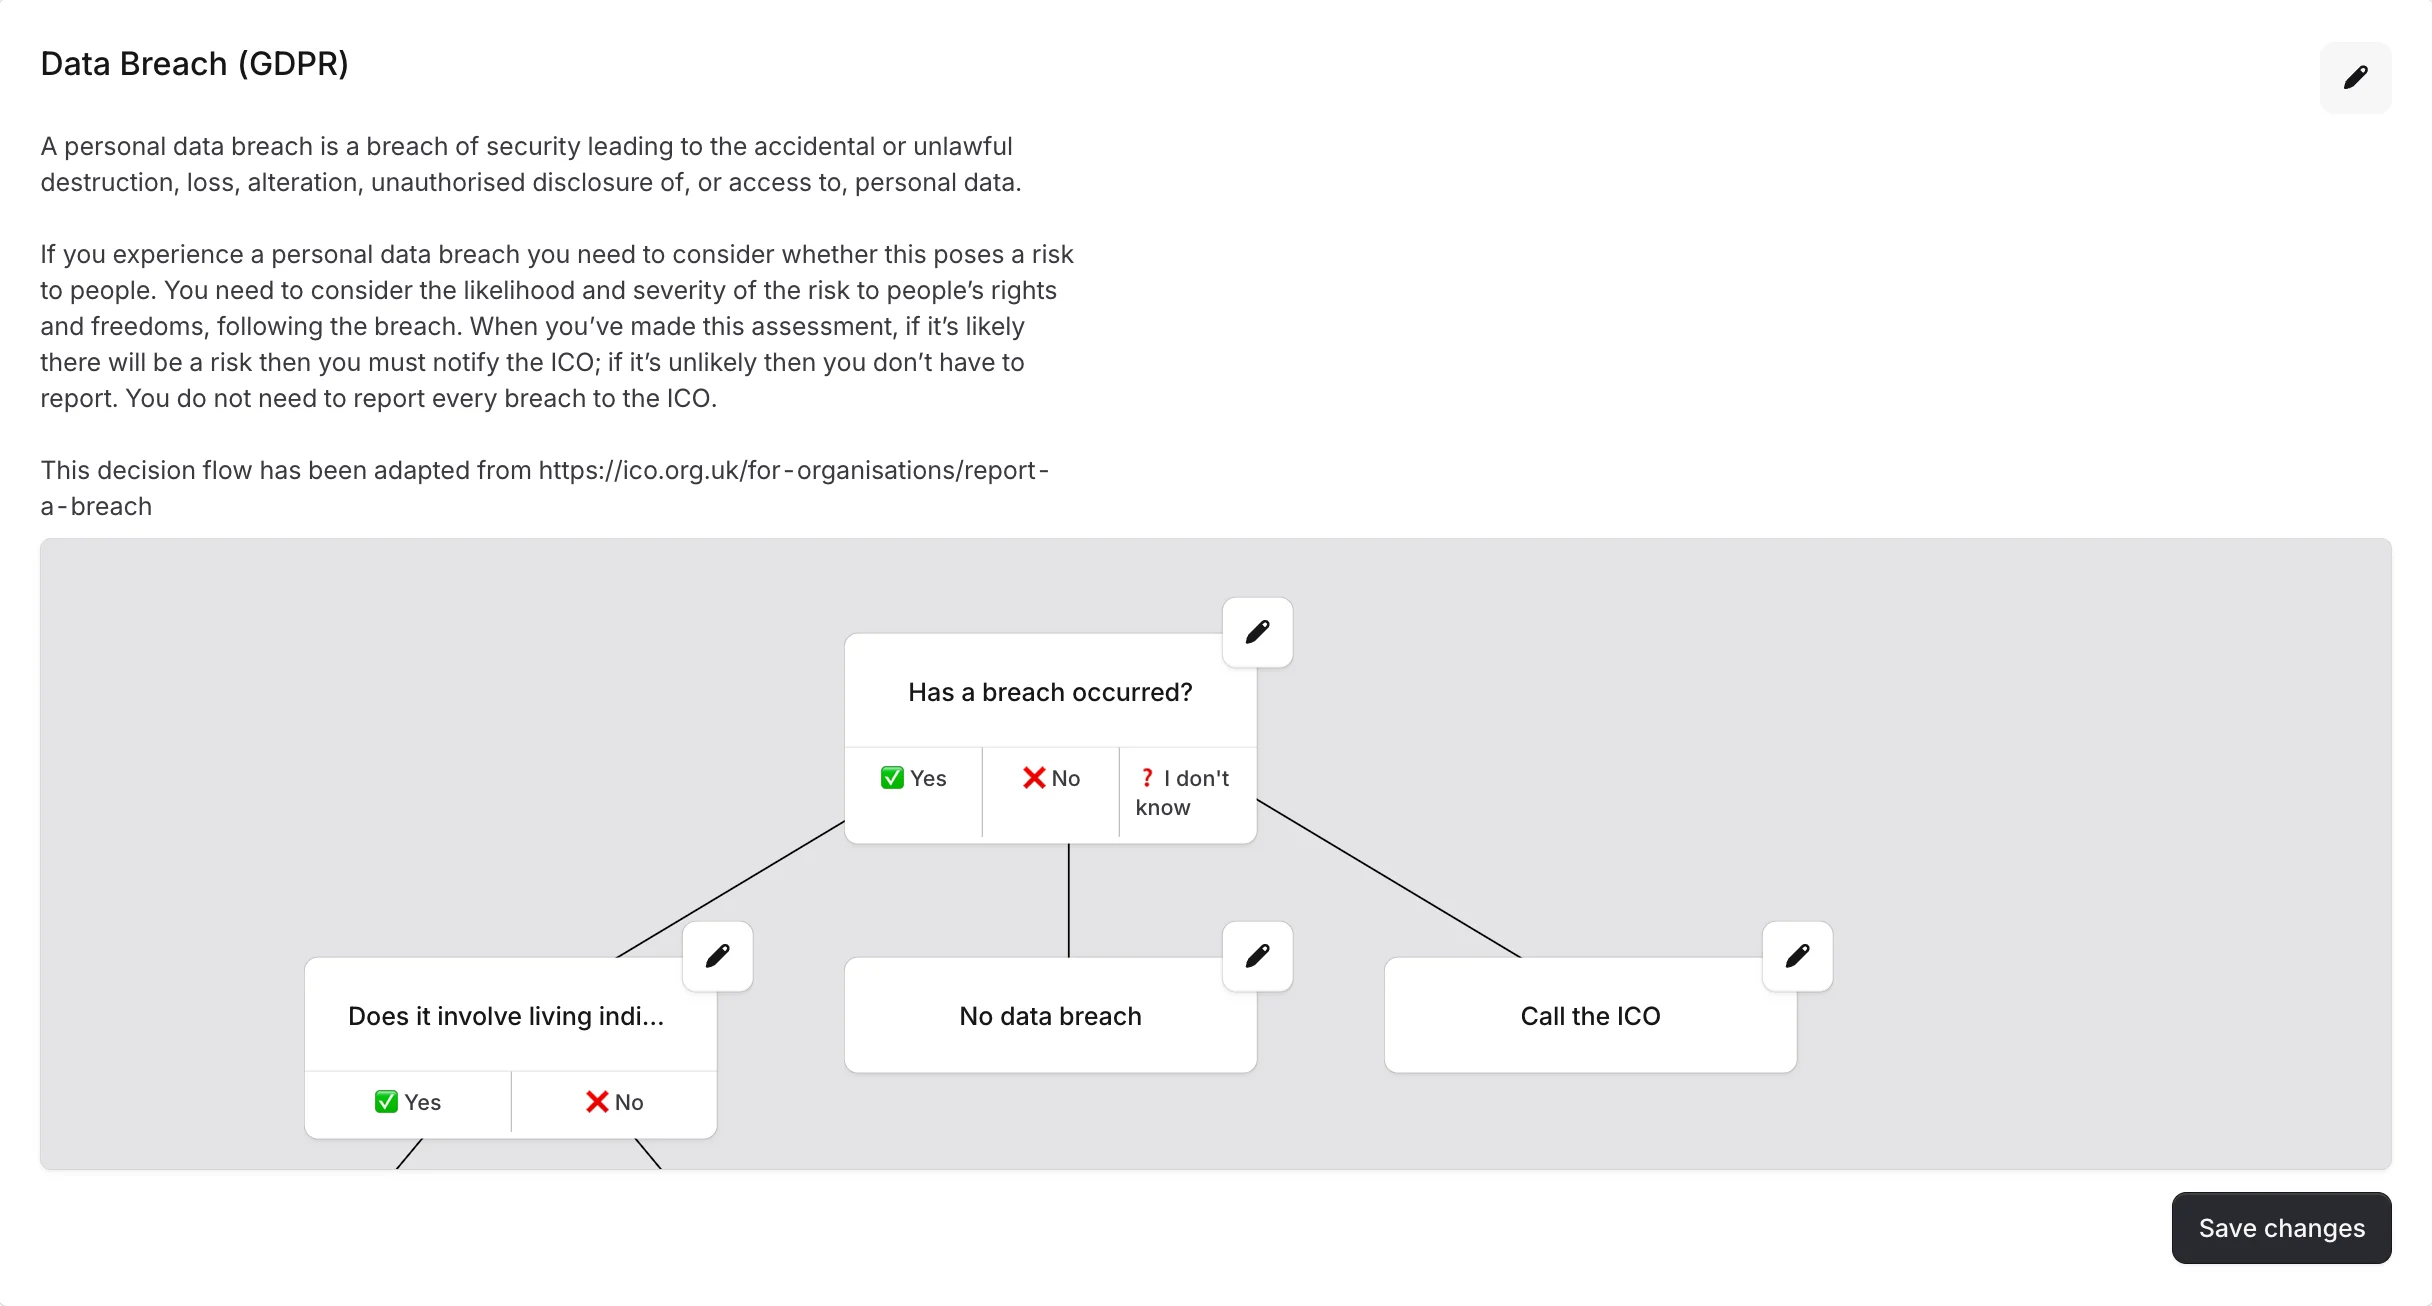
- You can now build your decision flow. By filling out the following for each branch of the tree:
- Node, this is displayed in the UI to help the decision maker navigate the process (Keep it short and sweet!)
- Prompt, This will be shown to the user when they are going through the decision flow. You can use Slack mrkdwn in this field.
- Options, these are the options the decision maker can choose from.
- When you have completed creating your decision flow, simply click Save Changes.
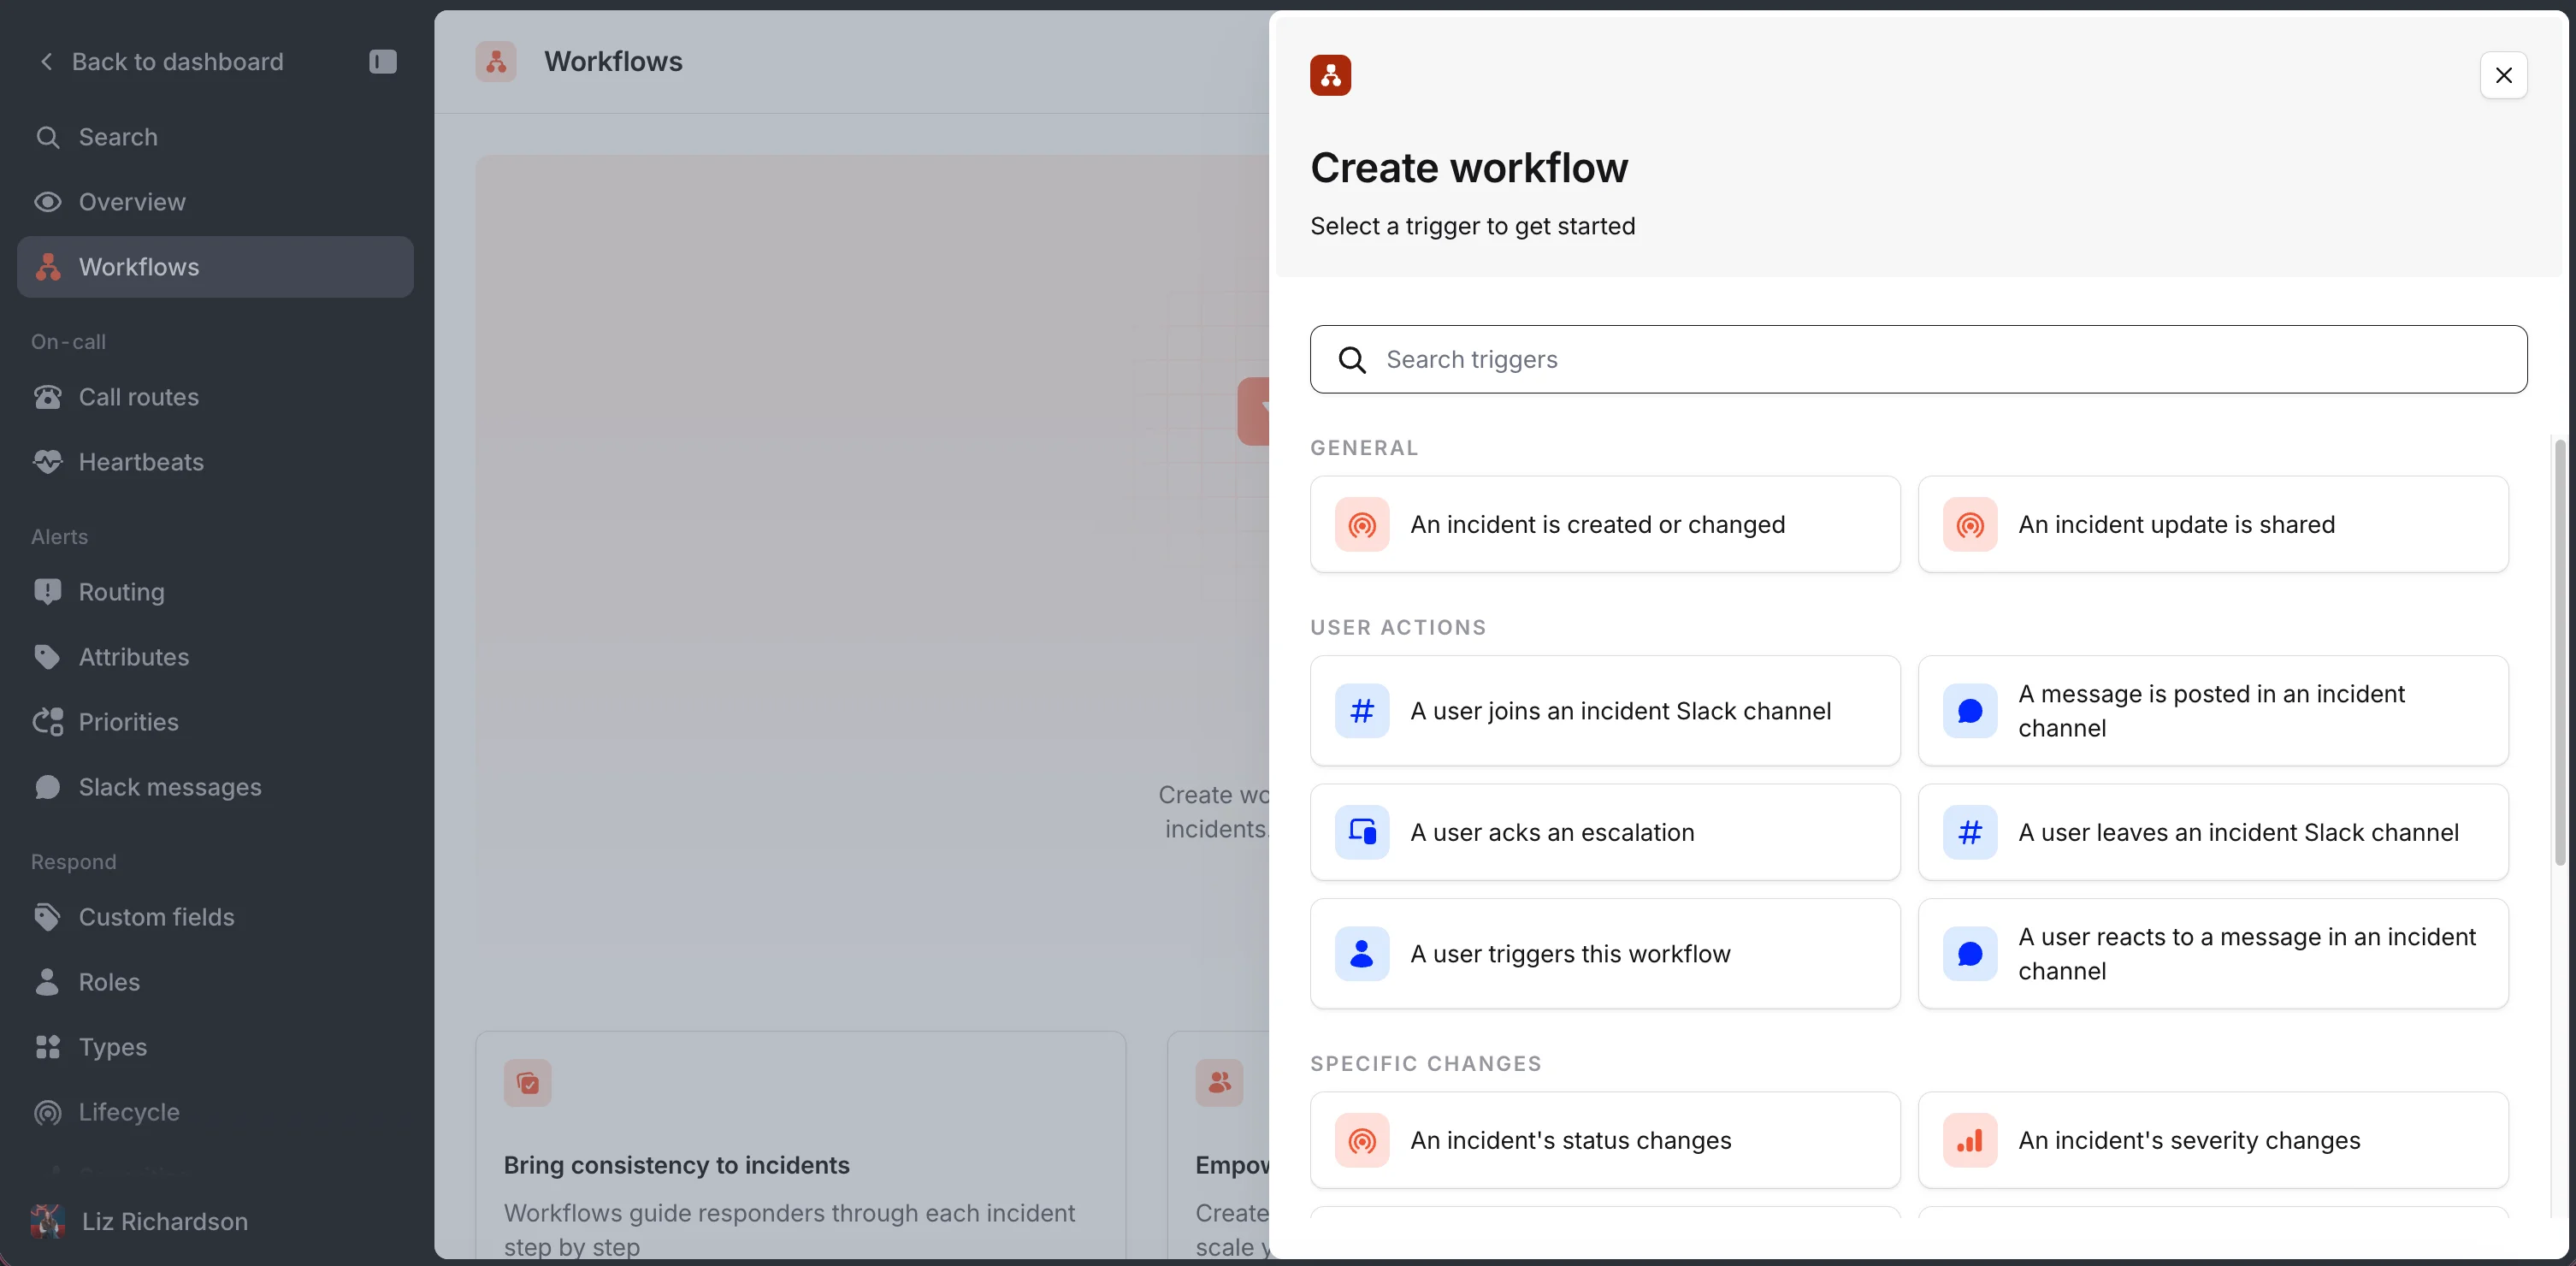
- Create a Workflow to trigger your Decision Flow.
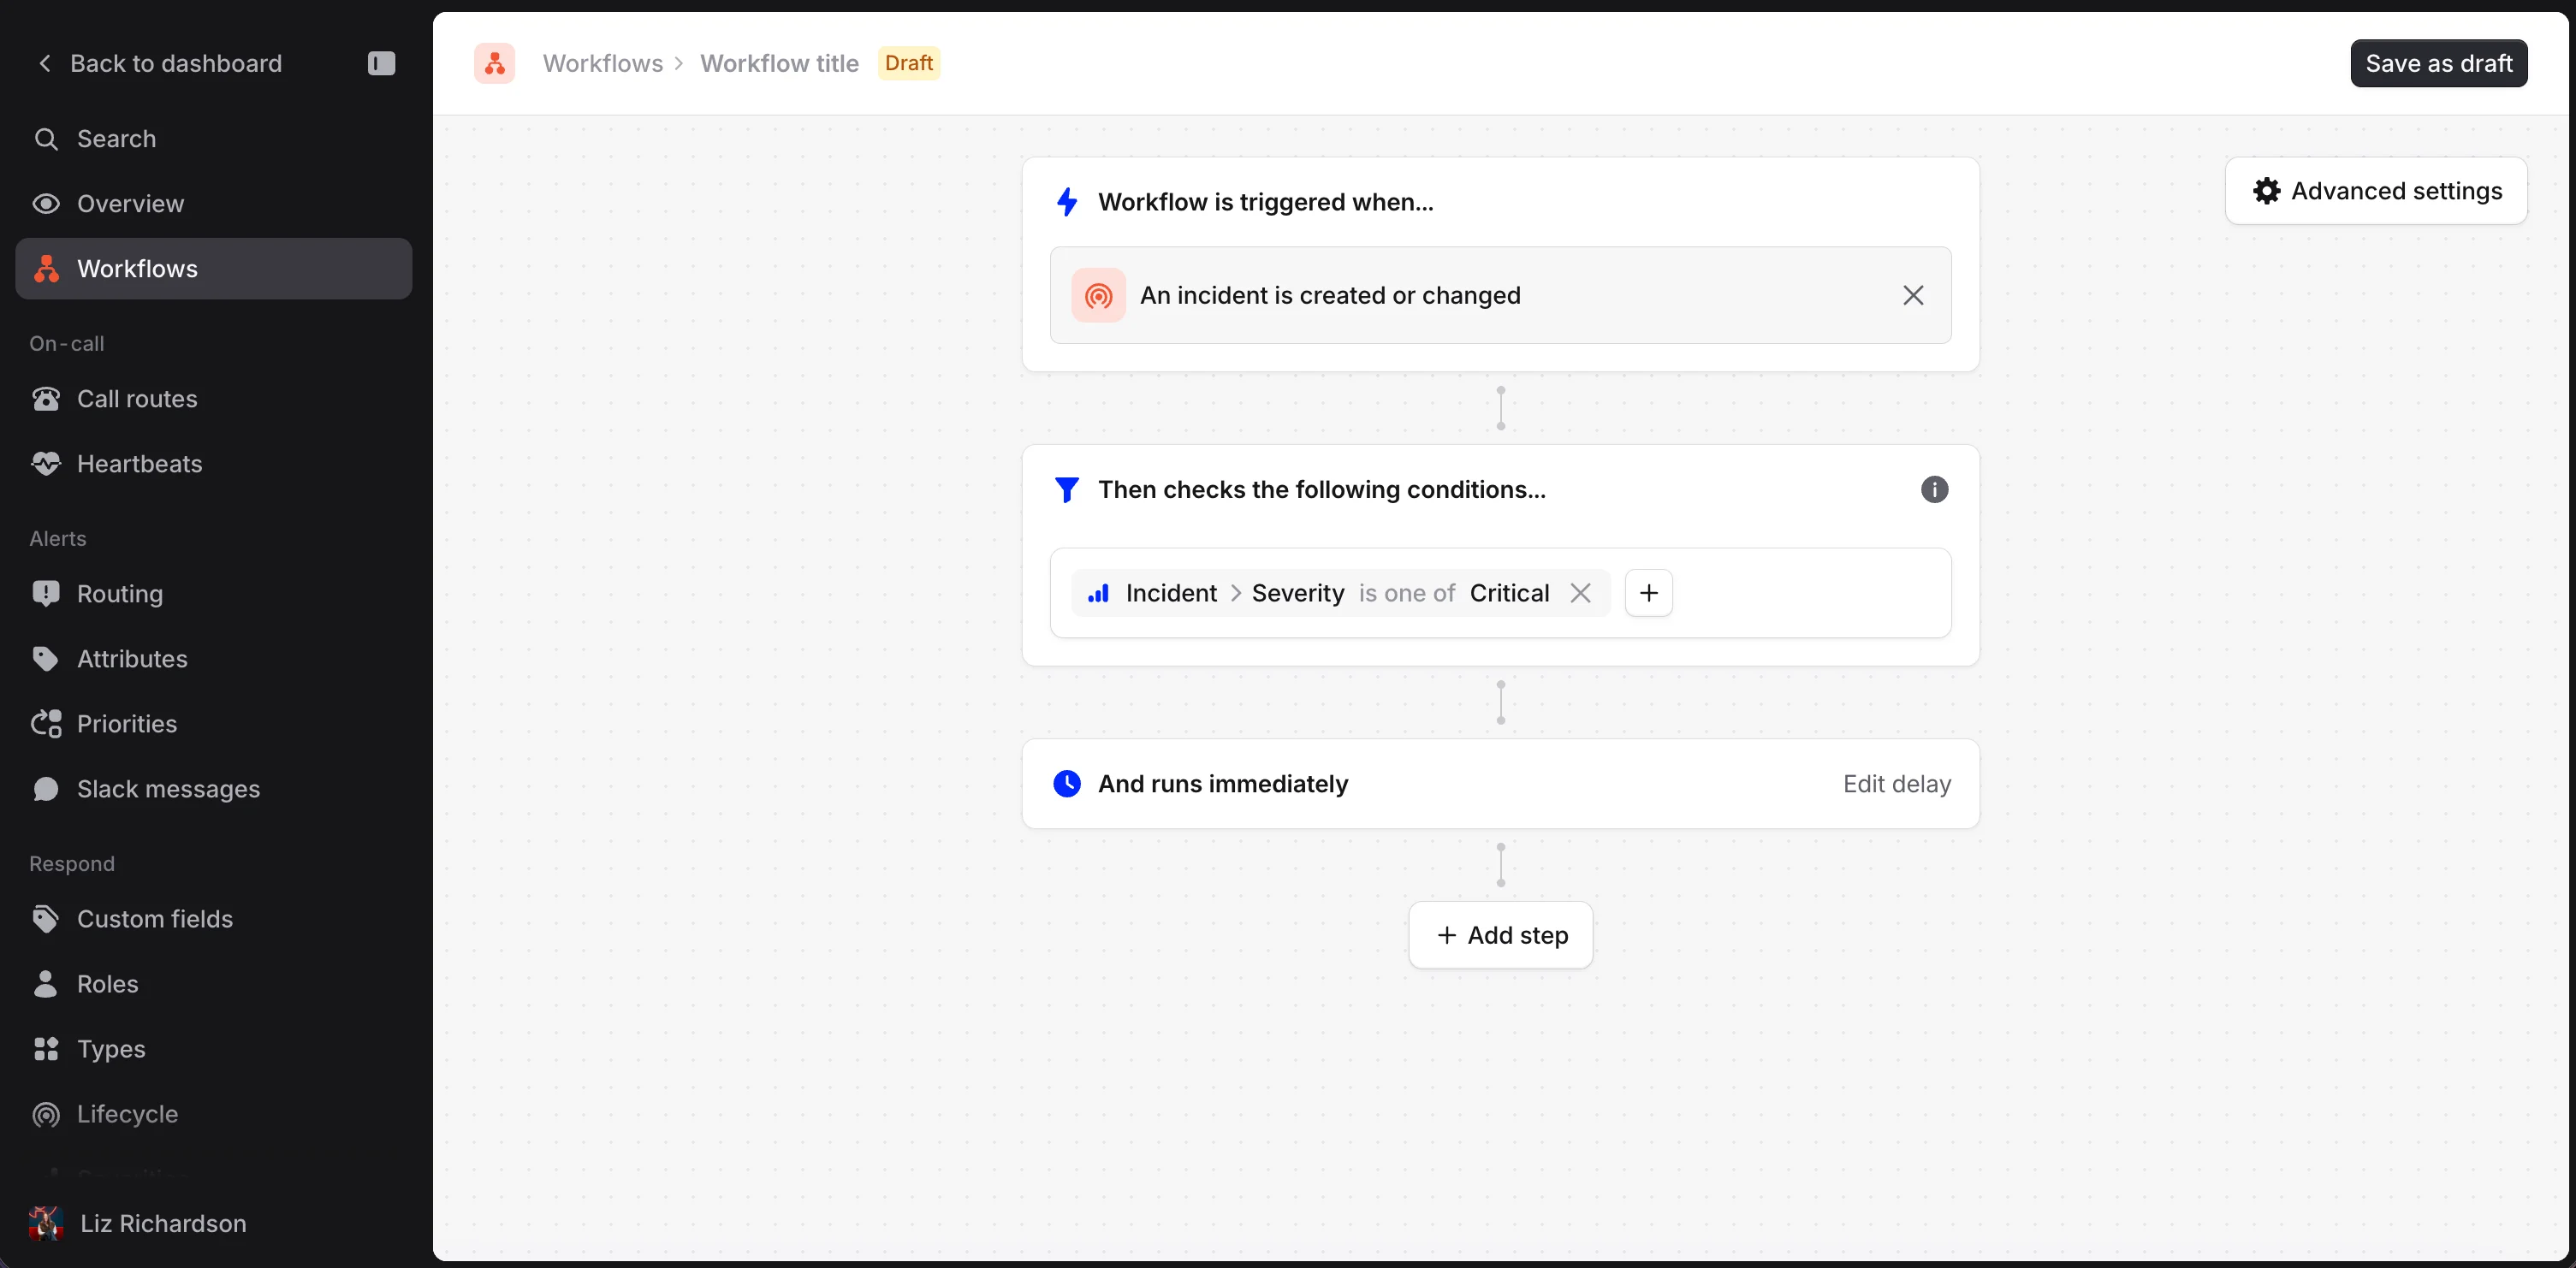
- You can now name your Workflow and add a condition that makes sense for the Decision Flow you created. For this example, we will choose Incident Severity ‘is one of’ Critical. Other helpful conditions might be Incident Type or an Impacted Team custom field.
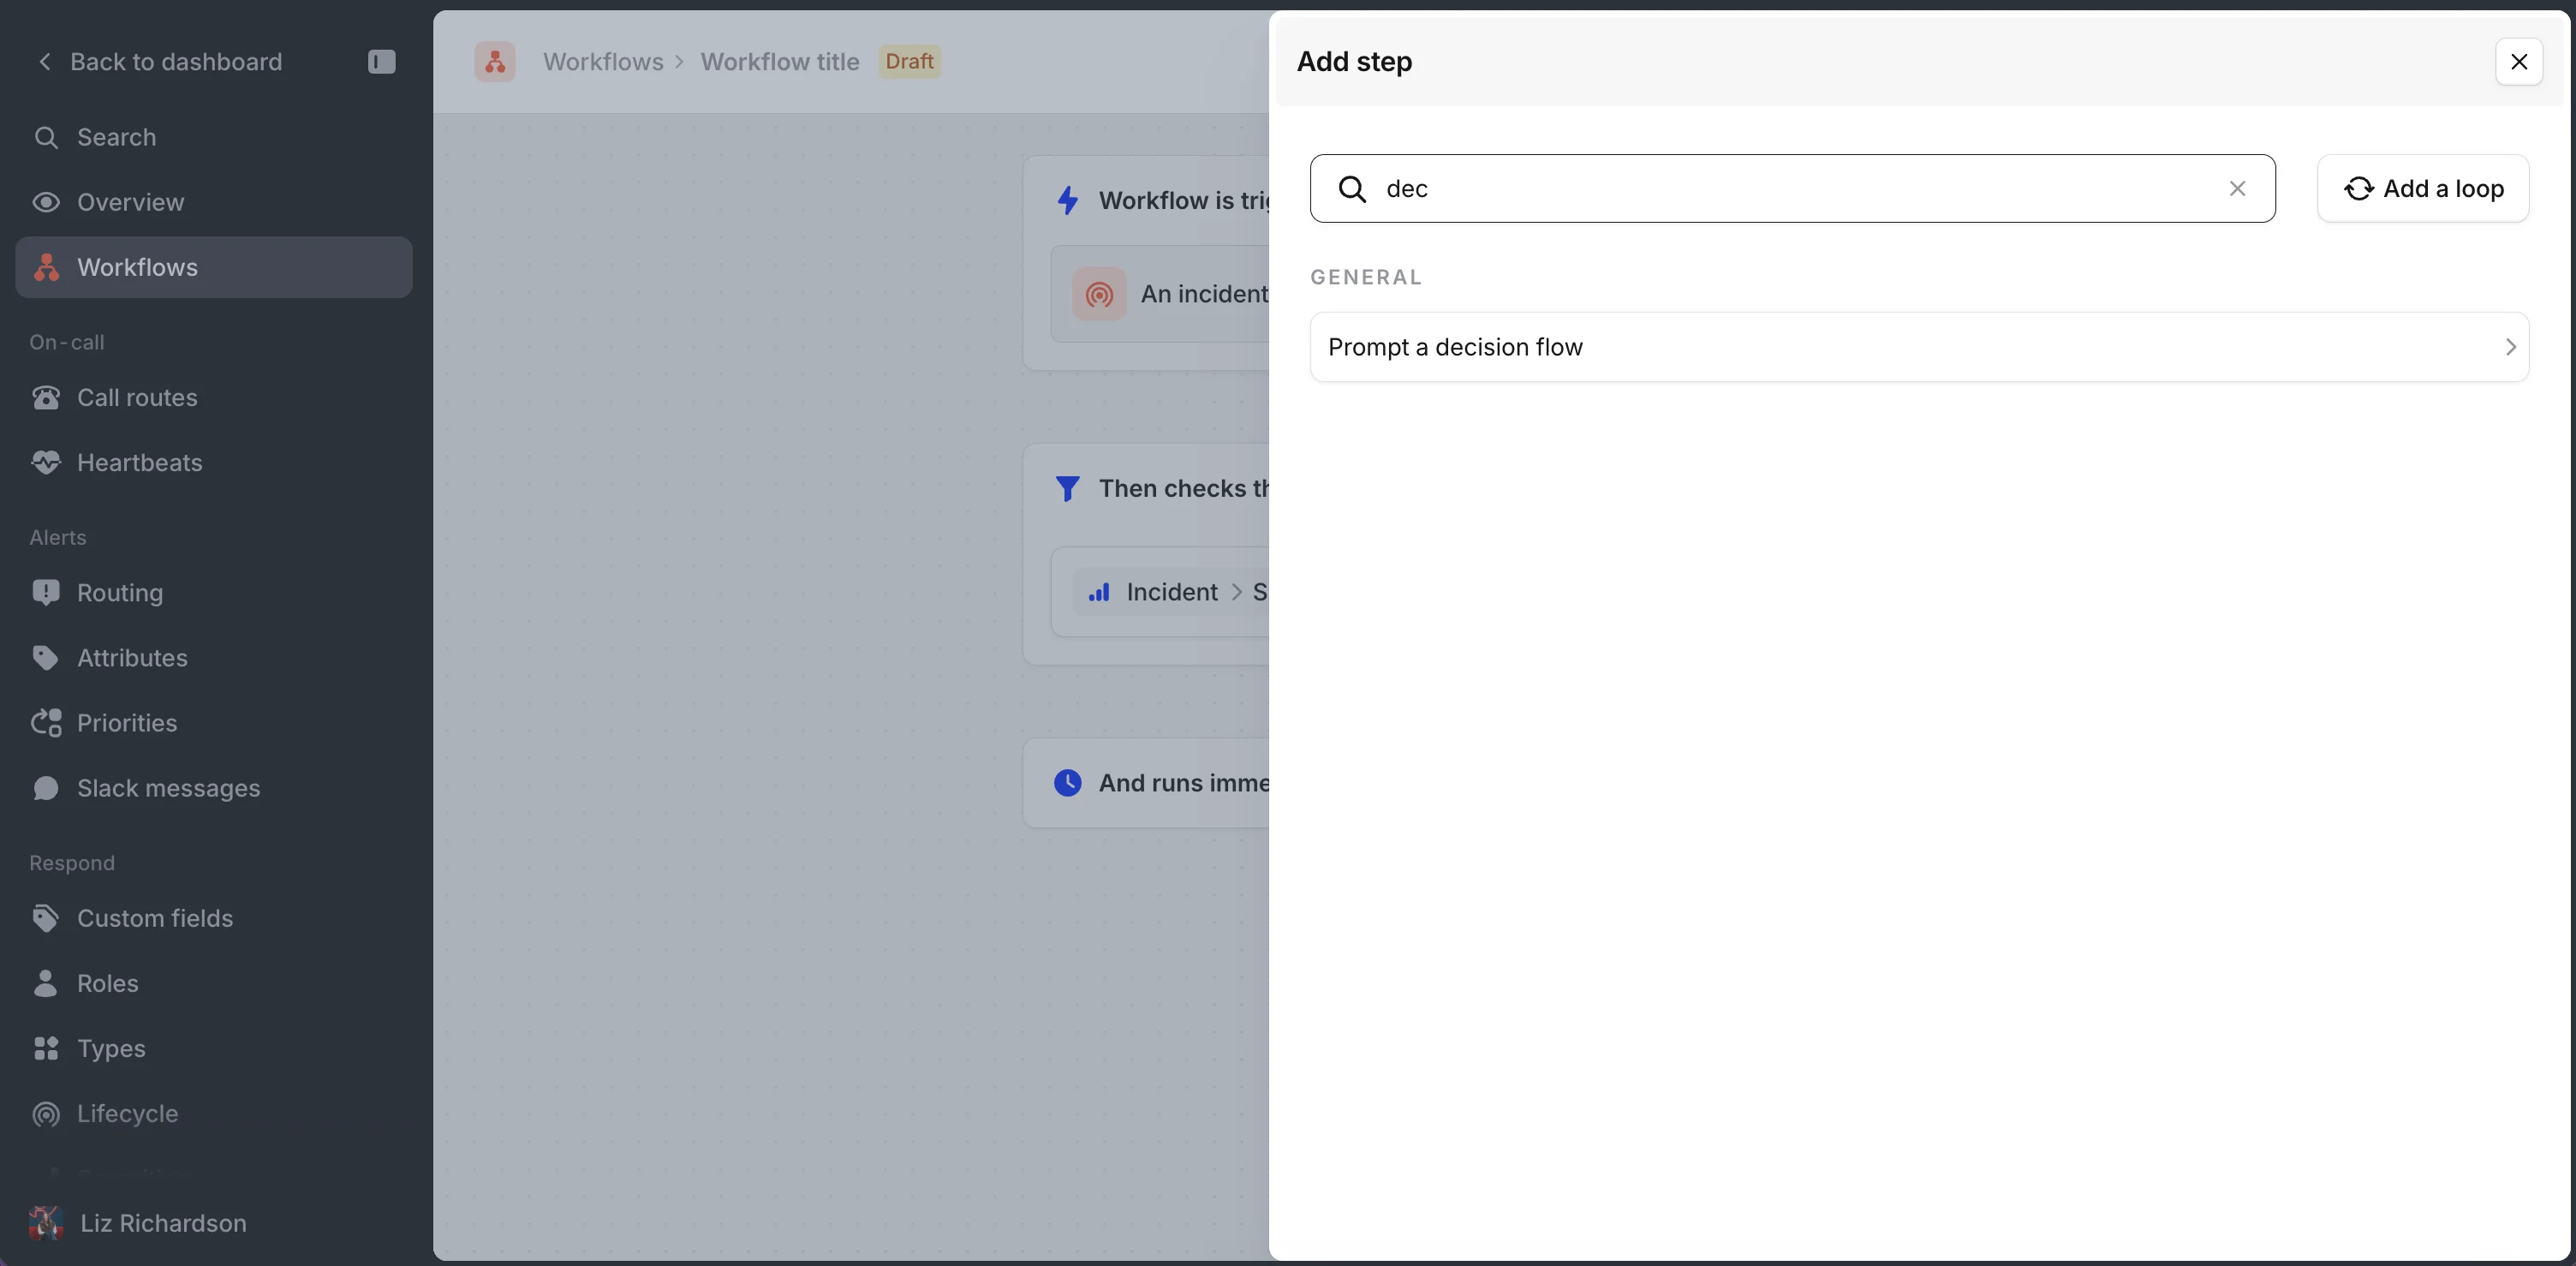
- You can now choose Prompt a Decision Flow as the Step. We have now created a workflow that will show our Decision Flow for all Critical incidents.
- You will now provide a Prompt (to provide additional context) and can choose which Decision Flow you’d like triggered. We have now created a workflow that will show our Decision Flow for all Critical incidents.

Decision Flows can be a great way to guide someone during an incident. If you have any additional questions about Decision Flows or Workflows, feel free to reach out to us on Slack!