- Set catalog-backed custom fields
- Escalate to a team’s escalation path
- Announce to the team’s Slack channel and so much more
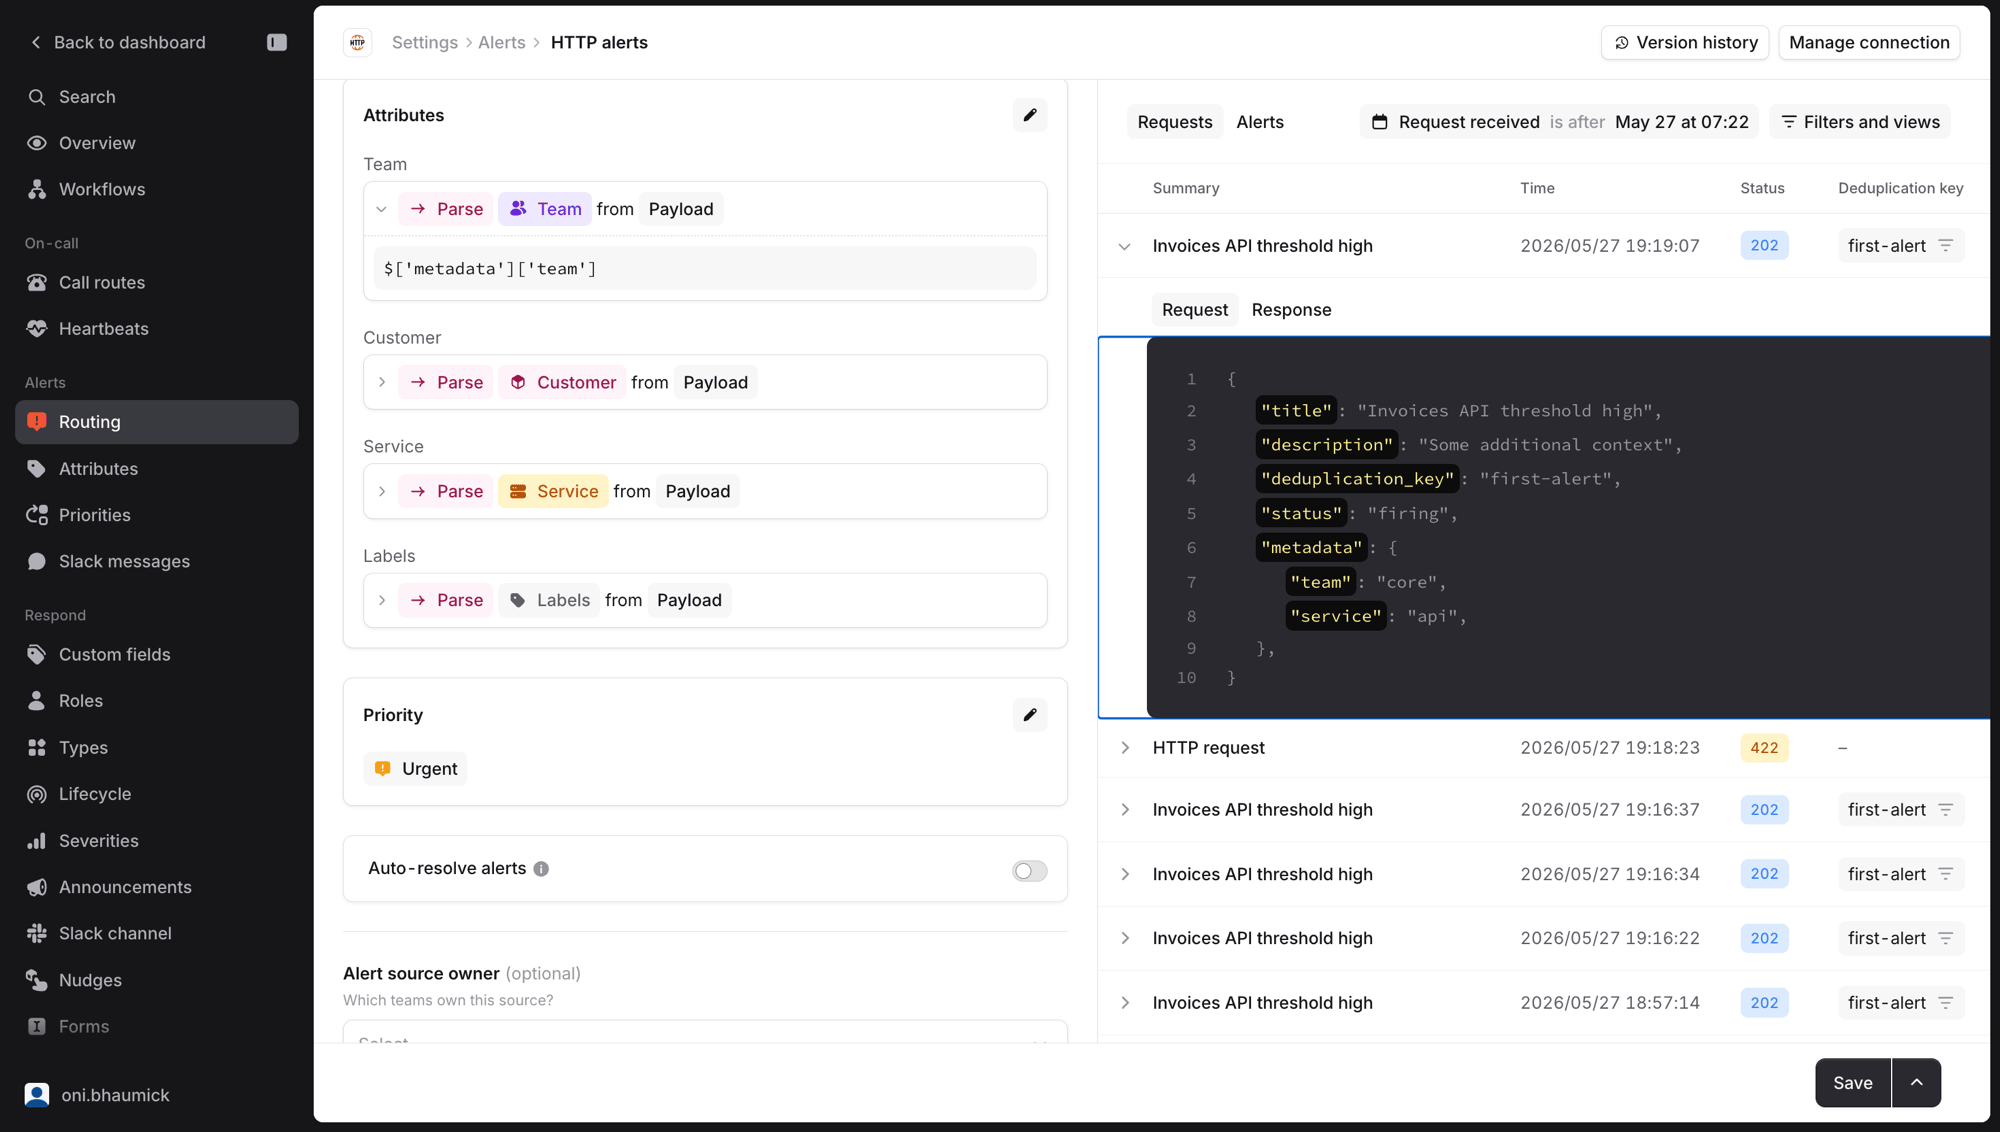
Setting the right attribute resource type
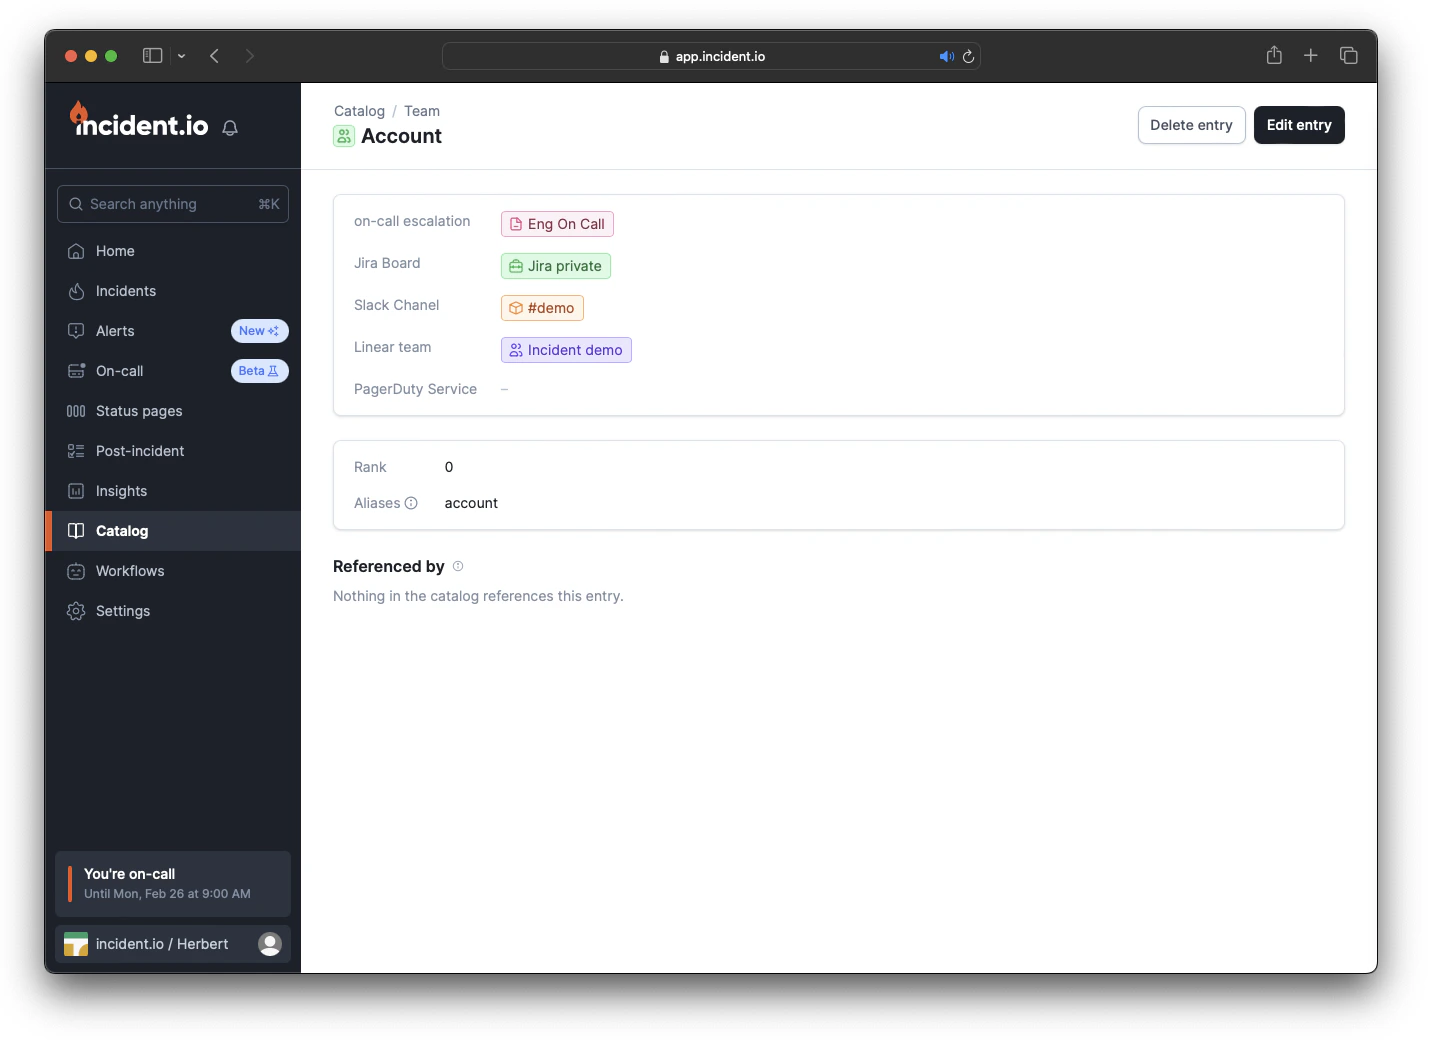
Before we can set these attributes, let’s take a closer look at the “Team” Attribute. The return type of this attribute should be “Team” Catalog type, this is what will allow us to navigate to different attributes such as escalation path, Slack channels, and more.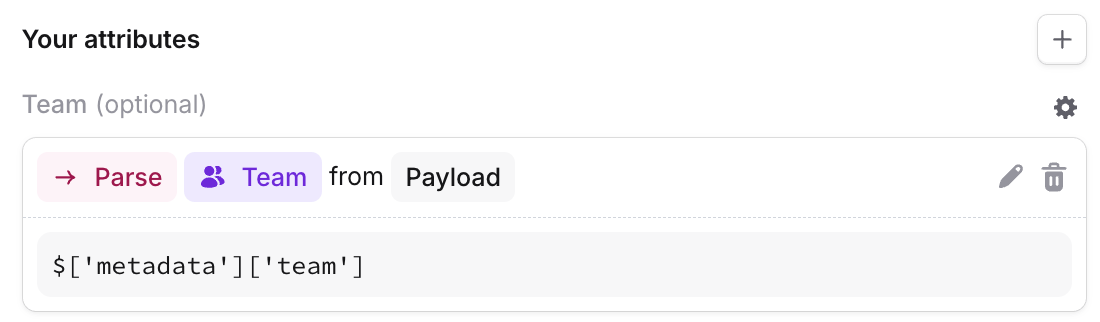
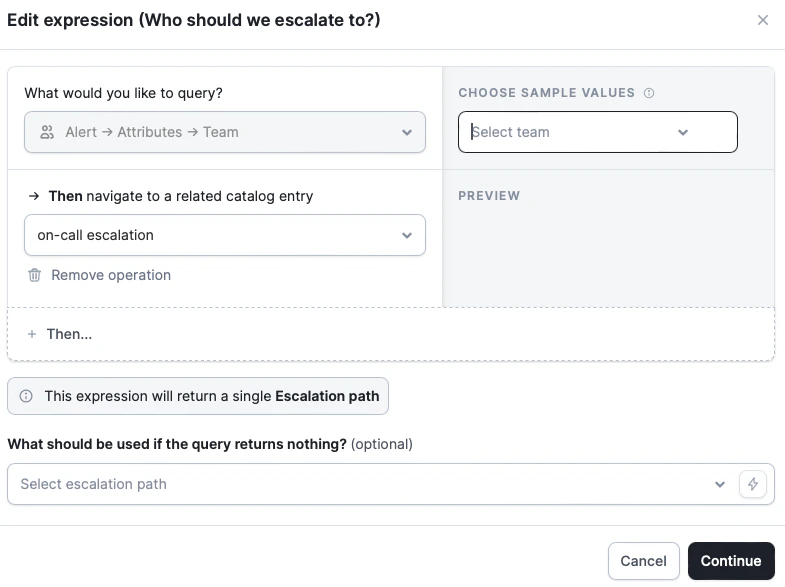
Escalating to the right escalation path
In the Alert route, you can use these attributes to set values of custom fields, for example, by setting the “Responsible Team” custom field.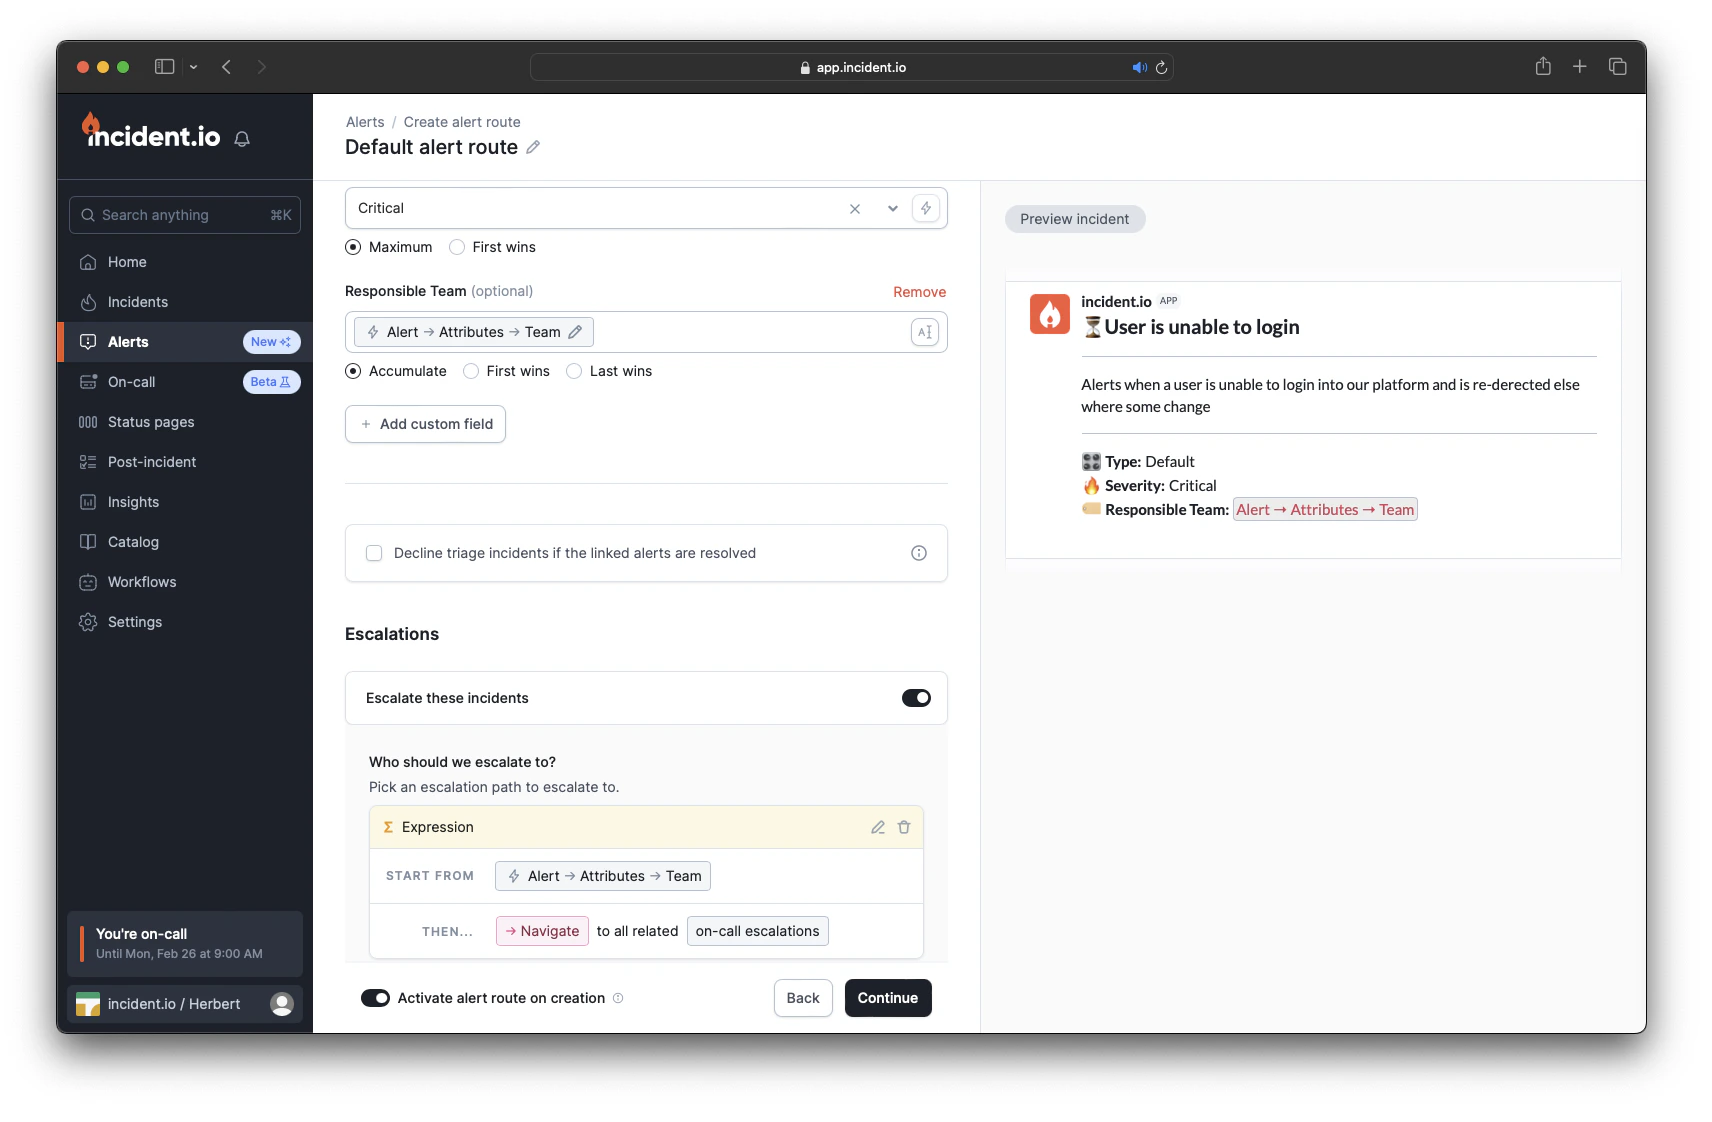
Owning teams and permissions
By default, anyone in your organization can resolve any alert and acknowledge, snooze, or cancel any escalation. For most teams that’s exactly what you want. But if you’re a larger organization, you might prefer to keep those actions within the team that’s responsible for an alert, so an engineer in one team can’t accidentally resolve a page that belongs to another. You can do this with team-based permissions. The permission that controls these actions is Take actions on alerts and escalations. It covers resolving alerts, and acknowledging, snoozing, and cancelling escalations. By default it’s granted to everyone, but you can instead grant it to specific team roles, so that it only applies to the alerts and escalations a team owns. When it’s granted at the team level, the team that “owns” an alert is determined by its Team attribute, the same attribute you set up above for routing. The work you’ve already done to tag alerts with a team does double duty: it routes the alert and decides who’s allowed to act on it.If an alert has no Team attribute (or the source doesn’t extract one), it has no owning team. When this permission is granted at the team level, only people who still have it granted globally will be able to act on those alerts.
Who can resolve an alert?
When the permission is granted at the team level rather than globally, you can resolve an alert if either of the following is true:- You have the permission granted globally (for example, an admin)
- You’re a member of a team that owns the alert, with the permission granted to that team
Who can act on an escalation?
By default, anyone who can see an escalation can acknowlege, snooze, or cancel it. If you’ve configured team-level permissions, then any of the following grant you permission to act on an escalation:- You have the permission granted globally (for example as an account-level admin)
- You’re a member of a team that owns the alert the escalation came from, with the permission granted to that team
- You’re a member of the team that owns the escalation path the escalation was sent to, with the permission granted to that team
- You were paged by the escalation: anyone notified can always acknowledge or snooze it, even if they’re not on the owning team. This protects you from a misrouted alert paging someone who then can’t make it stop.