Attributes
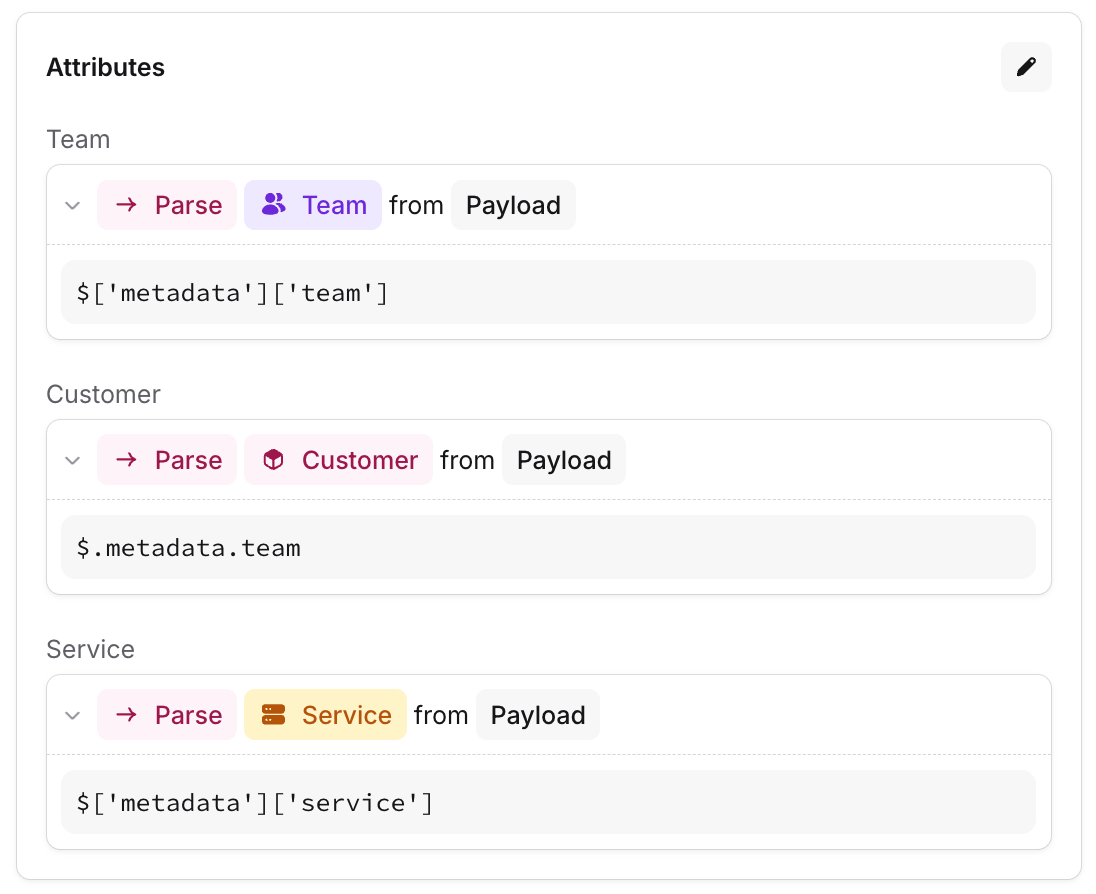
Alert attributes are how you extract a consistent format of data from your different alert sources, to use in your alert routes. For example, your Grafana alerts might have ateam label, while BugSnag alerts have service and customer tags. Attributes allow you to convert these into a consistent format, so your alert routes don’t have to think about where an alert has come from.
Attributes also help responders understand alerts more quickly: rather than having to read through the whole payload, they’ll see the extracted attributes first, so they can quickly understand what’s going wrong and who’s affected.
Required attributes
If you have attributes that you rely on to handle your alerts correctly, you should make them required. A common use case for this is when setting a Team - if an alert is missing this value, then it may not be escalated and nobody will get paged.
Tags
Tags are free-form labels you attach to alerts to organize and triage them. Where attributes are structured values pulled from the alert payload and used to route alerts, tags are lightweight labels that anyone can add while responding — handy for grouping related alerts, flagging something to follow up on, or marking a recurring theme.Adding tags
Open an alert and add one or more tags to it. Start typing to search your existing tags, or type a new name to create one on the fly. Tag names are matched case-insensitively, so you’ll reuse an existing tag rather than create a near-duplicate. You can also select several alerts in the alert list and tag them all at once, which is a quick way to label a batch of related alerts.Filtering by tags
Once your alerts are tagged, use the tag filter on the alert list to show only alerts with a given tag. Save that as a view to keep a filtered list close to hand — for example, every alert tagged as noise. Tags are also available as a filter in alert insights, so you can break alert volume down by tag.Priorities
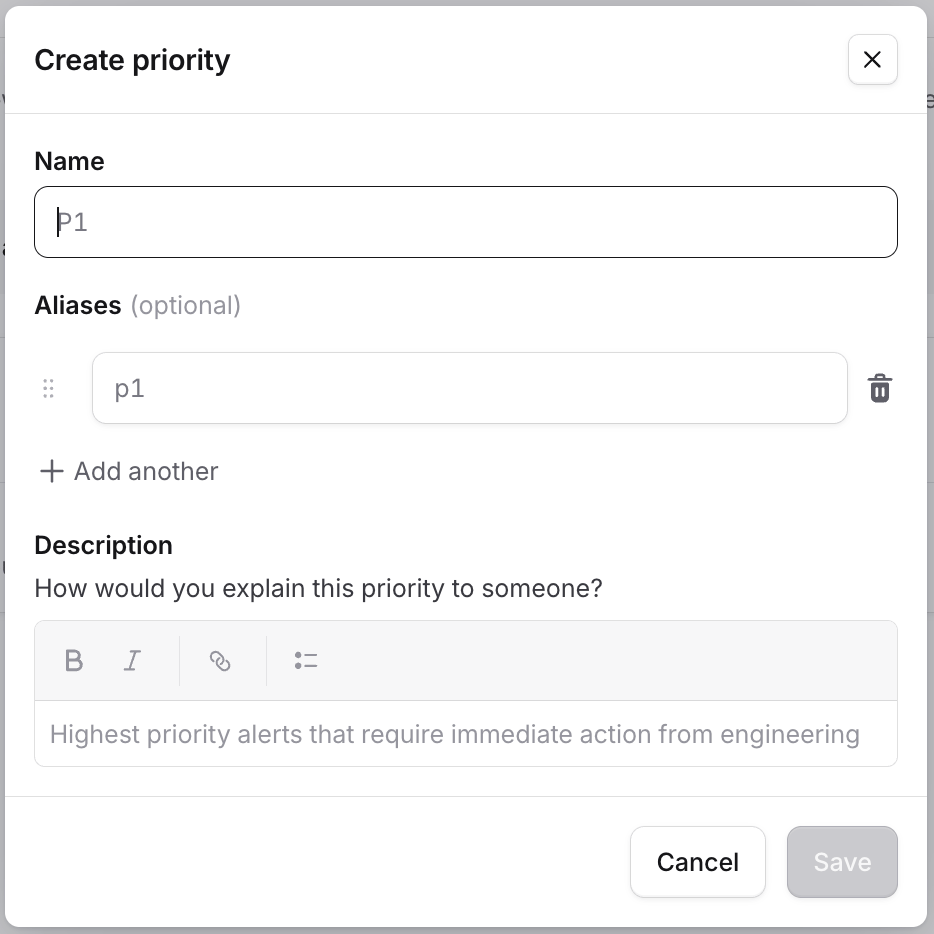
To use priorities in the escalation path branches, you can create them in Alert Attribute settings.