Connecting ServiceNow
incident.io connects to ServiceNow using an OAuth app and Web Service user account. Sync is bi-directional: updates made in ServiceNow flow back to incident.io, not just the other way. Installing our ServiceNow app makes that back-sync real-time, so we recommend it. If you’d rather not, grant the service account theadmin role instead.
1. Install the ServiceNow app
Install the incident.io app from the ServiceNow Store. To skip the ServiceNow app installation, grant theadmin role in step 3 instead.
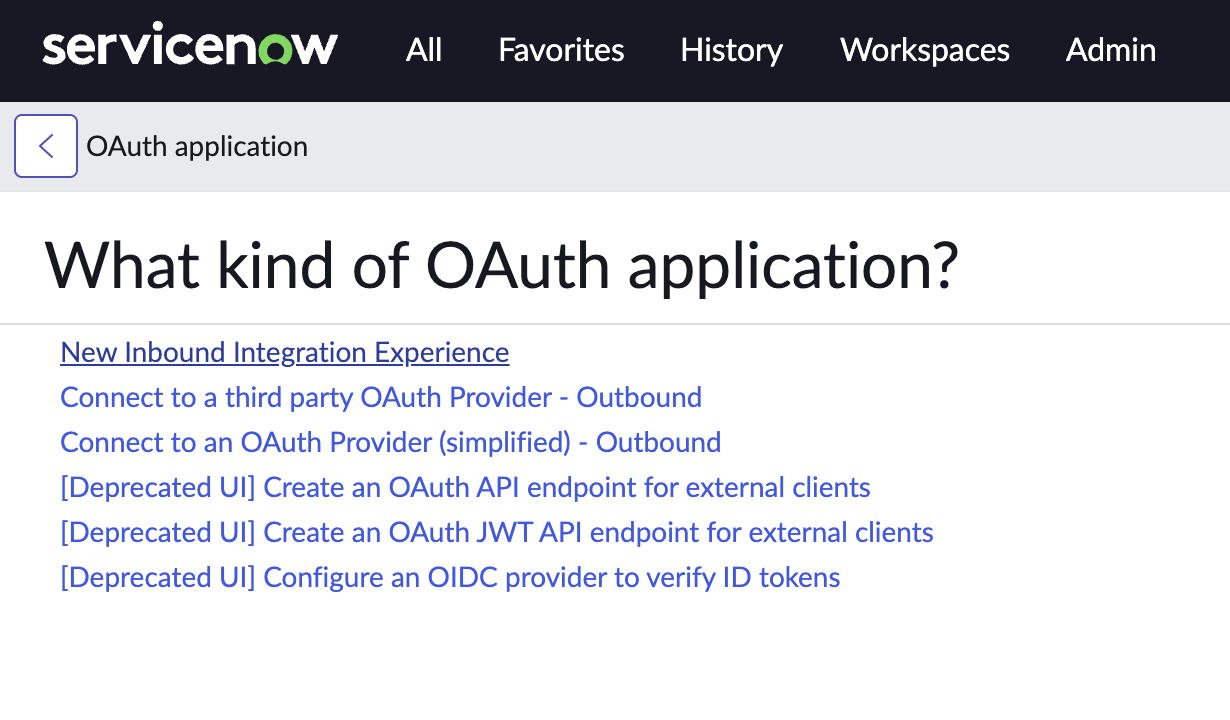
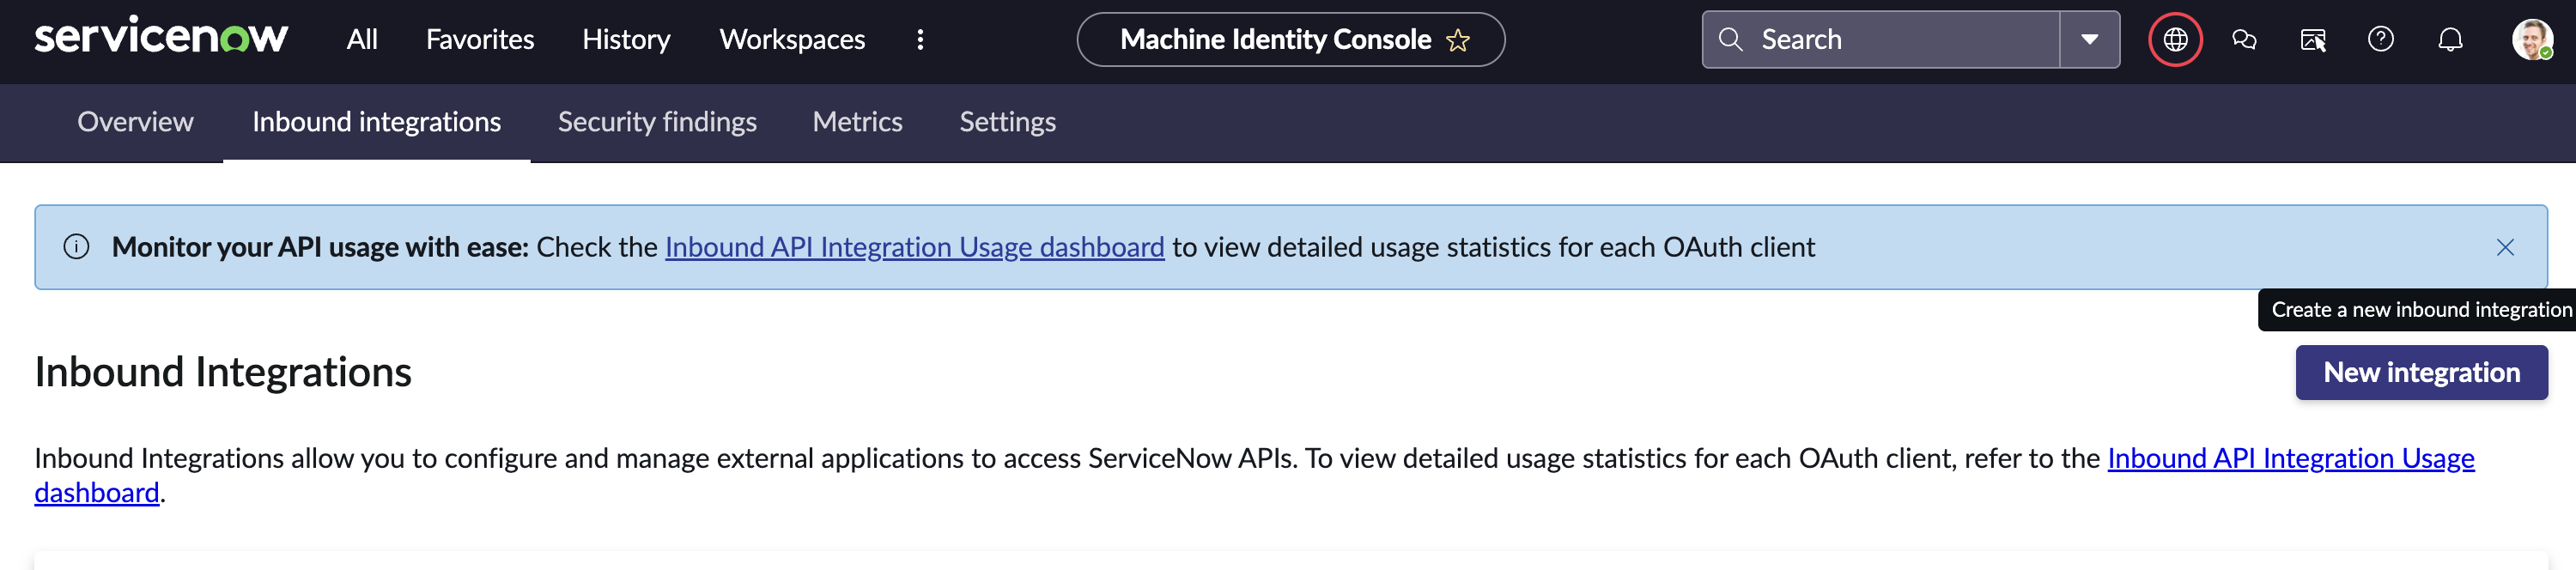
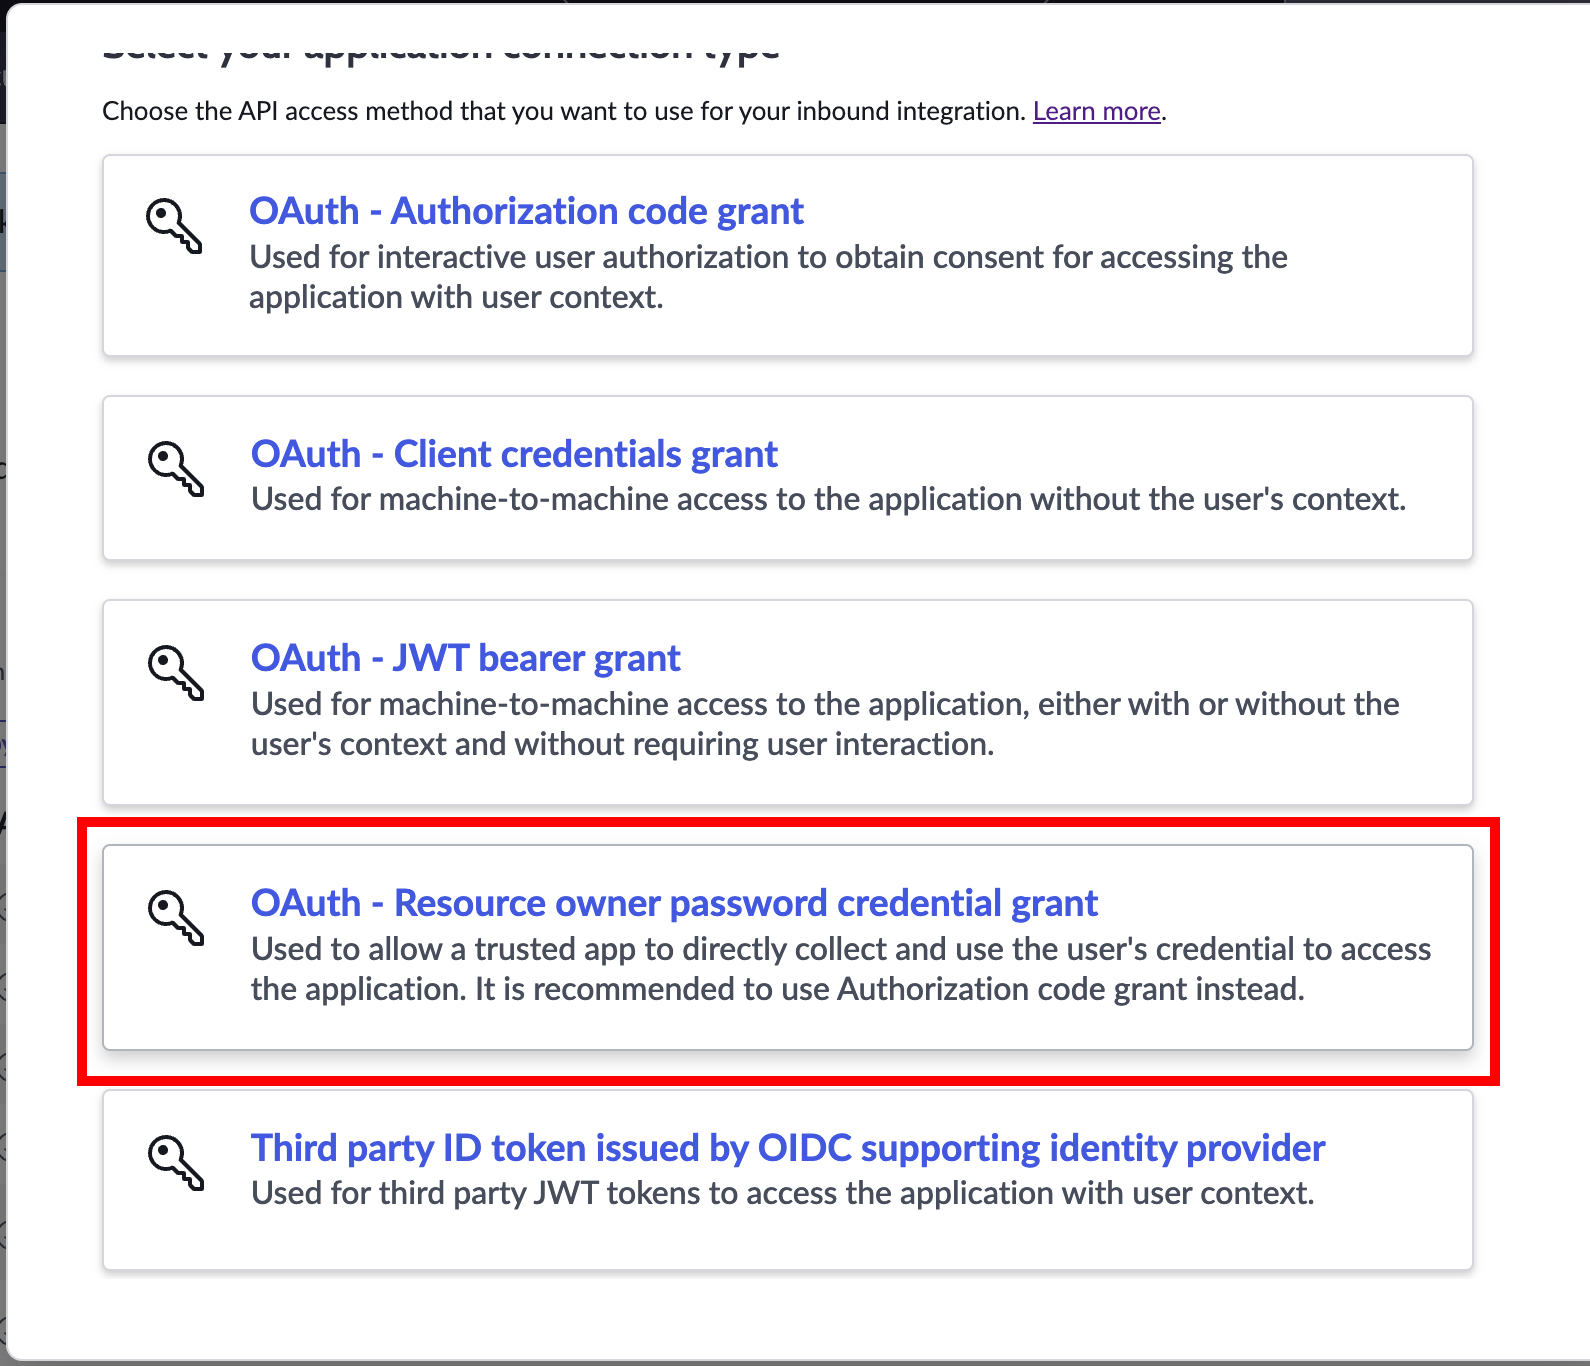
2. Create an OAuth App
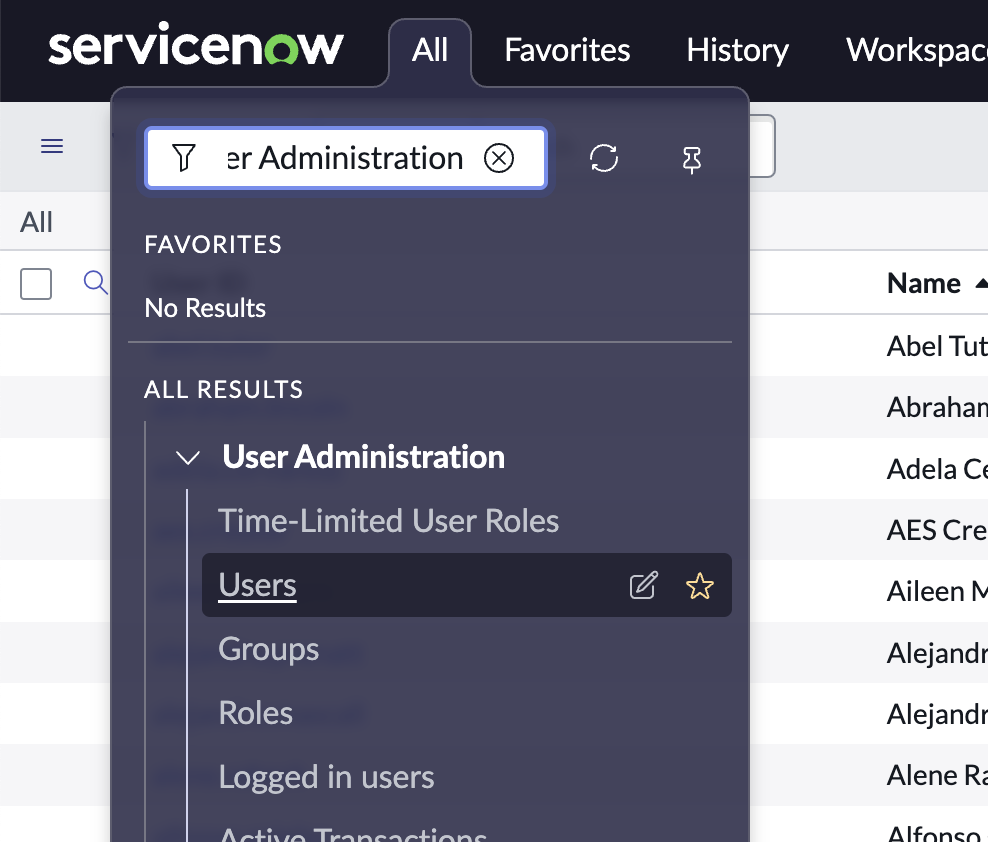
Log in to ServiceNow and search for OAuth in the filter navigation: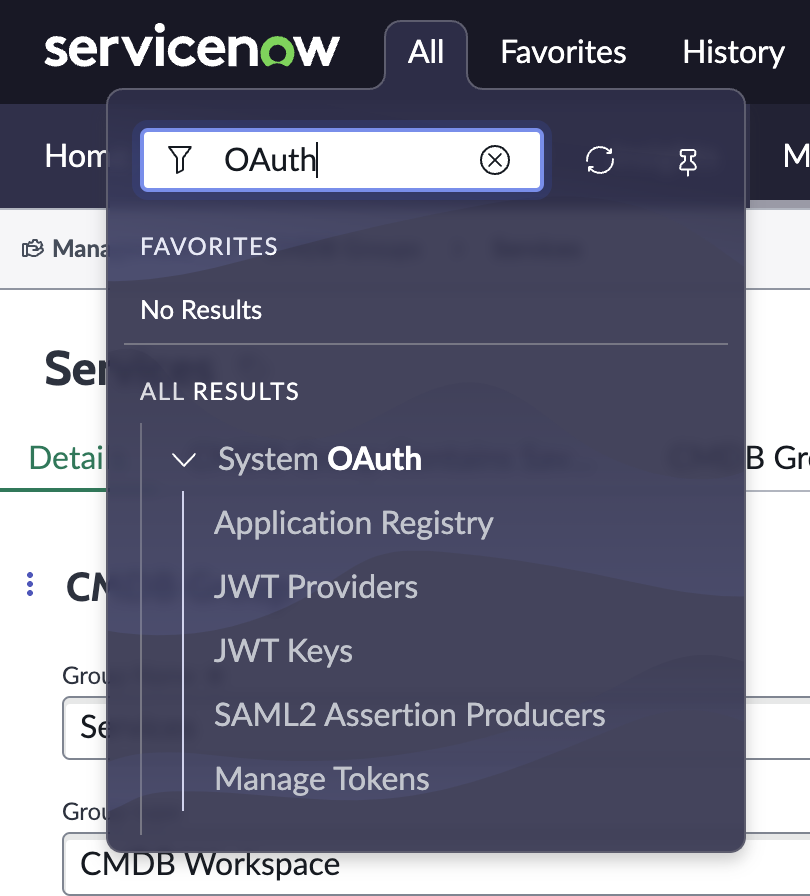

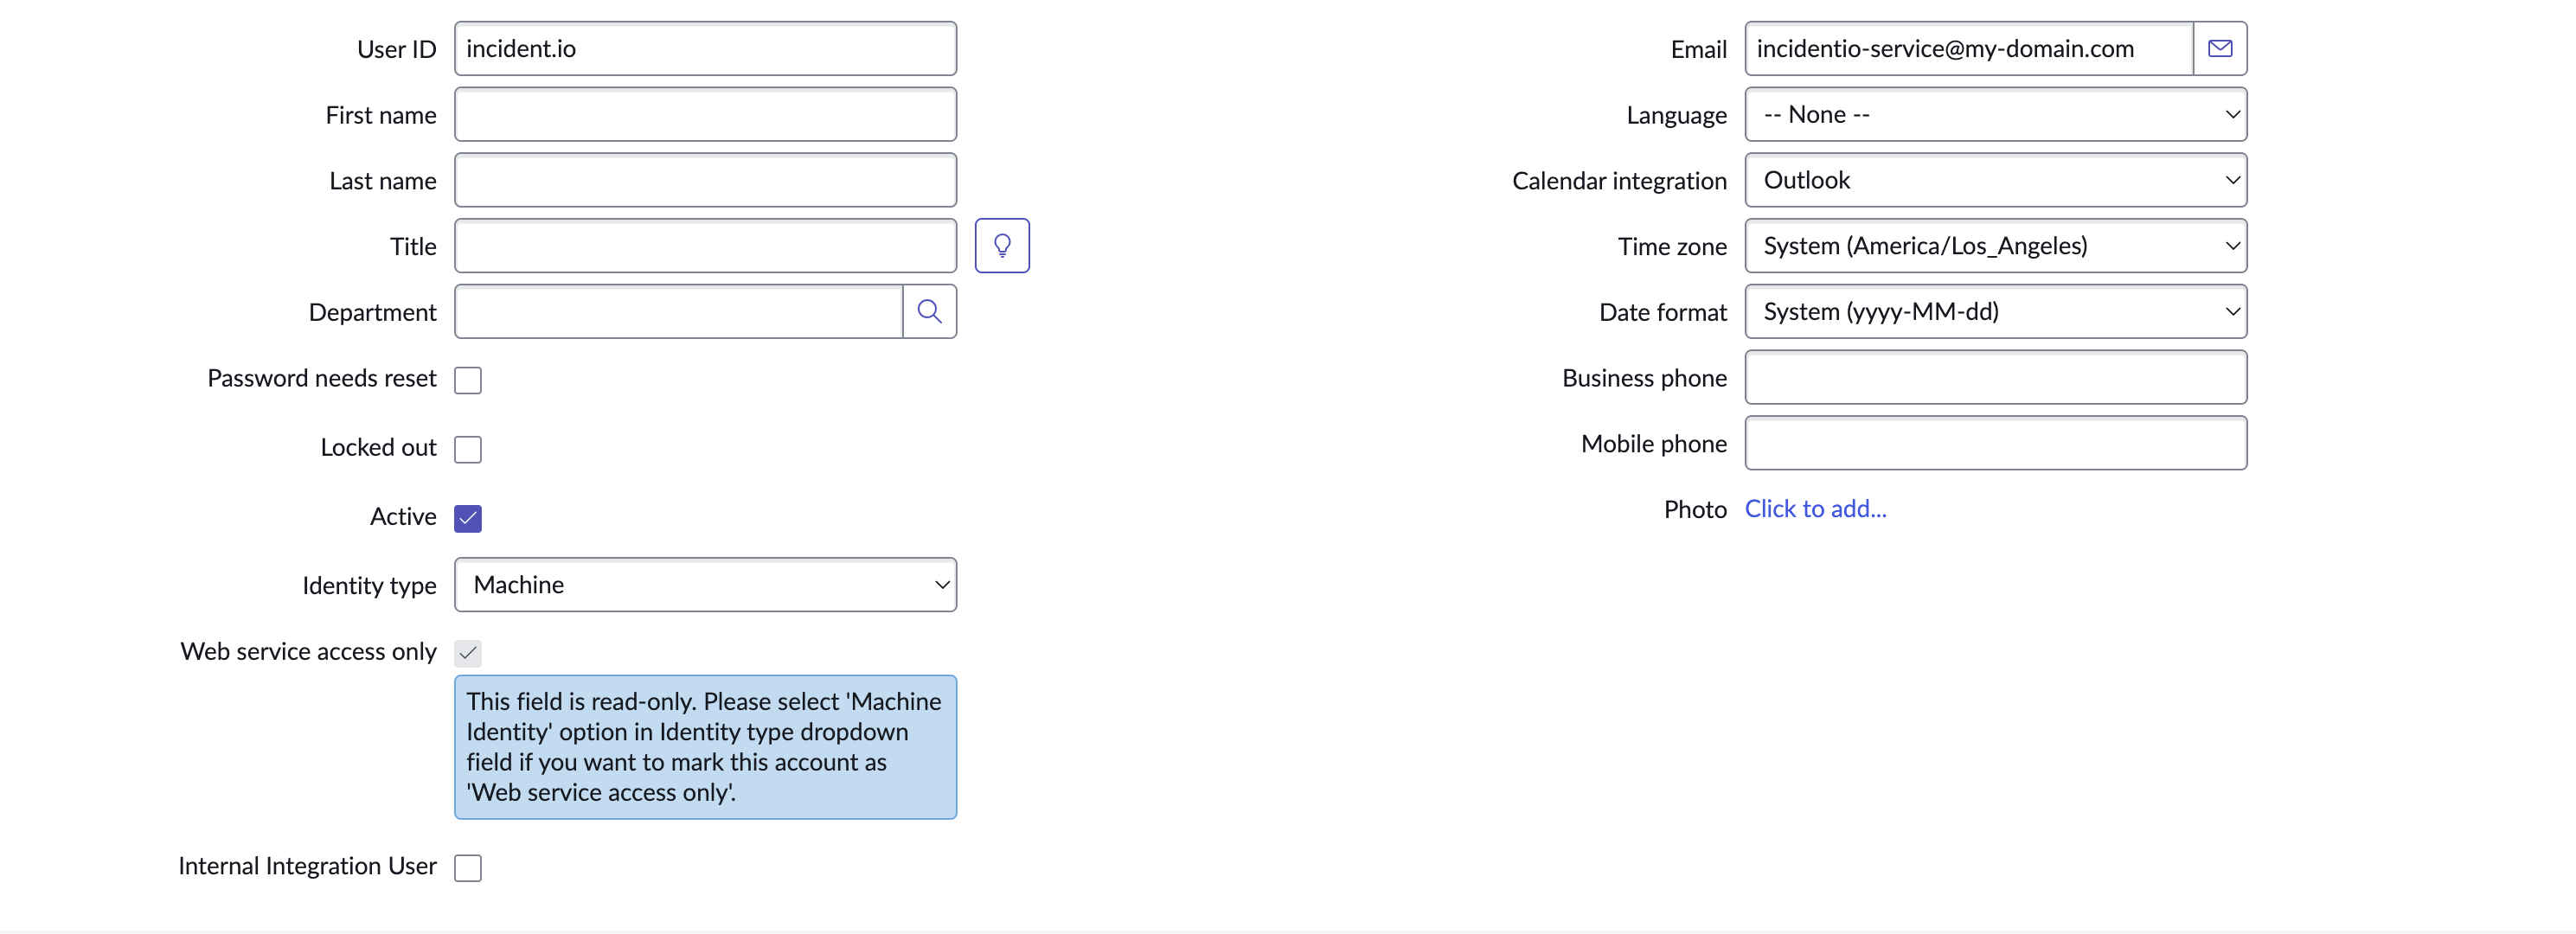
3. Create a Web Service Account
Any ServiceNow user account can be used so long as it has the relevant roles assigned. However, any actions taken by incident.io in ServiceNow will appear as being taken by this user account, so we strongly recommend creating a user for this purpose only.
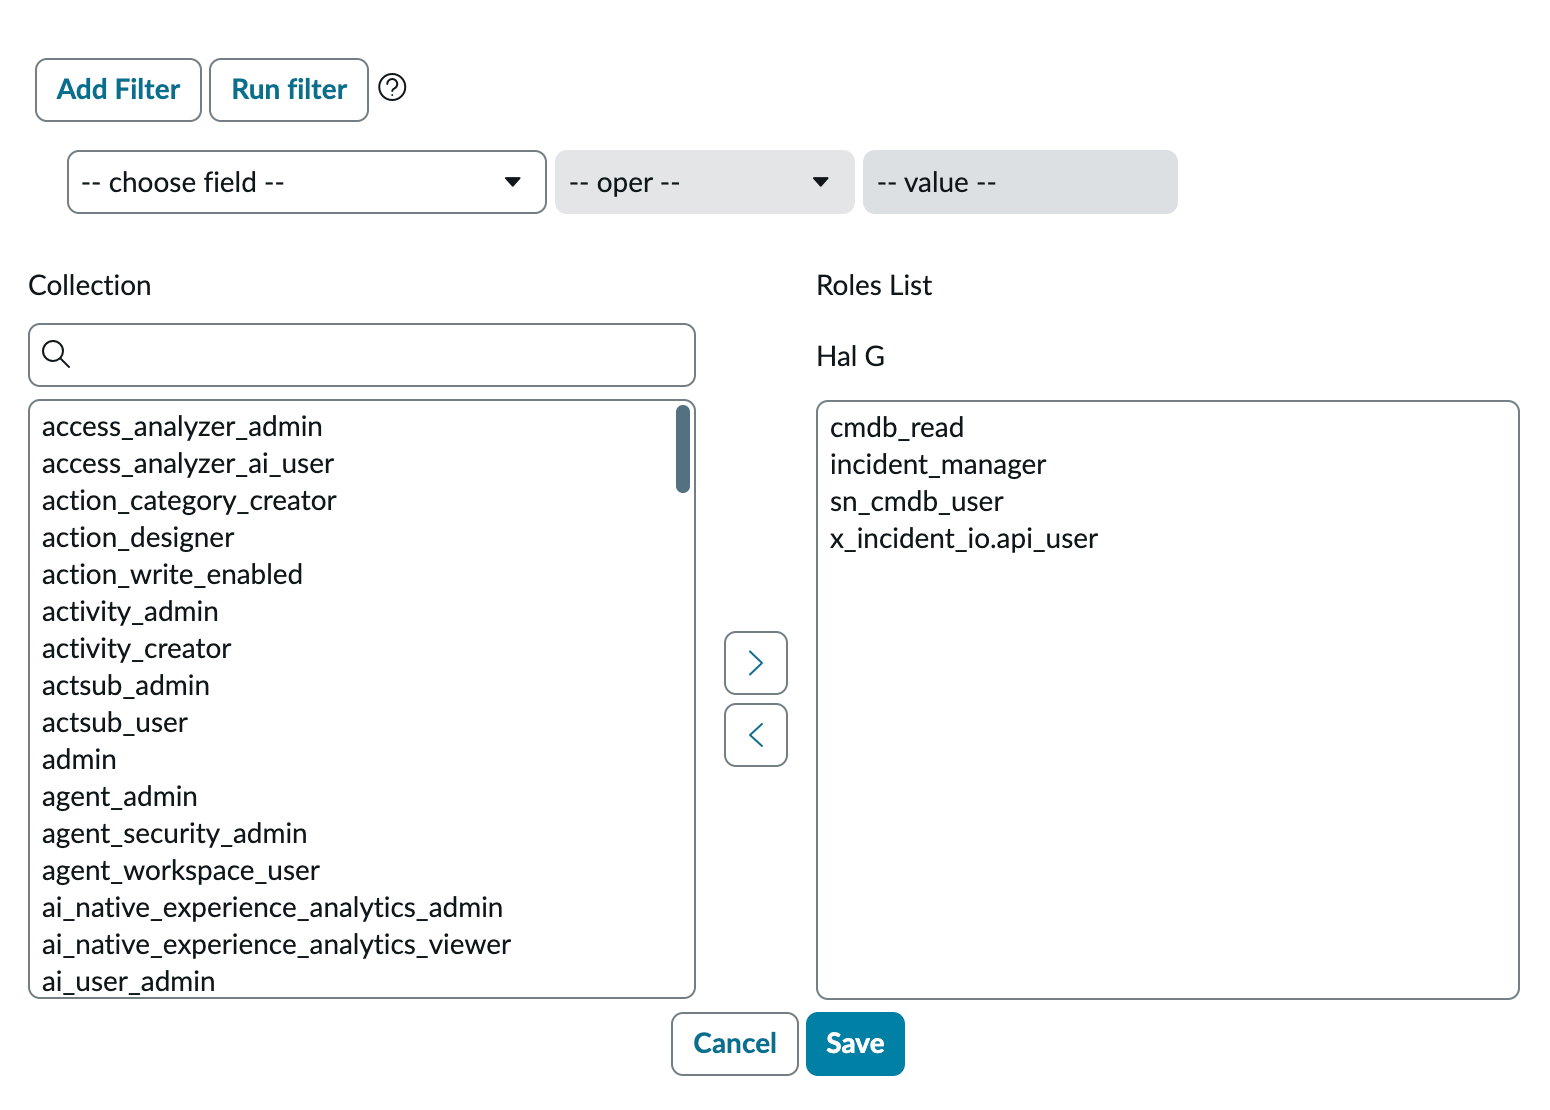
x_incident_io.api_user: shipped by the app. Grants incident.io the API access it needs for sync configuration and incident writes.cmdb_read: allows us to read data from your Configuration Management Database.sn_cmdb_user: allows us to read information about users and groups in your ServiceNow account.incident_manager: allows us to sync incident data into ServiceNow incident records.
admin role instead, which gives incident.io full access to your ServiceNow instance.
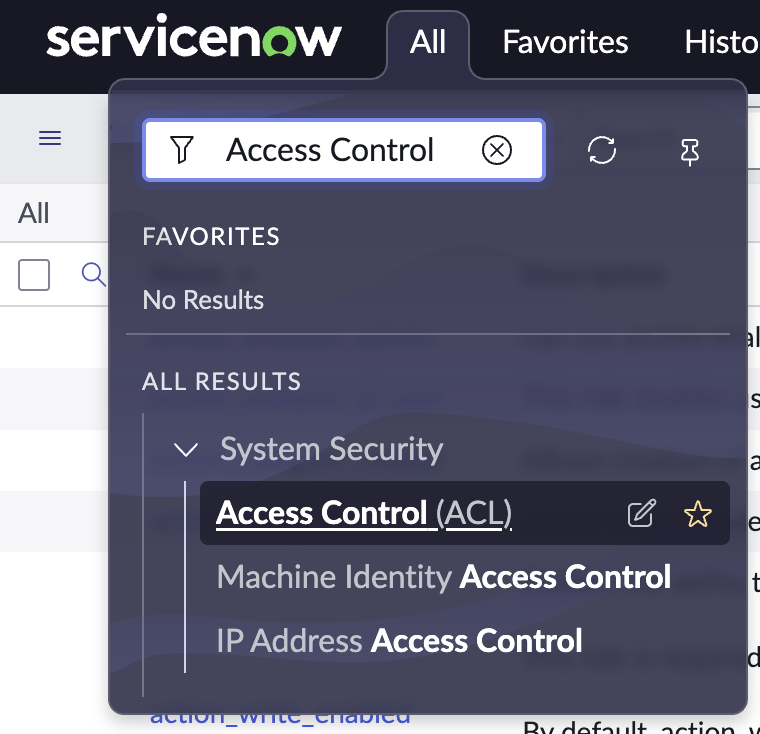
4. Create ACLs
If you granted the
admin role in step 3, you can skip this step, as admin already covers it.task table, so the service account needs create, read, and write access (the app doesn’t grant access to task itself).
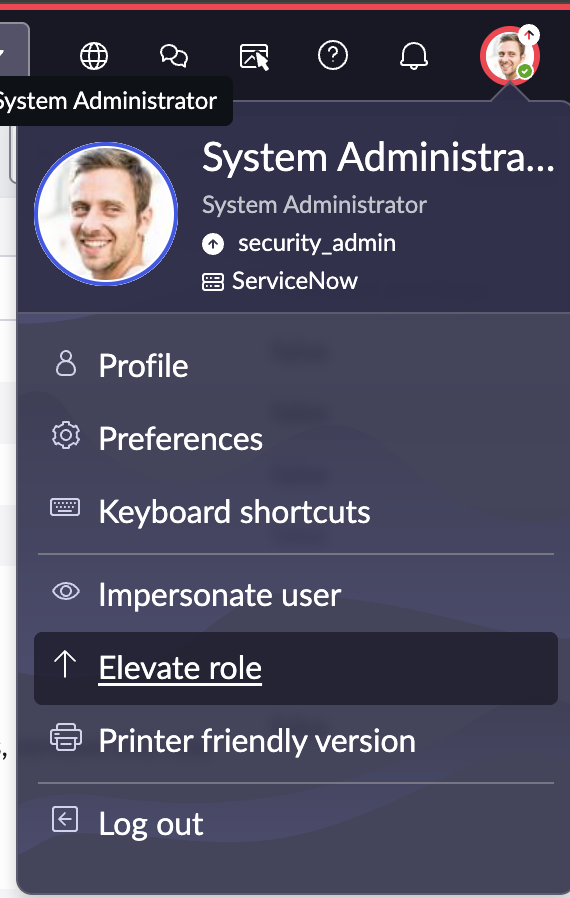
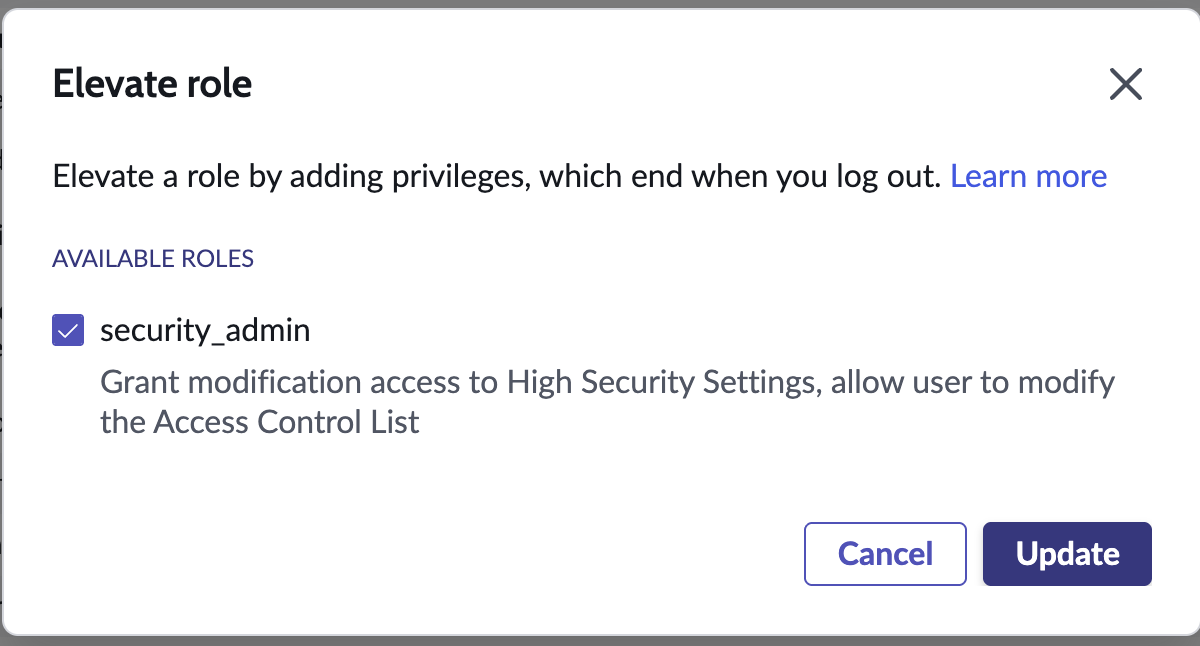
To add ACLs, you first need to elevate your user to Security Admin. Click your profile icon and select Elevate role.

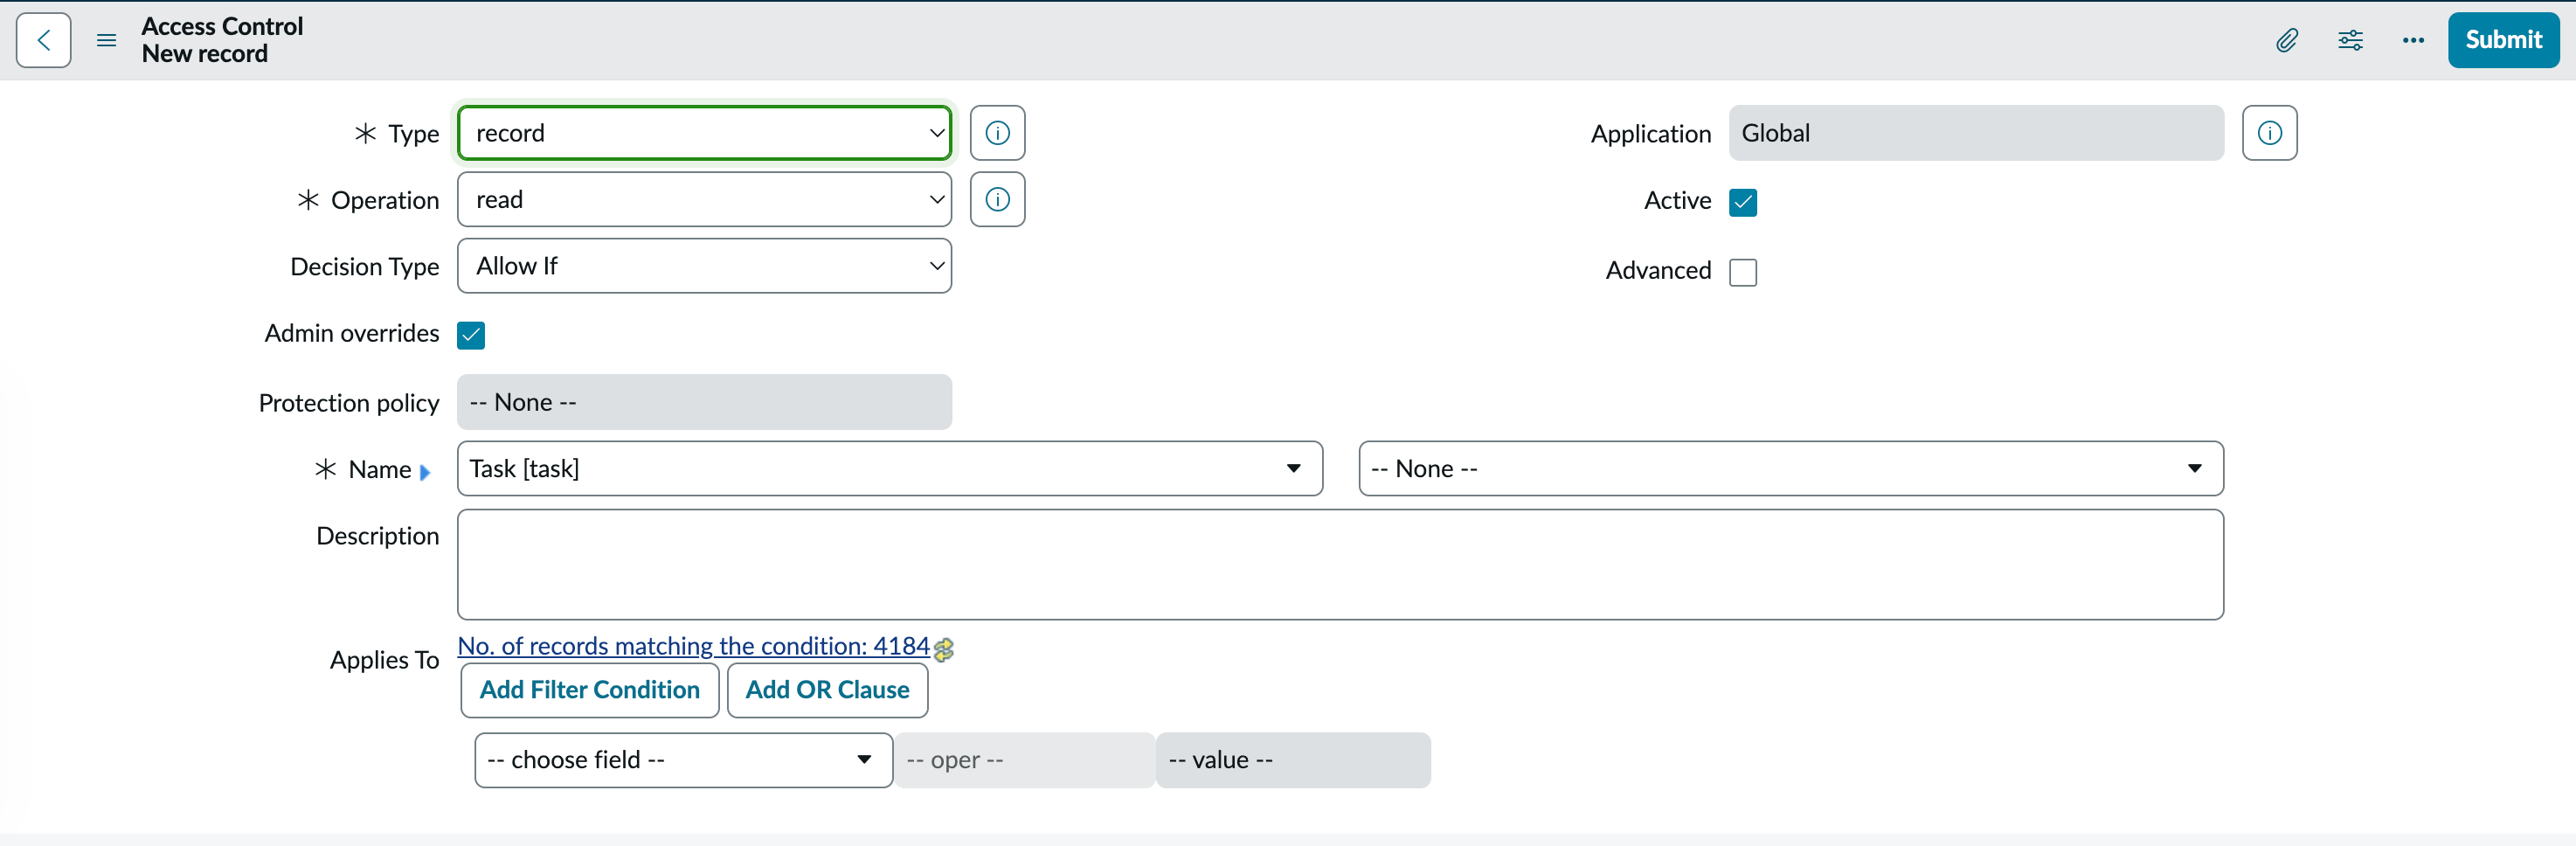
- Type:
record - Operation:
read - Application:
Global - Active: checked
- Decision Type:
Allow If - Admin overrides: checked
- Name: select
taskin the first dropdown, and leave the second as-- None --.
x_incident_io.api_user.
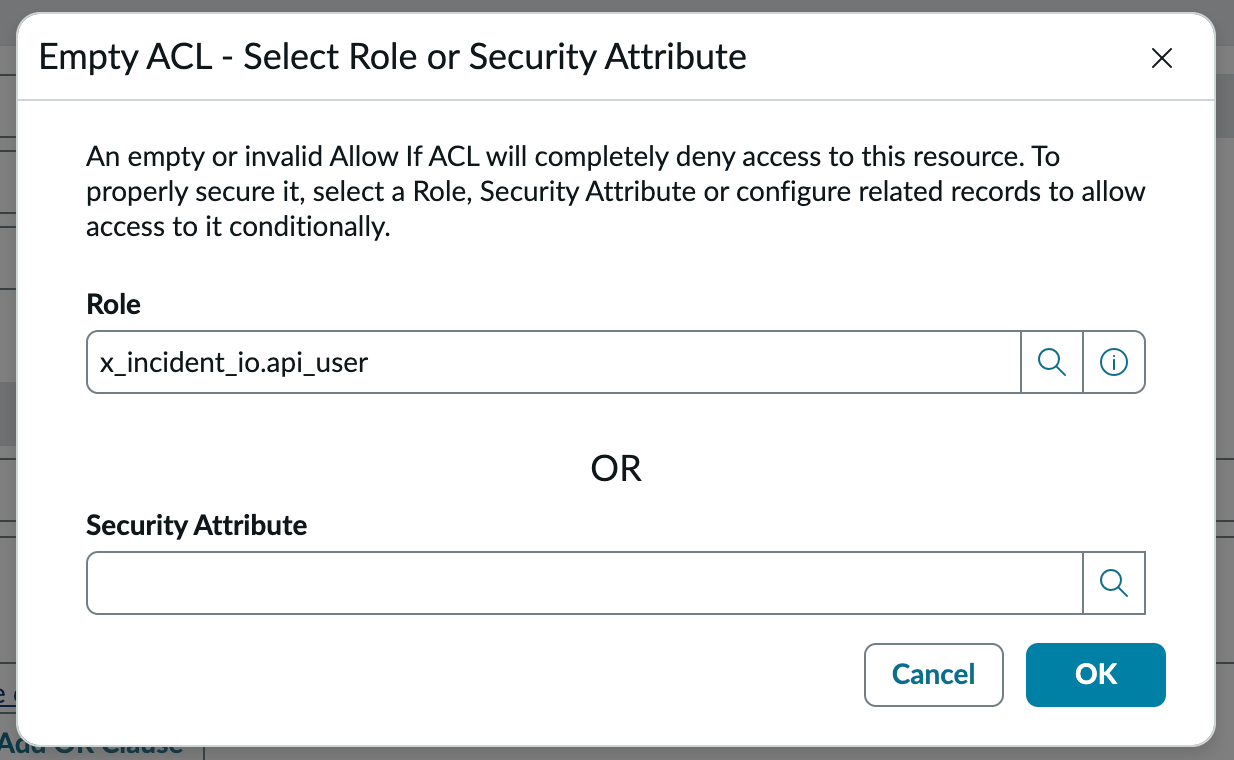
task ACLs assigned to x_incident_io.api_user.
5. Installing the integration
We’re now ready to install the ServiceNow integration in incident.io. Go to Settings → Integrations, and click on ServiceNow, then Connect.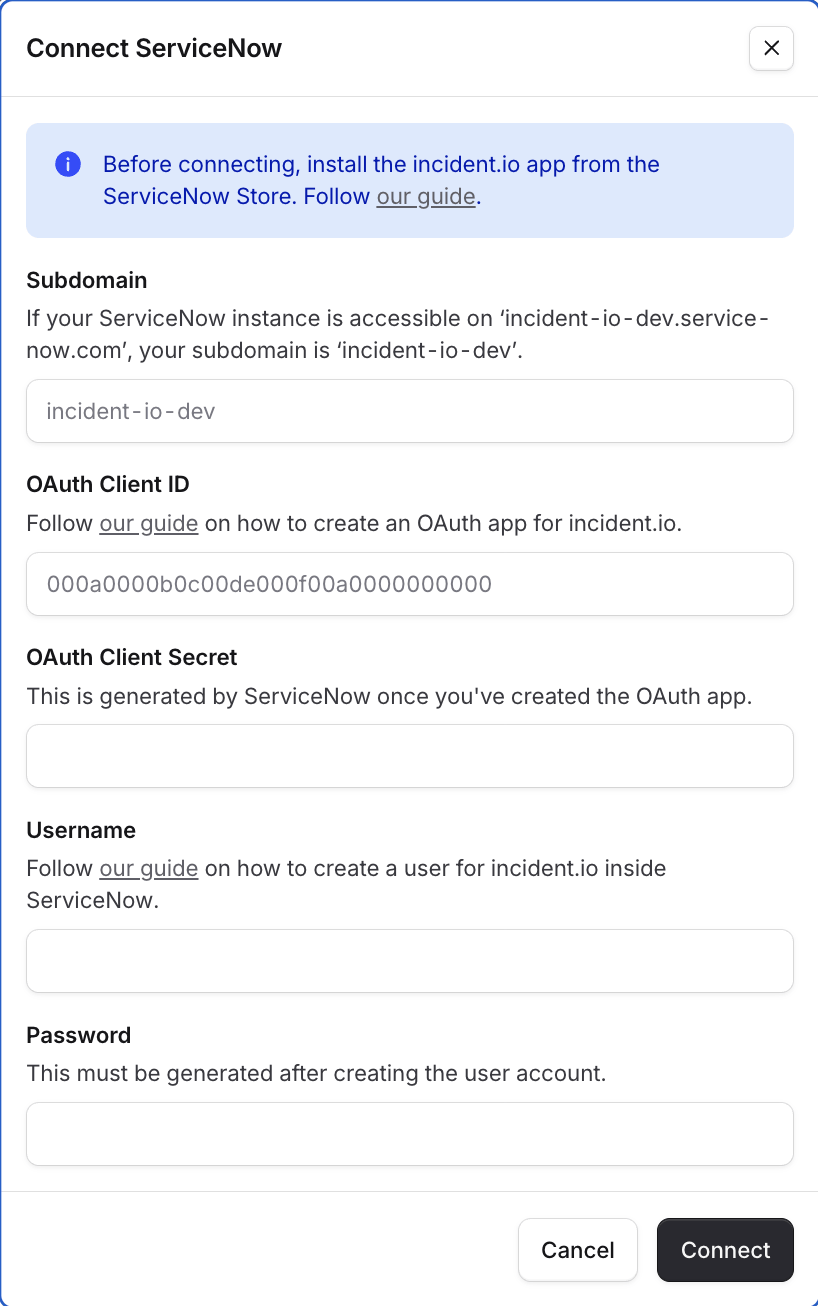
- Your subdomain is the part of the URL where you log in to ServiceNow. For example, if your ServiceNow instance is accessed at
hyper-payments.service-now.com, your subdomain ishyper-payments. - Your OAuth Client ID and OAuth Client Secret are the credentials you created in step 2.
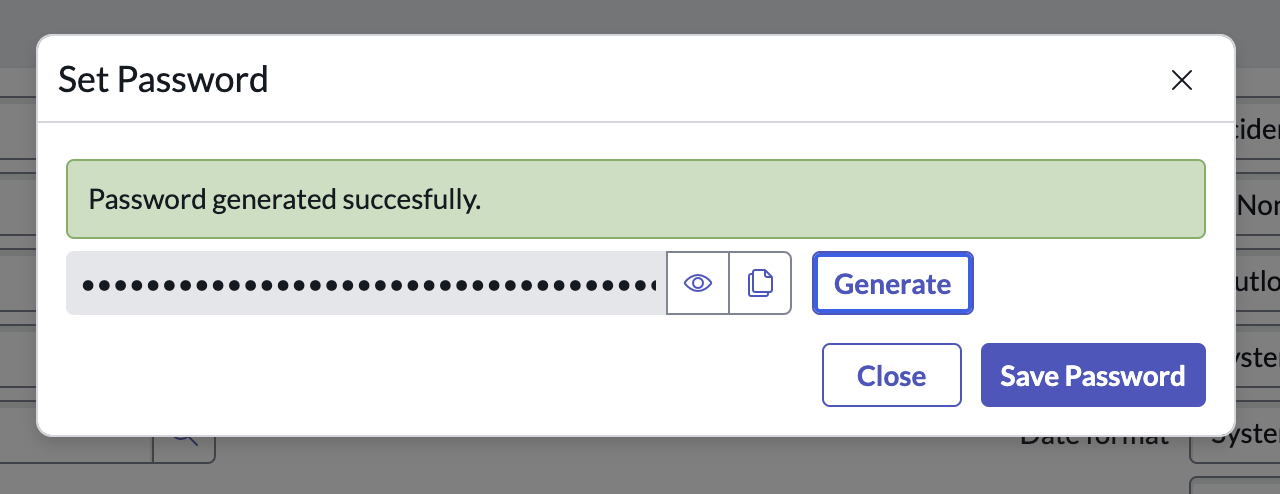
- Your Username and Password are the credentials for the service account you created in step 3.
- Click Connect to verify your credentials and complete the connection