Base roles
Every user has a base role that determines their default permissions. There are three base roles:- Standard — default role for all users. Can view and declare incidents. Responders with this role can participate in incident response.
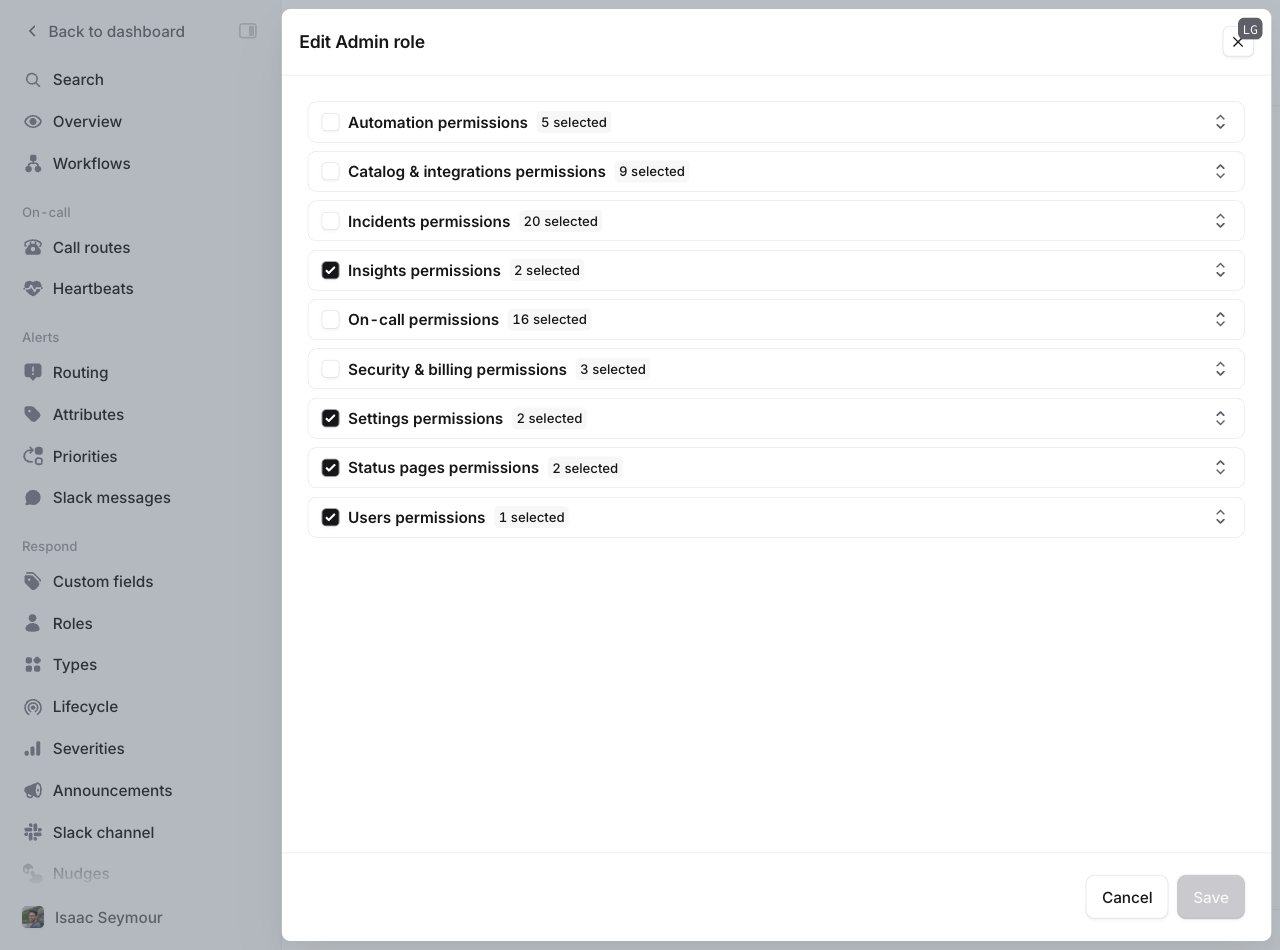
- Admin — all Standard permissions, plus the ability to manage organization settings and billing.
- Owner — full access to all incident.io features and settings.
Default permissions by role
| Permission | Standard | Admin | Owner |
|---|---|---|---|
| Use incident.io via Slack and dashboard (view and create incidents) | ✅ | ✅ | ✅ |
| Create and edit workflows and announcement rules | ✅ | ✅ | ✅ |
| View organization settings (except billing) | ✅ | ✅ | ✅ |
| Edit organization settings | ❌ | ✅ | ✅ |
| View and edit billing settings | ❌ | ✅ | ✅ |
| View all private incidents (including those they are not part of) | ❌ | ❌ | ✅ |
Slack workspace admins already have access to all private Slack channels, so they can access all private incidents
regardless of their incident.io role.
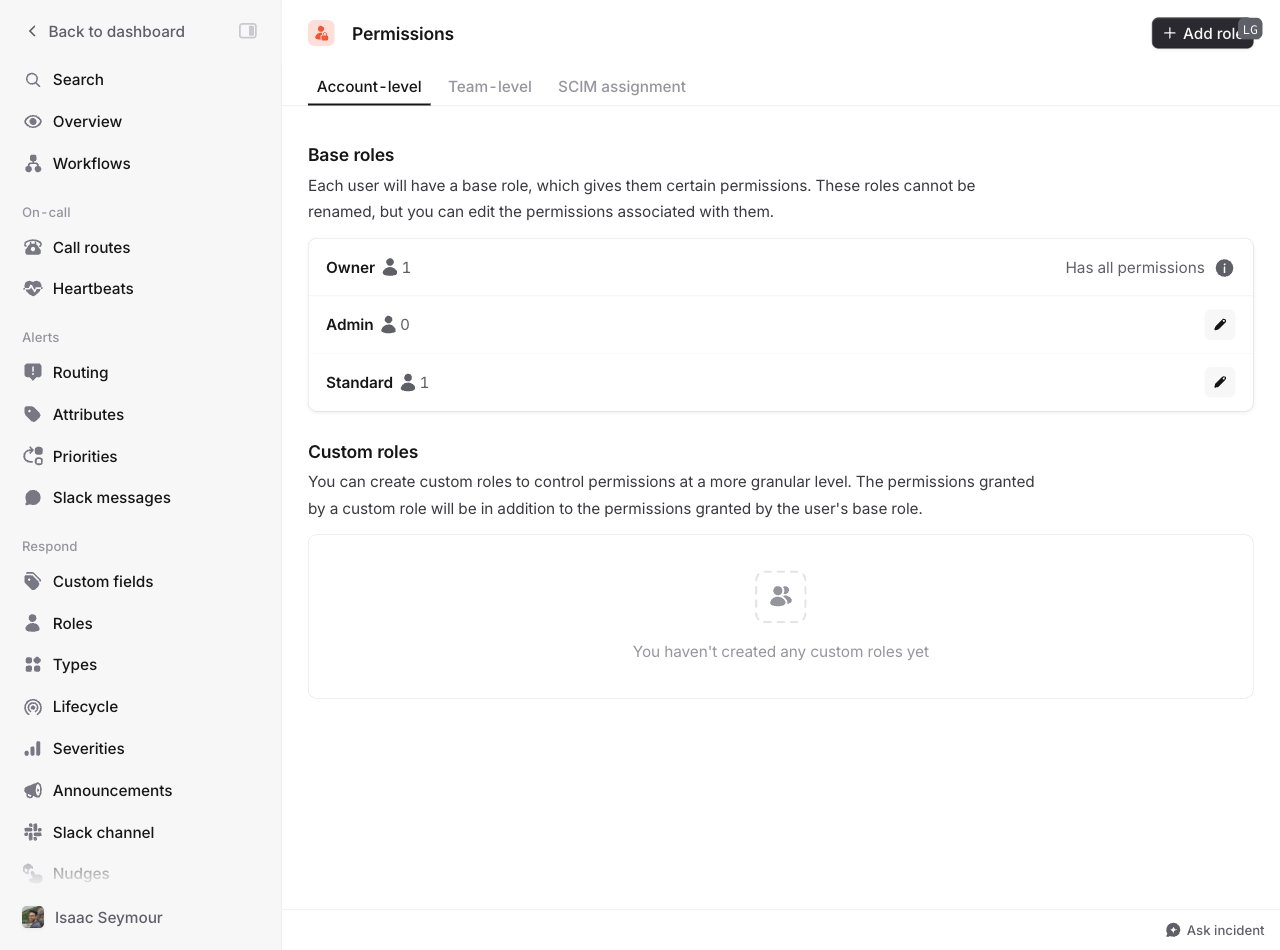
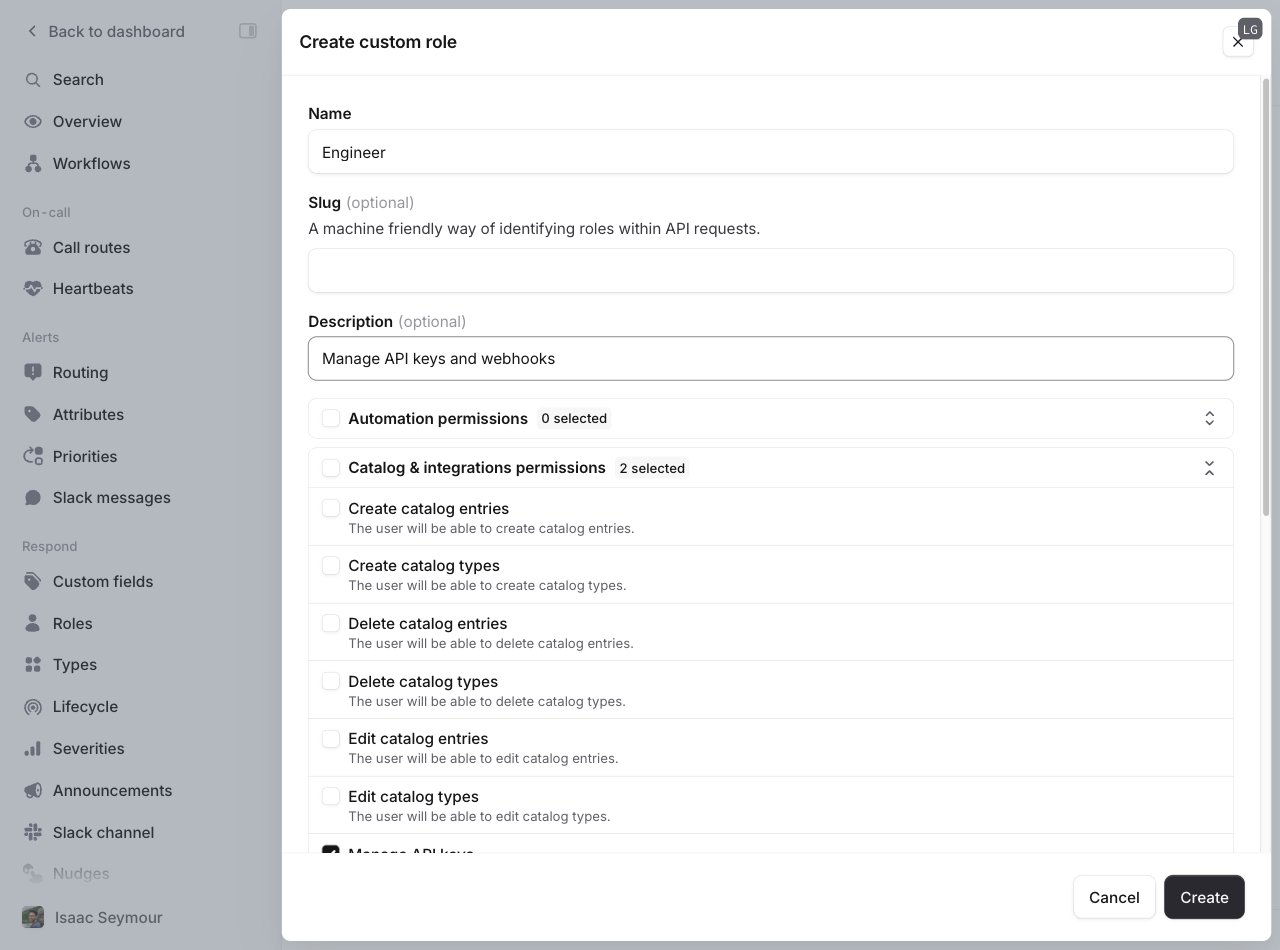
Custom roles
Custom roles grant specific permissions to individual users beyond their base role. They only add permissions — they never remove them. A user receives the union of all permissions from their base role plus any assigned custom roles. Example custom roles:- Engineer — manage API keys and webhooks
- Finance — manage billing settings and on-call pay reports
- Security — view all private incidents
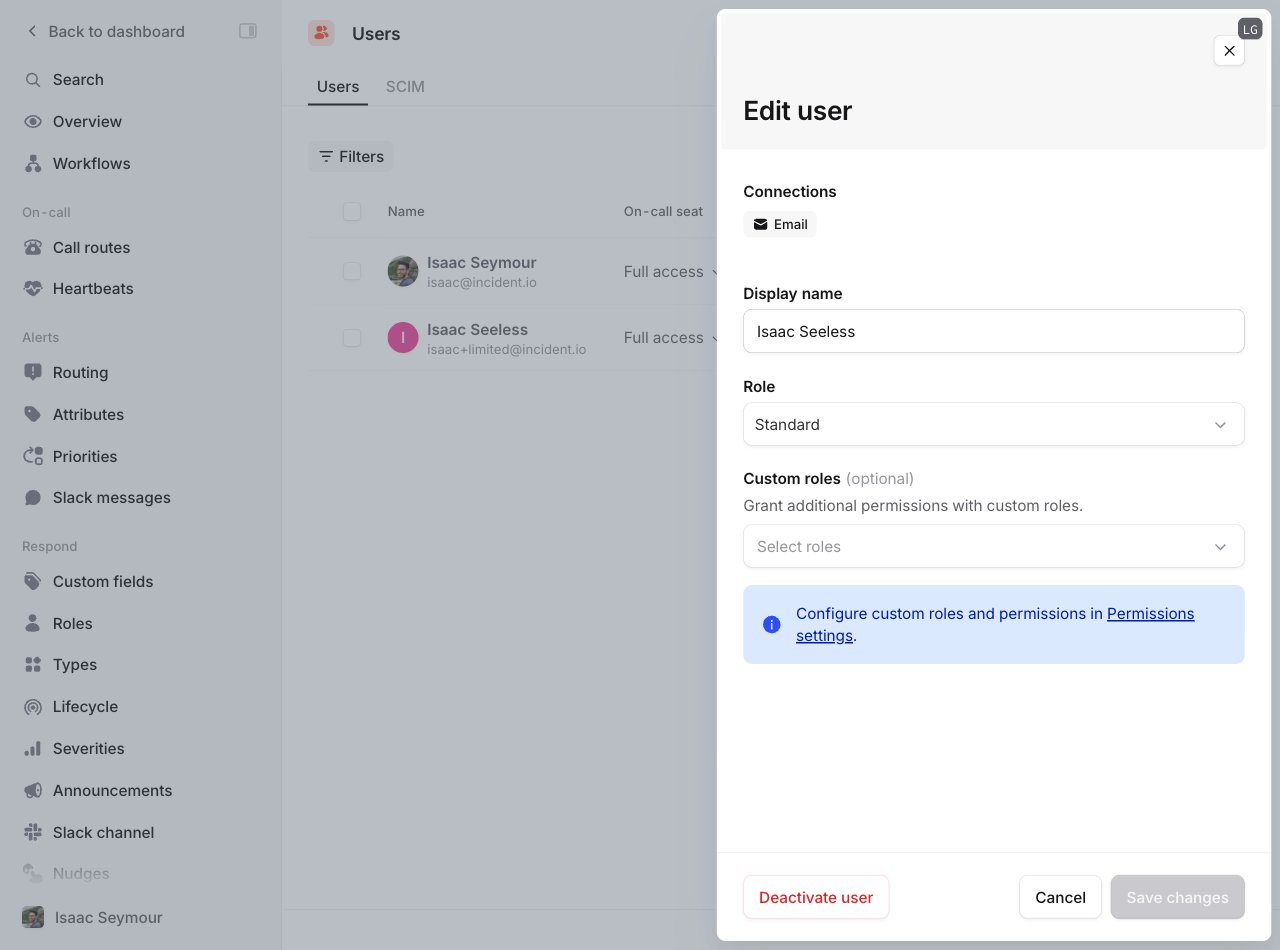
Managing user permissions
View and edit user permissions at Settings → Users → Users tab. Each row shows the user’s current seat type, base role, and custom roles. To modify a user’s permissions, open the ⋯ menu next to their name and choose Edit details. You can change their base role or add custom roles. Users can hold multiple custom roles simultaneously.