Creating a post-mortem
To create a post-mortem, go to an incident and click the “Create post-mortem” button. You’ll be asked to select a template, and clicking “Create” will take you straight into the editor. If you have a post-incident flow configured with a “Create post-mortem” task, the button is right there in the task.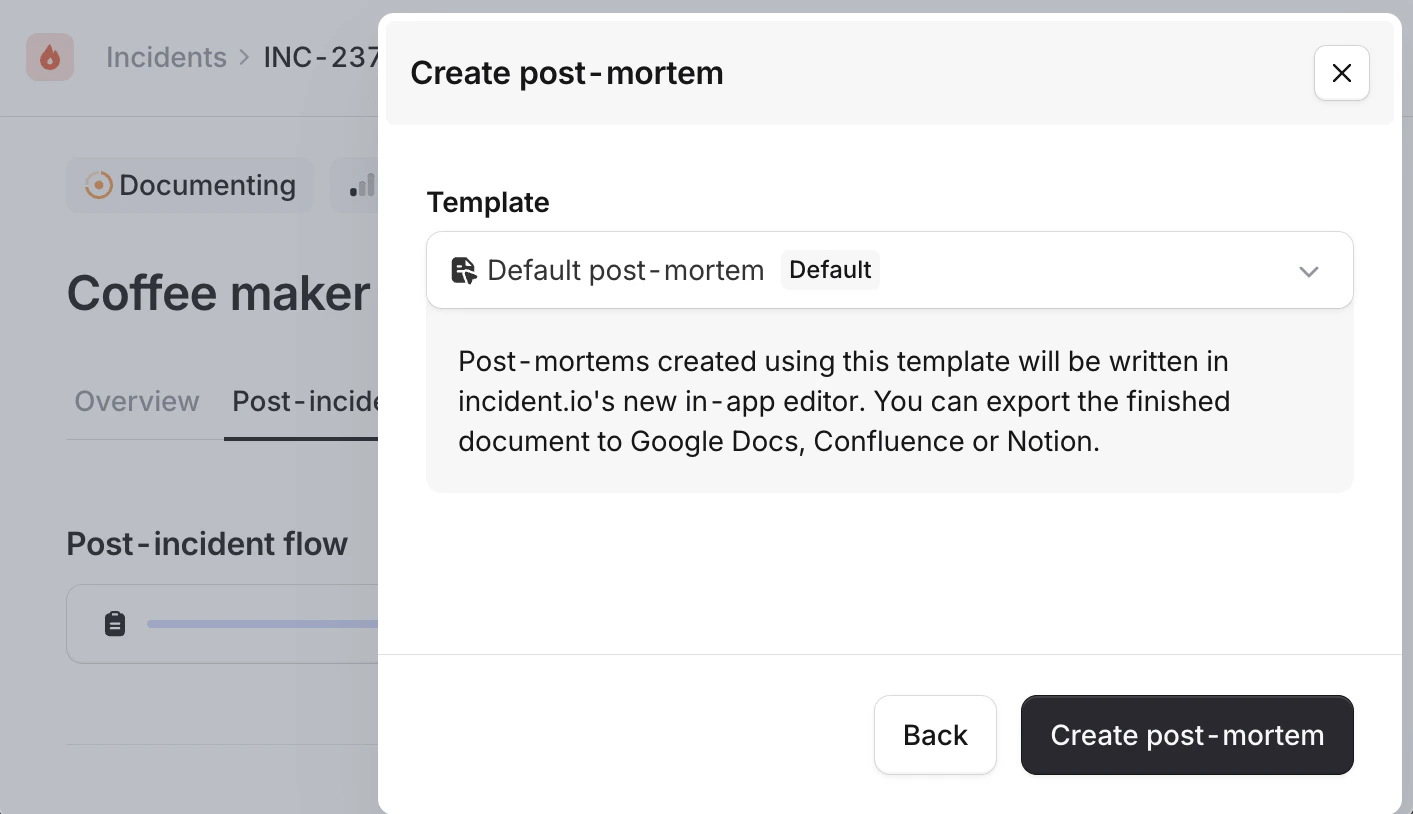
The editor
The editor is fully collaborative. Multiple people can have the document open at the same time, and you’ll see each other’s edits as they happen. You can see who’s present in the document, where their cursors are, and what they’re highlighting. This works especially well when you’re writing the post-mortem together during a debrief call.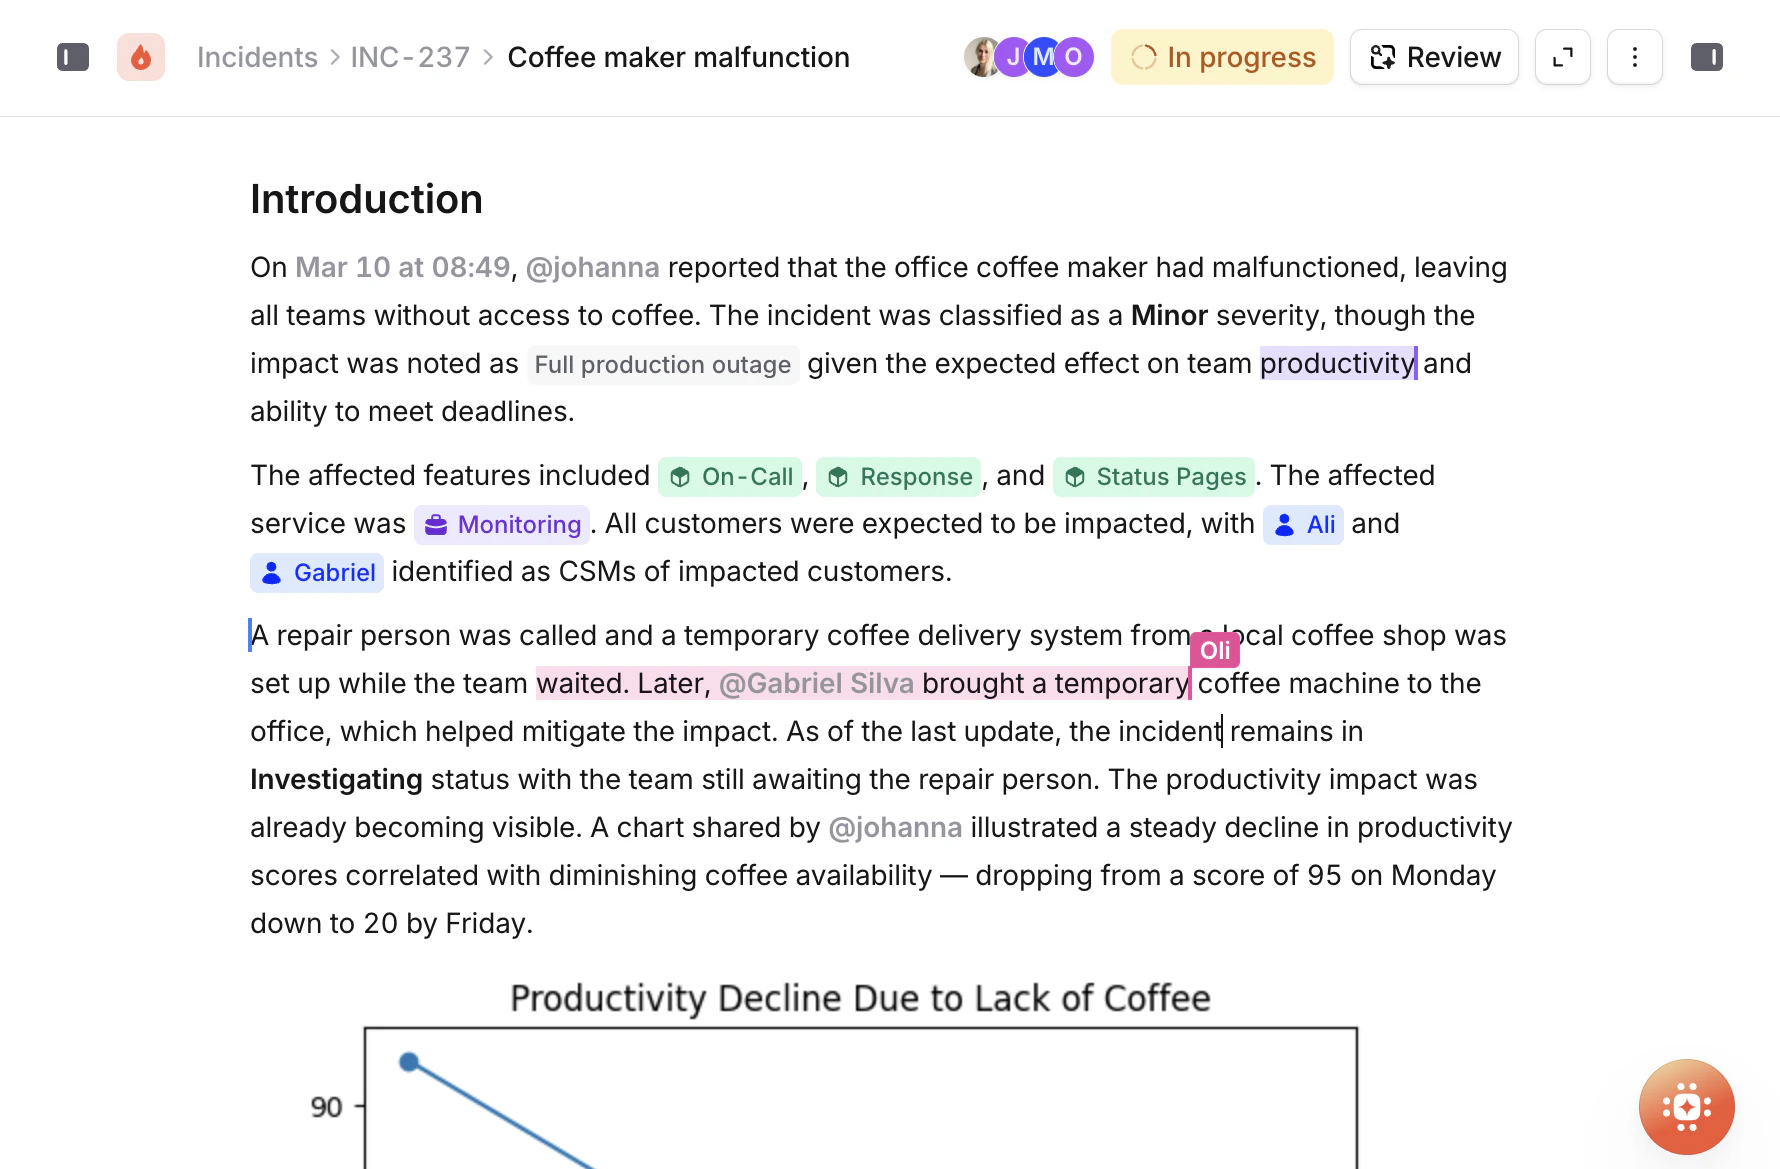
Formatting
The editor supports all the formatting you’d expect from a modern writing tool:- Headings (H1, H2, H3) for structuring your document
- Bold, italic, underline, strikethrough, and inline code for inline formatting
- Bulleted lists and ordered lists
- Blockquotes for highlighting key points or quoting messages
- Links with full editing support
Slash commands
Type/ anywhere in the document to open the block menu. This gives you access to richer content blocks:
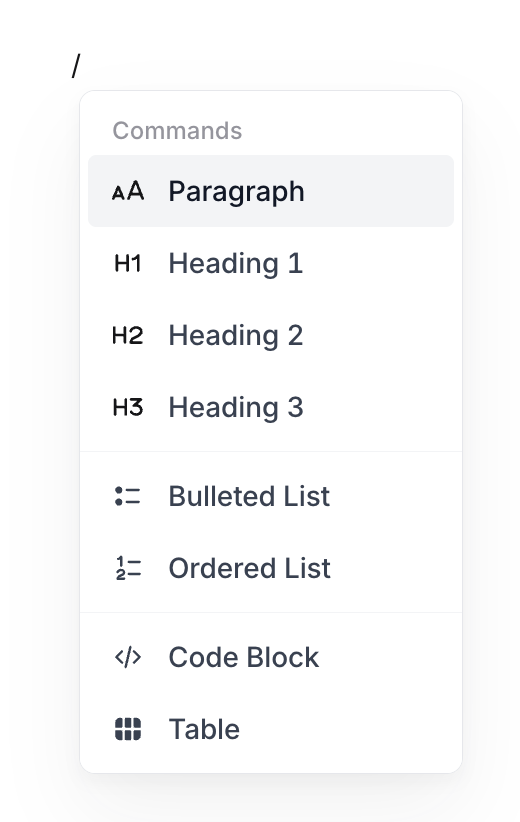
- Callouts for drawing attention to important information, warnings, or notes
- Code blocks with syntax highlighting for sharing configuration, logs, or scripts
- Tables for structured data (resizable columns, header rows)
- Images (upload directly, or insert from your incident’s Slack or Teams channel)
- Horizontal rules for visual separation between sections
- Incident timeline to embed your full incident timeline directly in the document
- Follow-ups to embed the list of follow-up items associated with the incident. You can also create new follow-ups directly from the editor. See Follow-ups for more on how follow-ups work.
- Meeting notes to embed the transcript and takeaways from a Scribe recording of your debrief call
Mentions
This is where a lot of the power of the editor comes from. Type@ to reference data from across your incident and your organization. Mentions render as rich, interactive elements in the document, not just plain text.
Incident data:
- Timestamps from your incident timeline, so you can reference exactly when things happened
- Durations showing elapsed time since the incident started
- Custom fields associated with the incident
- Follow-ups associated with the incident
- Other incidents, if you need to reference related events
- Users involved in the incident, with context about their role
- Role assignments (incident lead, communications lead, etc.)

- Services affected by the incident
- Teams and team structures
- Customers and customer information
- Infrastructure components, environments, and anything else you’ve modeled in your catalog

- Slack messages from the incident channel, rendered as rich cards with the original message content
- GitHub PRs that were attached to the incident
- Slack channels for referencing where conversations happened
Images
You can add images to your post-mortem in two ways:- Upload directly using the
/menu or by dragging and dropping an image into the editor - Insert from Slack or Teams: browse images that were shared in the incident channel, search by description, and select multiple images at once. No need to download screenshots from Slack and re-upload them.

Comments
Select any text in the document and click the comment icon to start a threaded discussion. You can @mention people in comments to notify them. Comments can be replied to, resolved when addressed, and accessed later through the Resolved Comments sidebar in the overflow menu. Comments are collaborative too. If someone adds a comment while you’re in the document, it shows up in real time.