

Installation
Go to Settings → Integrations, search for Notion and click its card.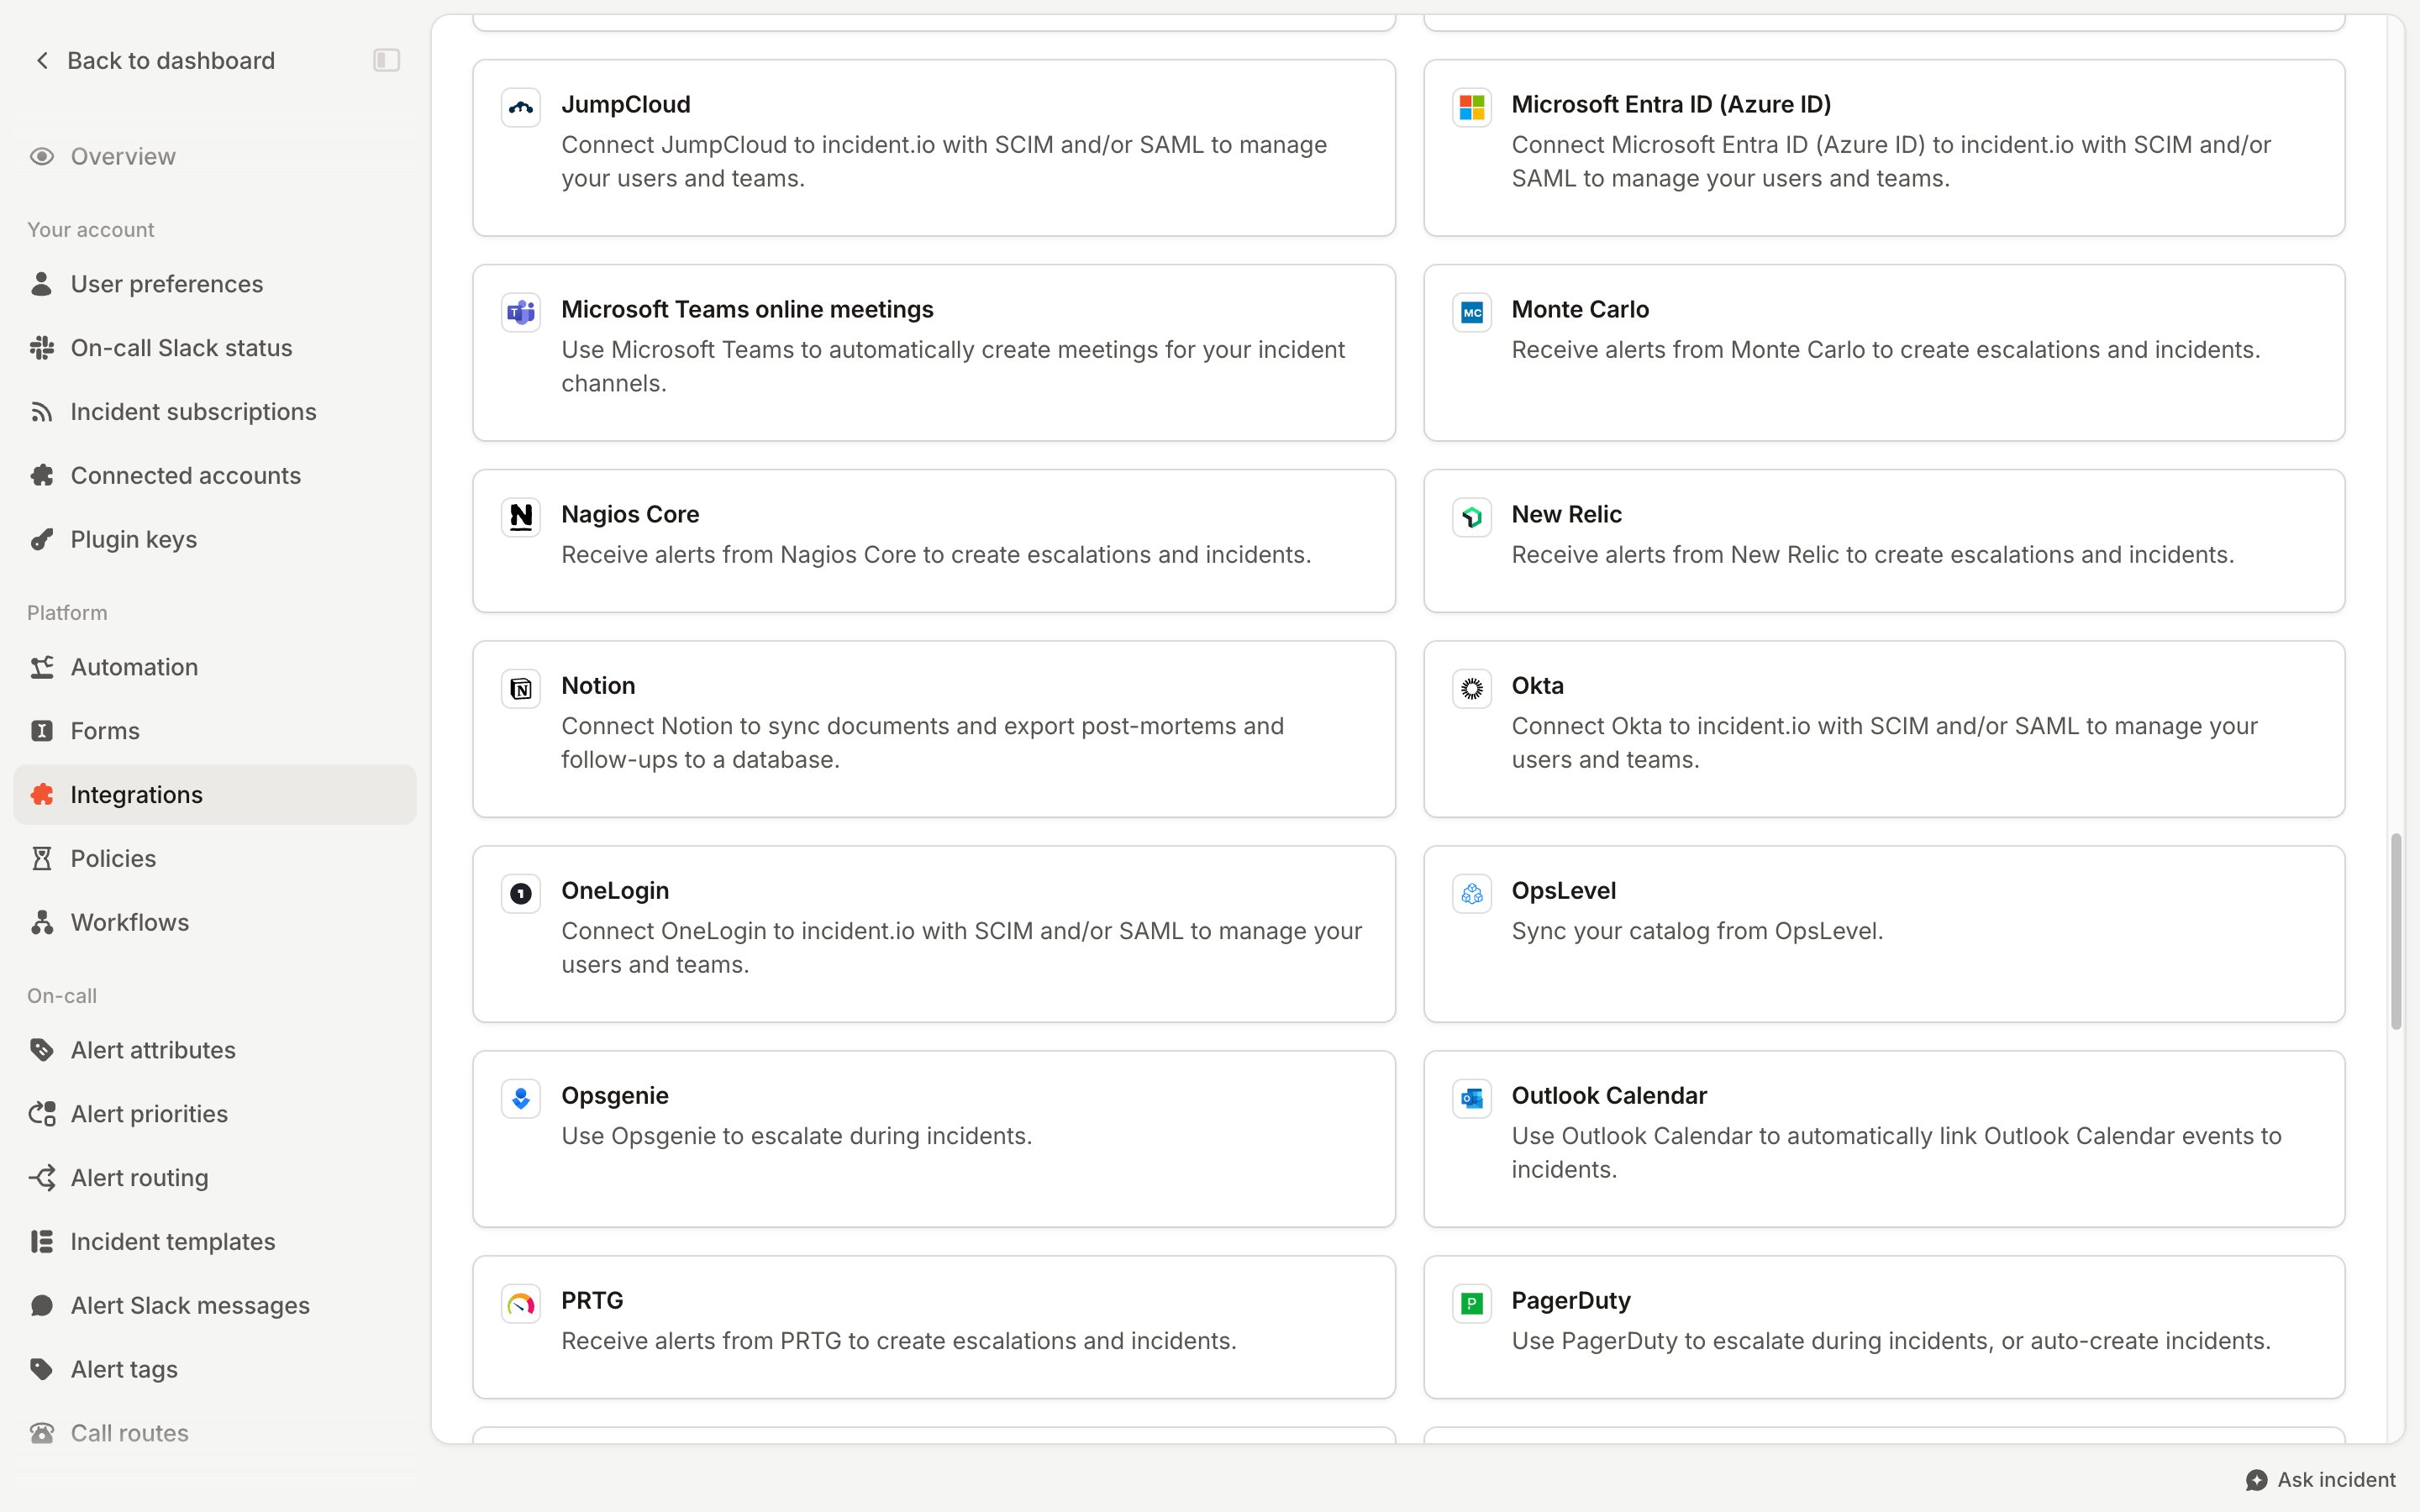
You’re done
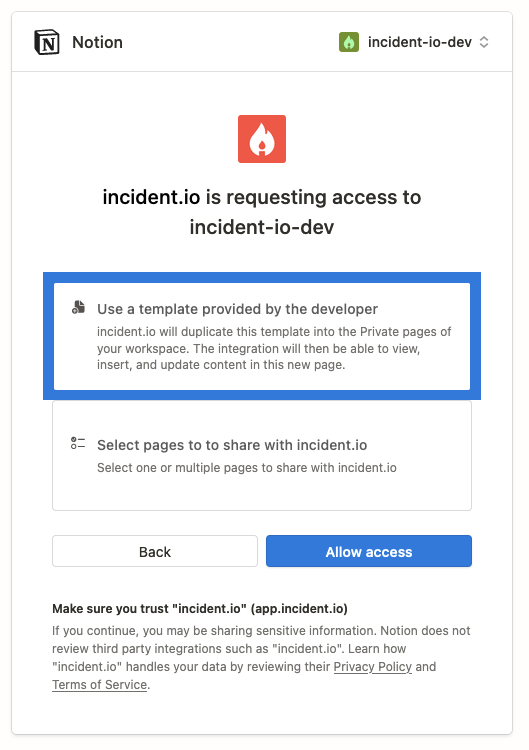
Congratulations, it’s been installed You’ll find the page in your private Notion space – move it to somewhere that suits you, and that can be accessed by everyone.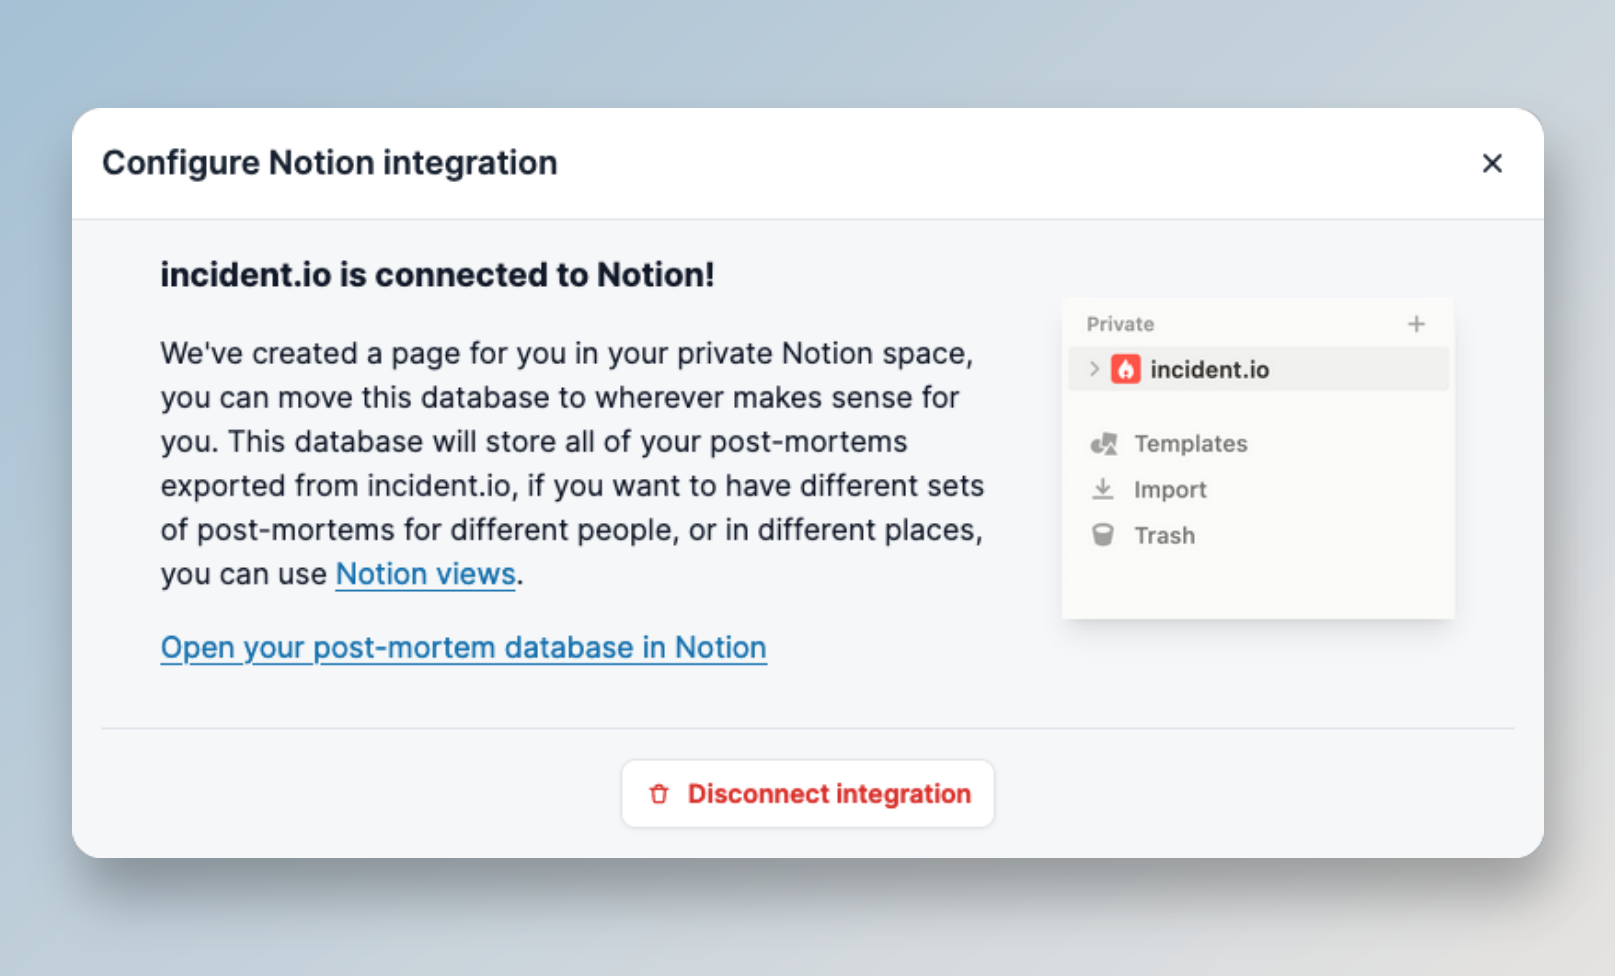
Sync a database into Catalog
If a Notion database is already the source of truth for services, features, or compliance attributes, create a catalog type from it. Pages become entries; columns you import become attributes for custom fields and workflows. See Sync Notion databases into Catalog for setup, supported columns, and sync behavior.Exporting your first post-mortem
- Open an incident and go to its Post-incident tab
- In the Post-mortem section, click Create post-mortem
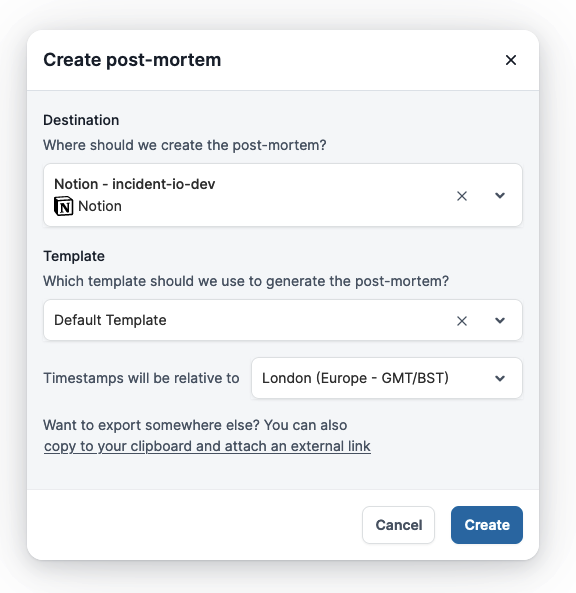
- The Create post-mortem modal will appear
- Select Notion from the destinations
- Select your template
- Select which timezone should be used
- Click Create and wait a few seconds
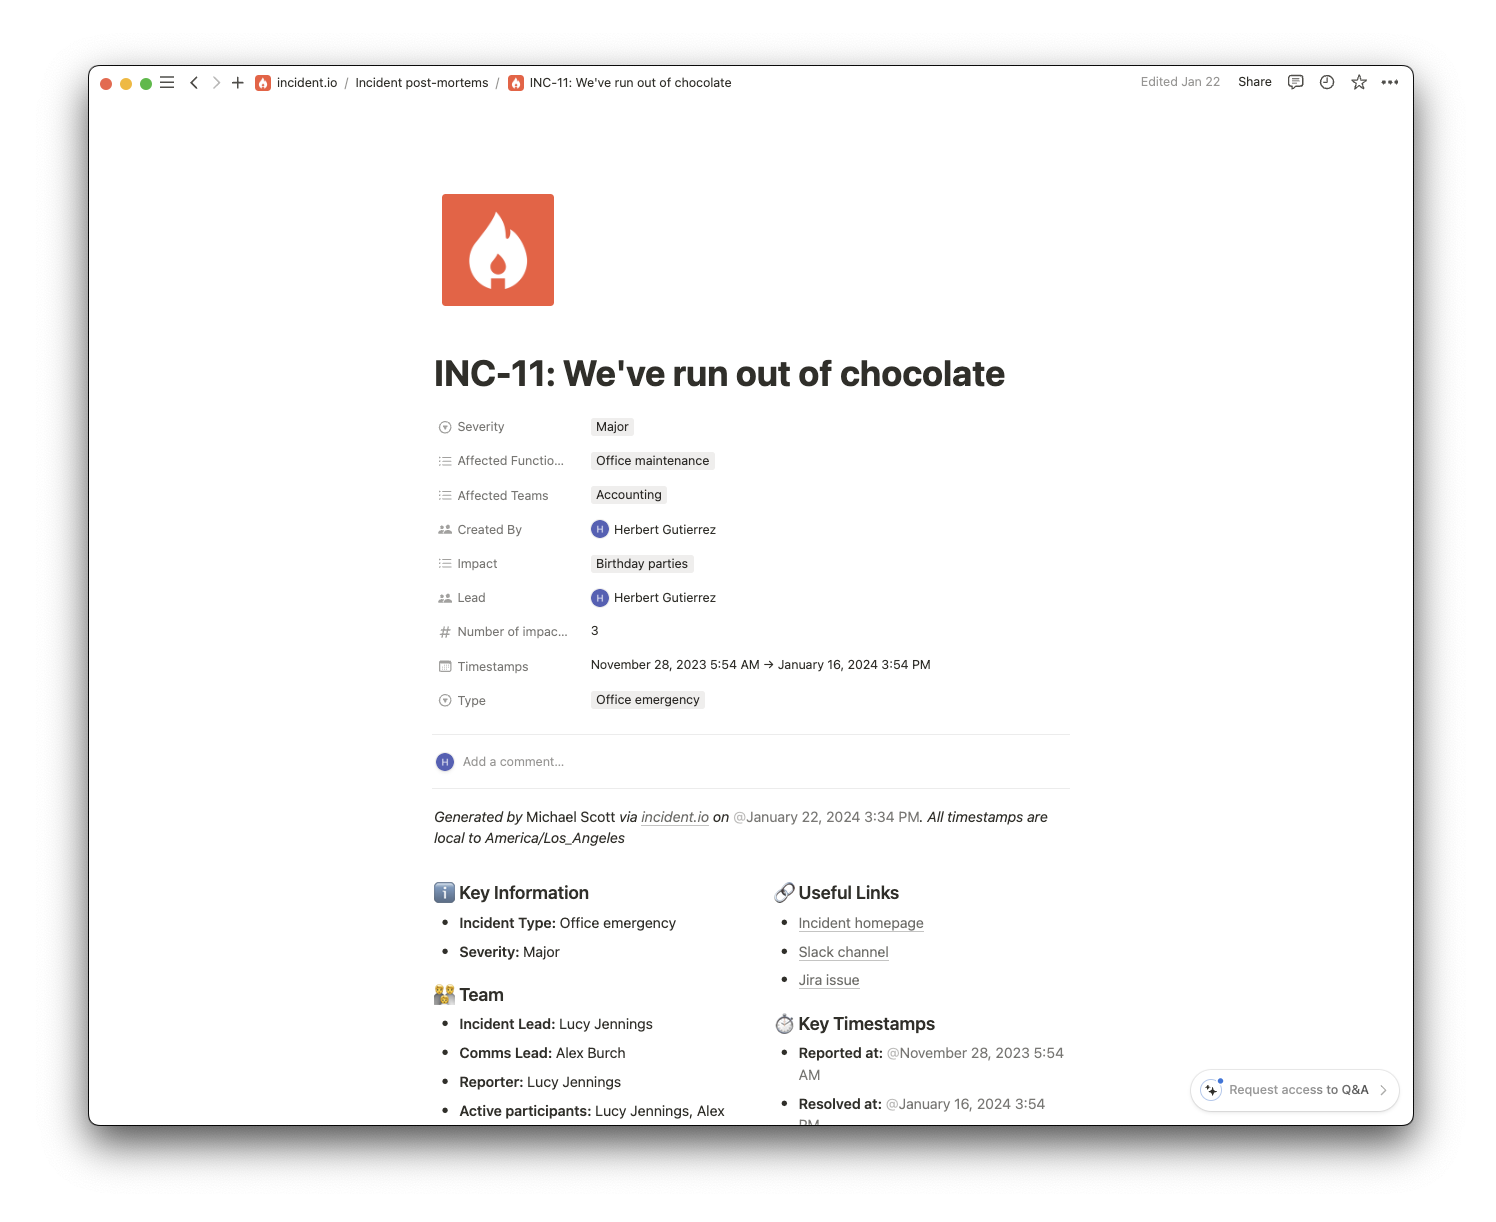
- Your post-mortem document has been created, and it’ll be linked to the incident page
Grant access to specific pages
You can also connect Notion pages and databases as document sources for investigations. When you add a page there and see this error, the URL is usually fine:We couldn’t find this Notion page or database. Check the URL, or share it with the incident.io integration in Notion.The integration can only read the pages and teamspaces you select in Notion, so a newly created page or teamspace stays invisible to us until you grant access to it. To grant access, open Notion and go to Settings → Connections, select incident.io, and under Page access add the pages or teamspaces you want to sync, including the one that failed. There’s no need to reconnect from incident.io.
Grant access via reconnect
If the above doesn’t work, reconnect the integration and select the pages you need on Notion’s consent screen:- Go to Settings → Integrations and open Notion.
- Click Reconnect.
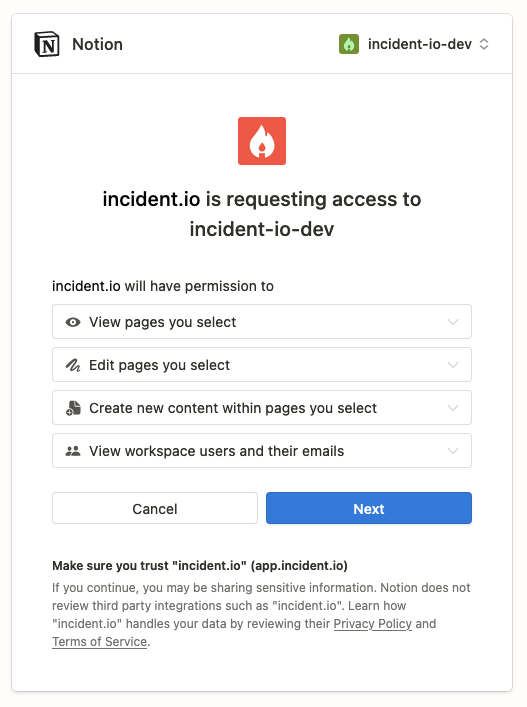
- On Notion’s consent screen, under View pages you select, choose every page or teamspace you want to sync, including the one that failed.
- Click Allow access.
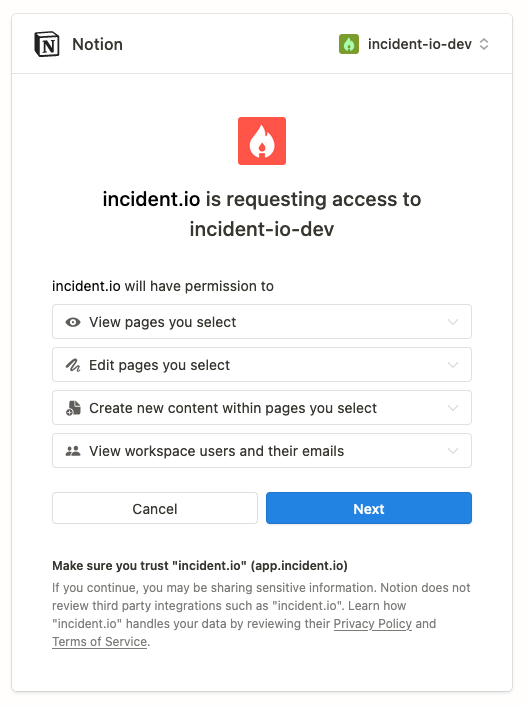
If Notion asks you to install the post-mortem template again, choose Skip. Your existing post-mortem database
stays connected as long as its teamspace is still selected.