

- Incidents: custom fields, severities, incident roles, incident statuses, incident templates, announcement rules and announcement templates
- On-call: schedules, schedule rotations and replicas, schedule sync rules and targets, escalation paths, escalation path templates, and pay configurations
- Alerts: alert sources, alert source attributes, alert attributes, alert routes, team alert grouping preferences, and maintenance windows
- Catalog: catalog types, their attributes, and catalog entries
- Automation and access: workflows, policies, secrets, and API keys
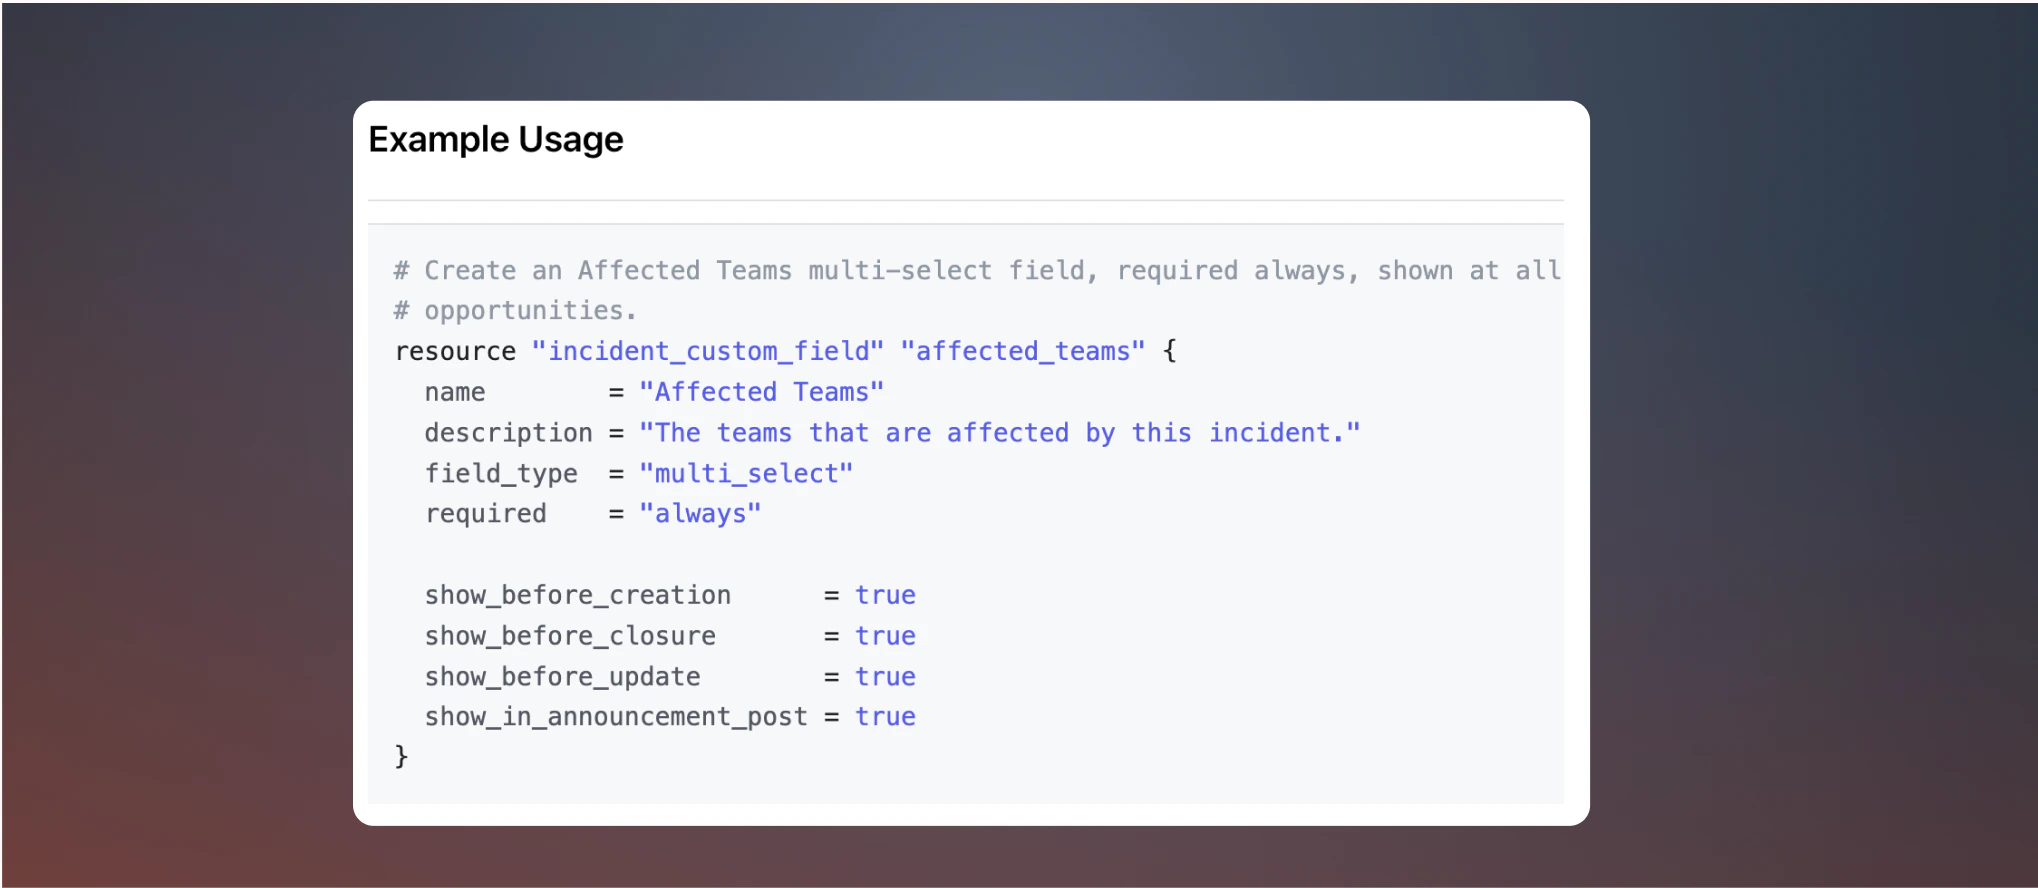
Whether a field is required and where it appears is no longer configured on the field itself — set that up in
incident forms in the dashboard.
Importing existing resources
If you already have configuration set up in the dashboard, you can bring it under Terraform management without recreating it. For workflows, schedules, escalation paths, alert sources, and alert routes, the easiest path is exporting from the dashboard (see below), which generates the resource block and the matchingterraform import command for you. For everything else, or if you prefer to write the configuration yourself:
- Write a resource block matching your existing configuration
- Find the resource’s ID, from the dashboard URL or the API
- Import it into your Terraform state:
- Run
terraform planand adjust your configuration until the plan shows no changes
Editing Terraform-managed resources in the UI
Once a resource is managed by Terraform, it’s locked in the dashboard by default — you can’t save changes directly. But you can still use the UI to compose changes visually:- Open the resource (e.g. a schedule or escalation path) in the dashboard
- Make your changes in the visual editor
- Instead of saving, click Export to get the updated
.tfconfiguration - Review and apply via your normal Terraform workflow
Returning a resource to the dashboard
If you want to edit a Terraform-managed resource in the dashboard after all, you’ve got two options:- Keep managing it with Terraform, but leave it unlocked. Set
unlock_in_dashboard = trueon the resource. You’ll also wantlifecycle { ignore_changes = [...] }naming the attributes you plan to edit in the dashboard, otherwise the next apply will revert your changes. Each resource’s page in the registry documentation says whether it supportsunlock_in_dashboard. - Stop managing it with Terraform altogether. Click the Synced badge on the resource and choose Disconnect. Bear in mind Terraform still has the resource in its state, so the next apply would put it back and lock it again. Remove it from your state too, with a
removedblock orterraform state rm.