All plans have access to SSO via sign-in with Slack. If your Slack workspace is configured with SAML, incident.io uses that automatically.
Setting up SAML
To set up SAML, you need Admin or Owner permissions in incident.io, plus admin access to your IdP.If you’re setting up incident.io for the first time, sign in using Slack first, then enable SAML. Admins can perform setup if they have the Manage security settings permission.
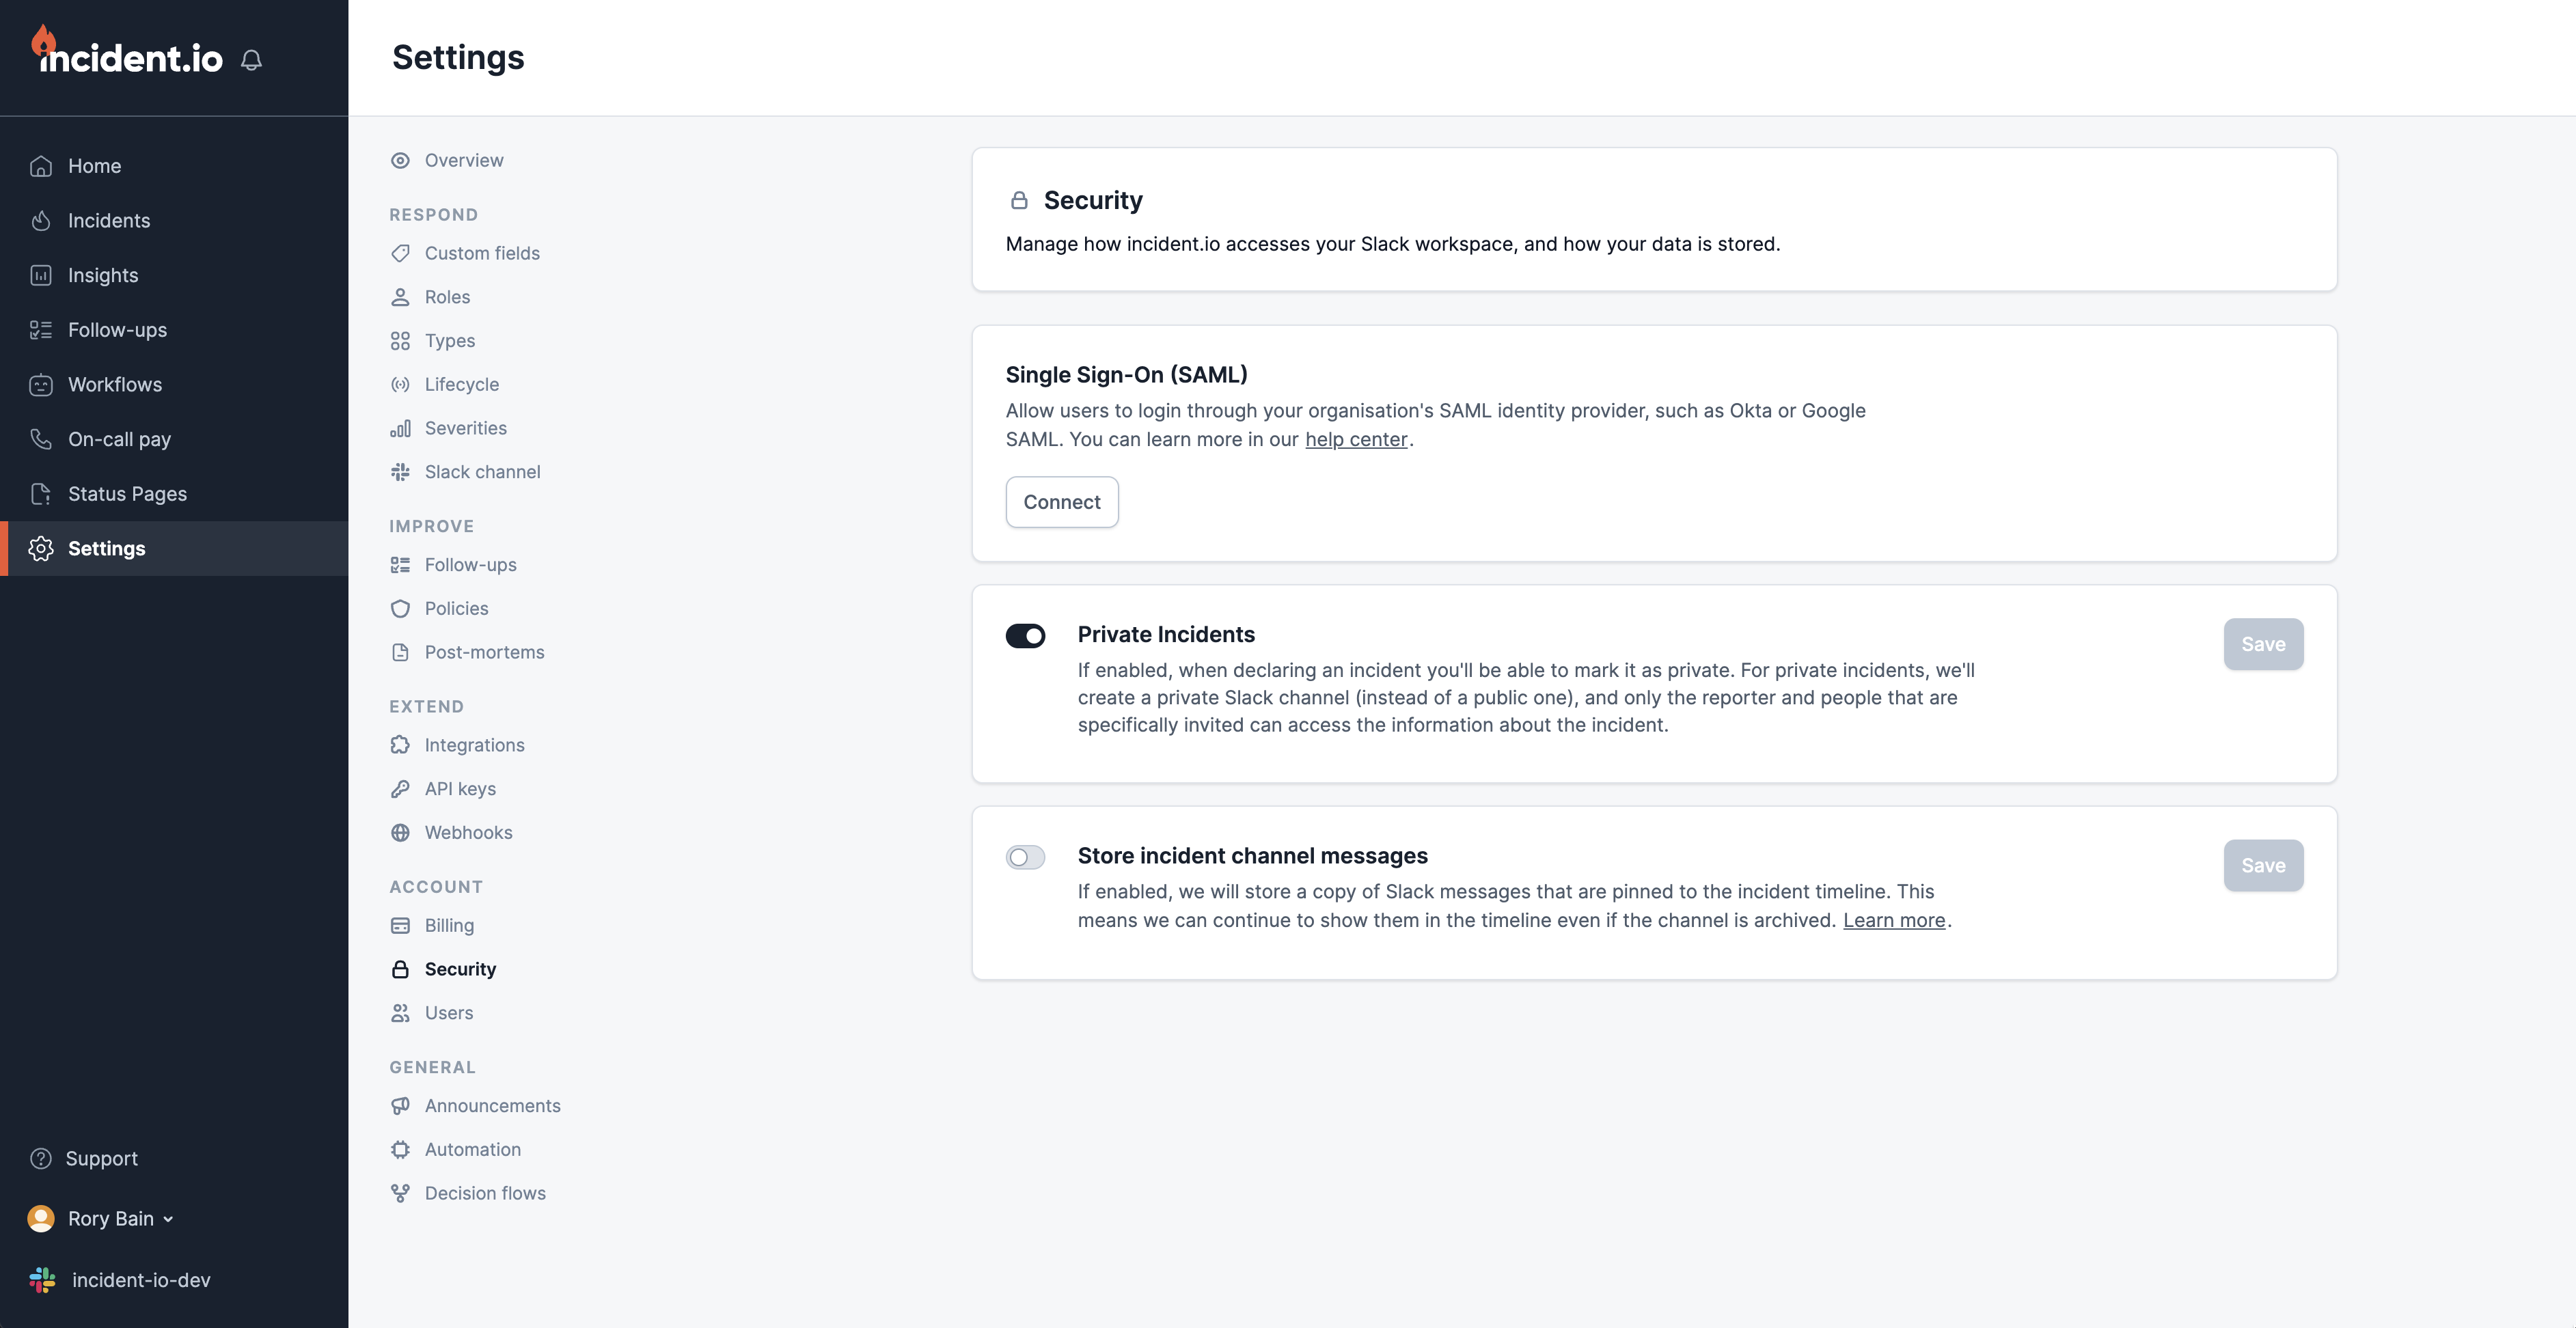
- Navigate to Settings → Security and click Connect
- Choose your identity provider from the list and follow the setup instructions
- Test your connection using the button provided
Configuring domains
Configure which user email domains authenticate through SAML. By default, only the domain of the user performing setup is configured. Click Configure domains to add additional domains for your organization.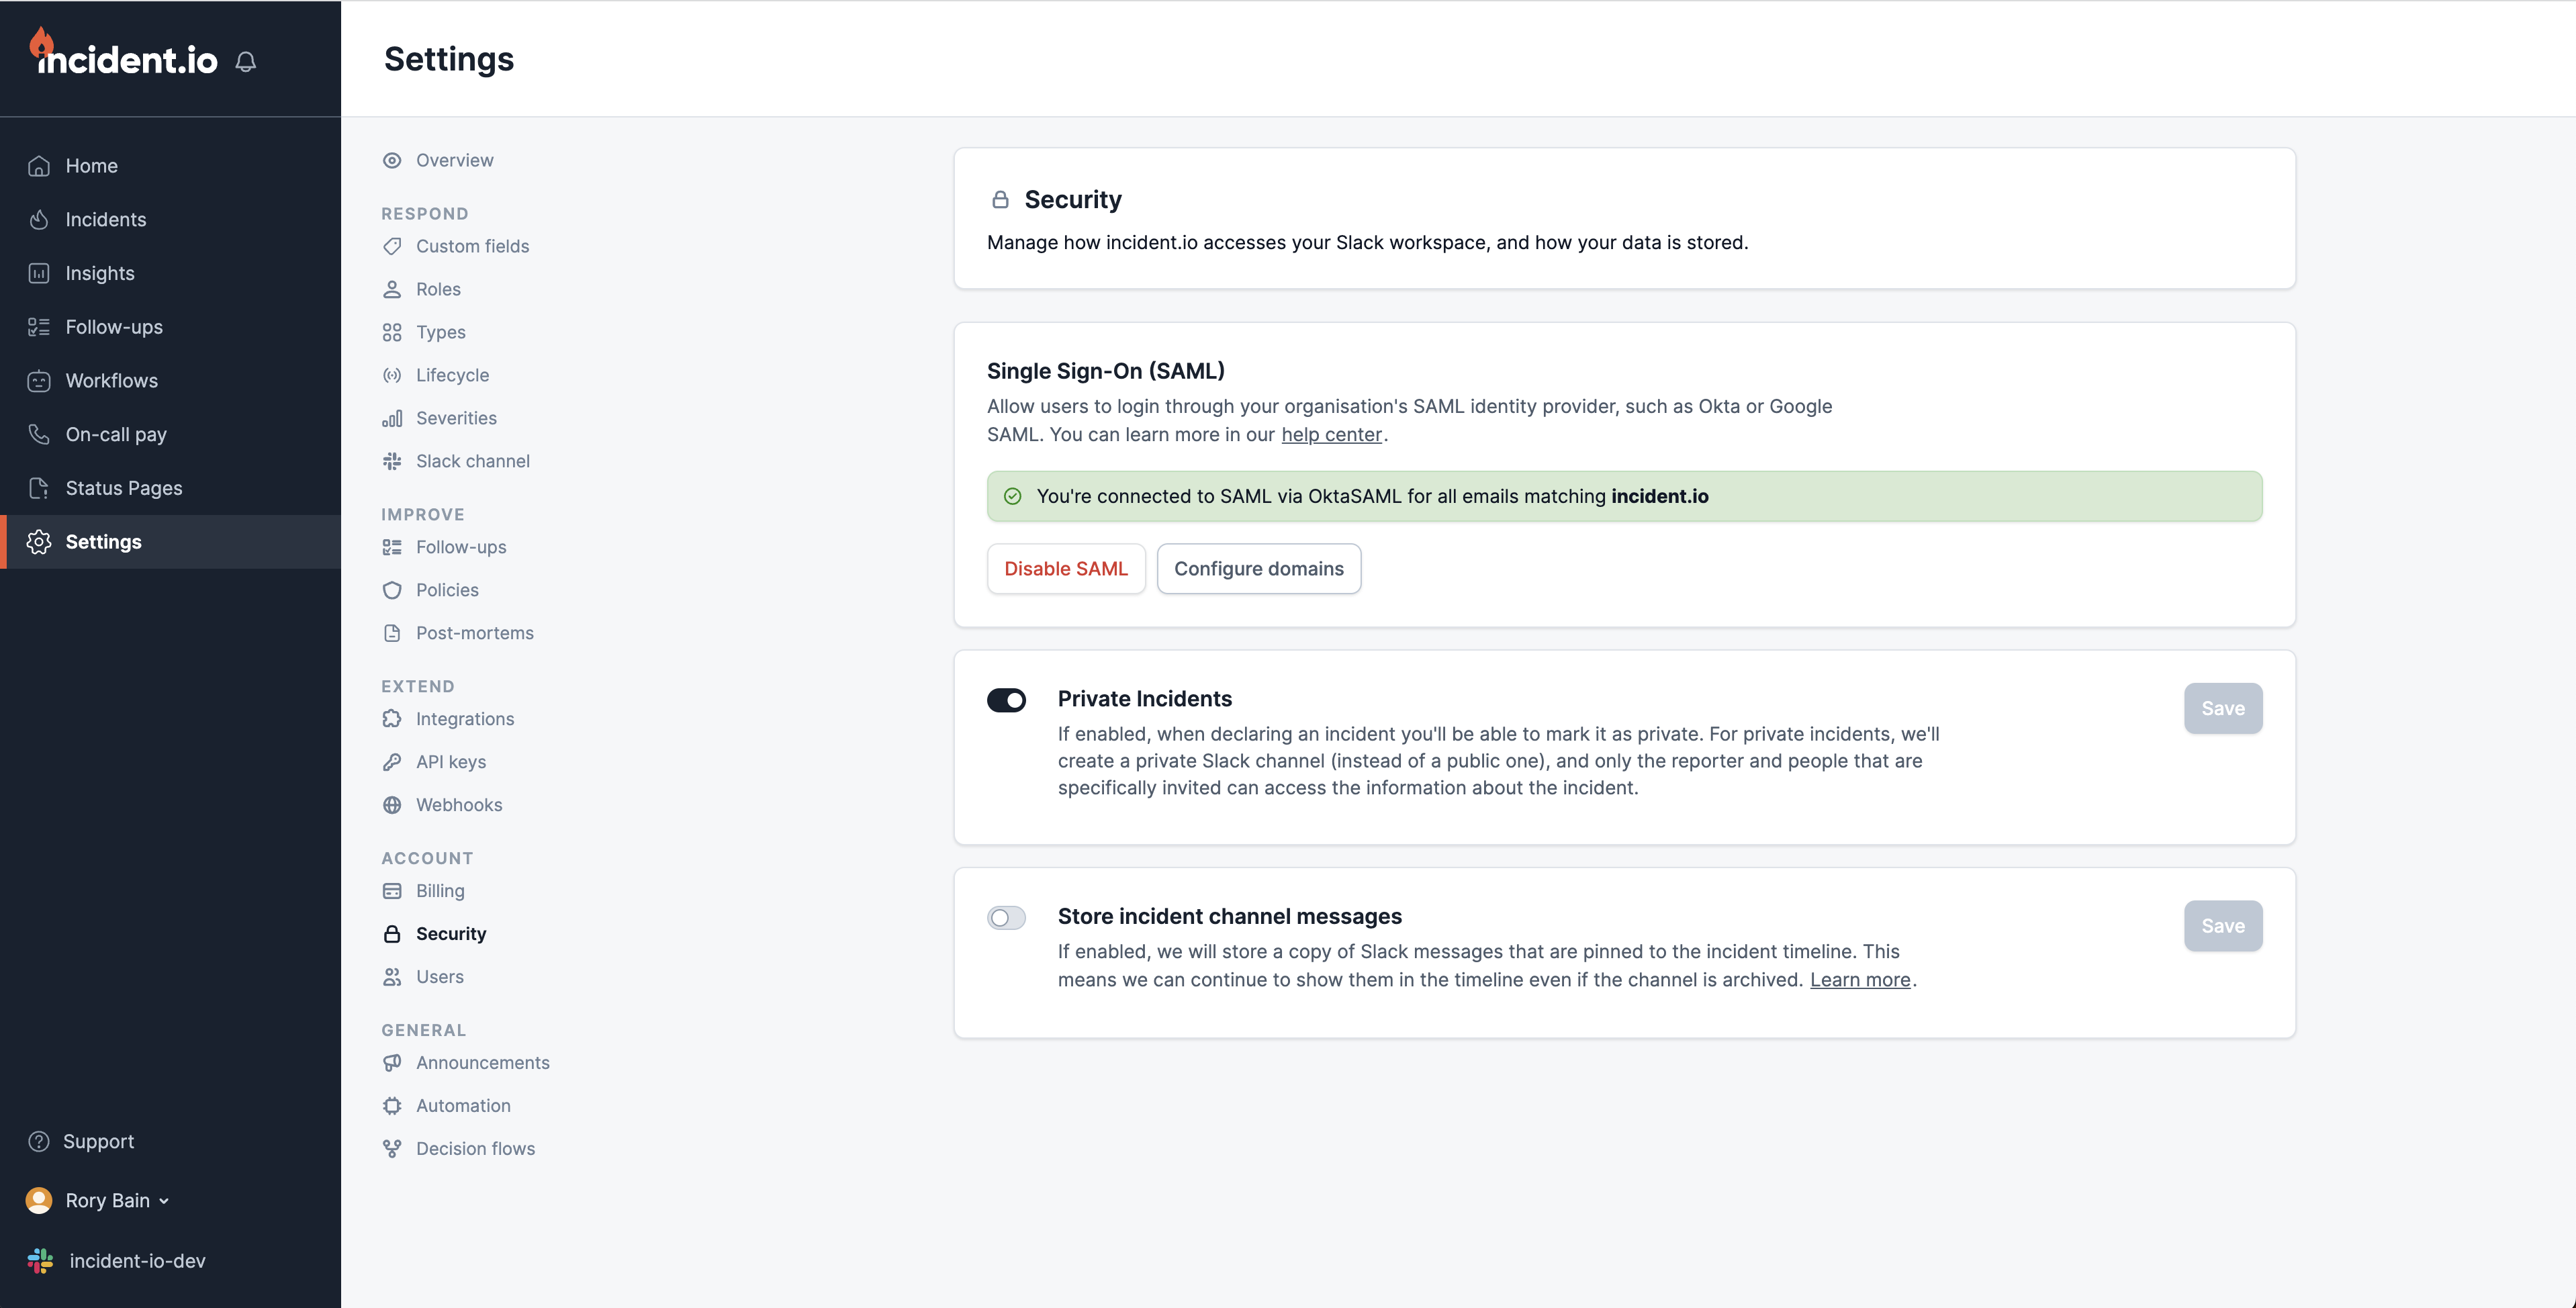
Logging in with SAML
Once SAML is enabled, all users in your organization must sign in using SAML. Users attempting to sign in with Slack will be redirected to your IdP to confirm their access. To sign in, click Login with SAML SSO and enter your email address. You’ll be redirected to your IdP to authenticate before being directed back to incident.io.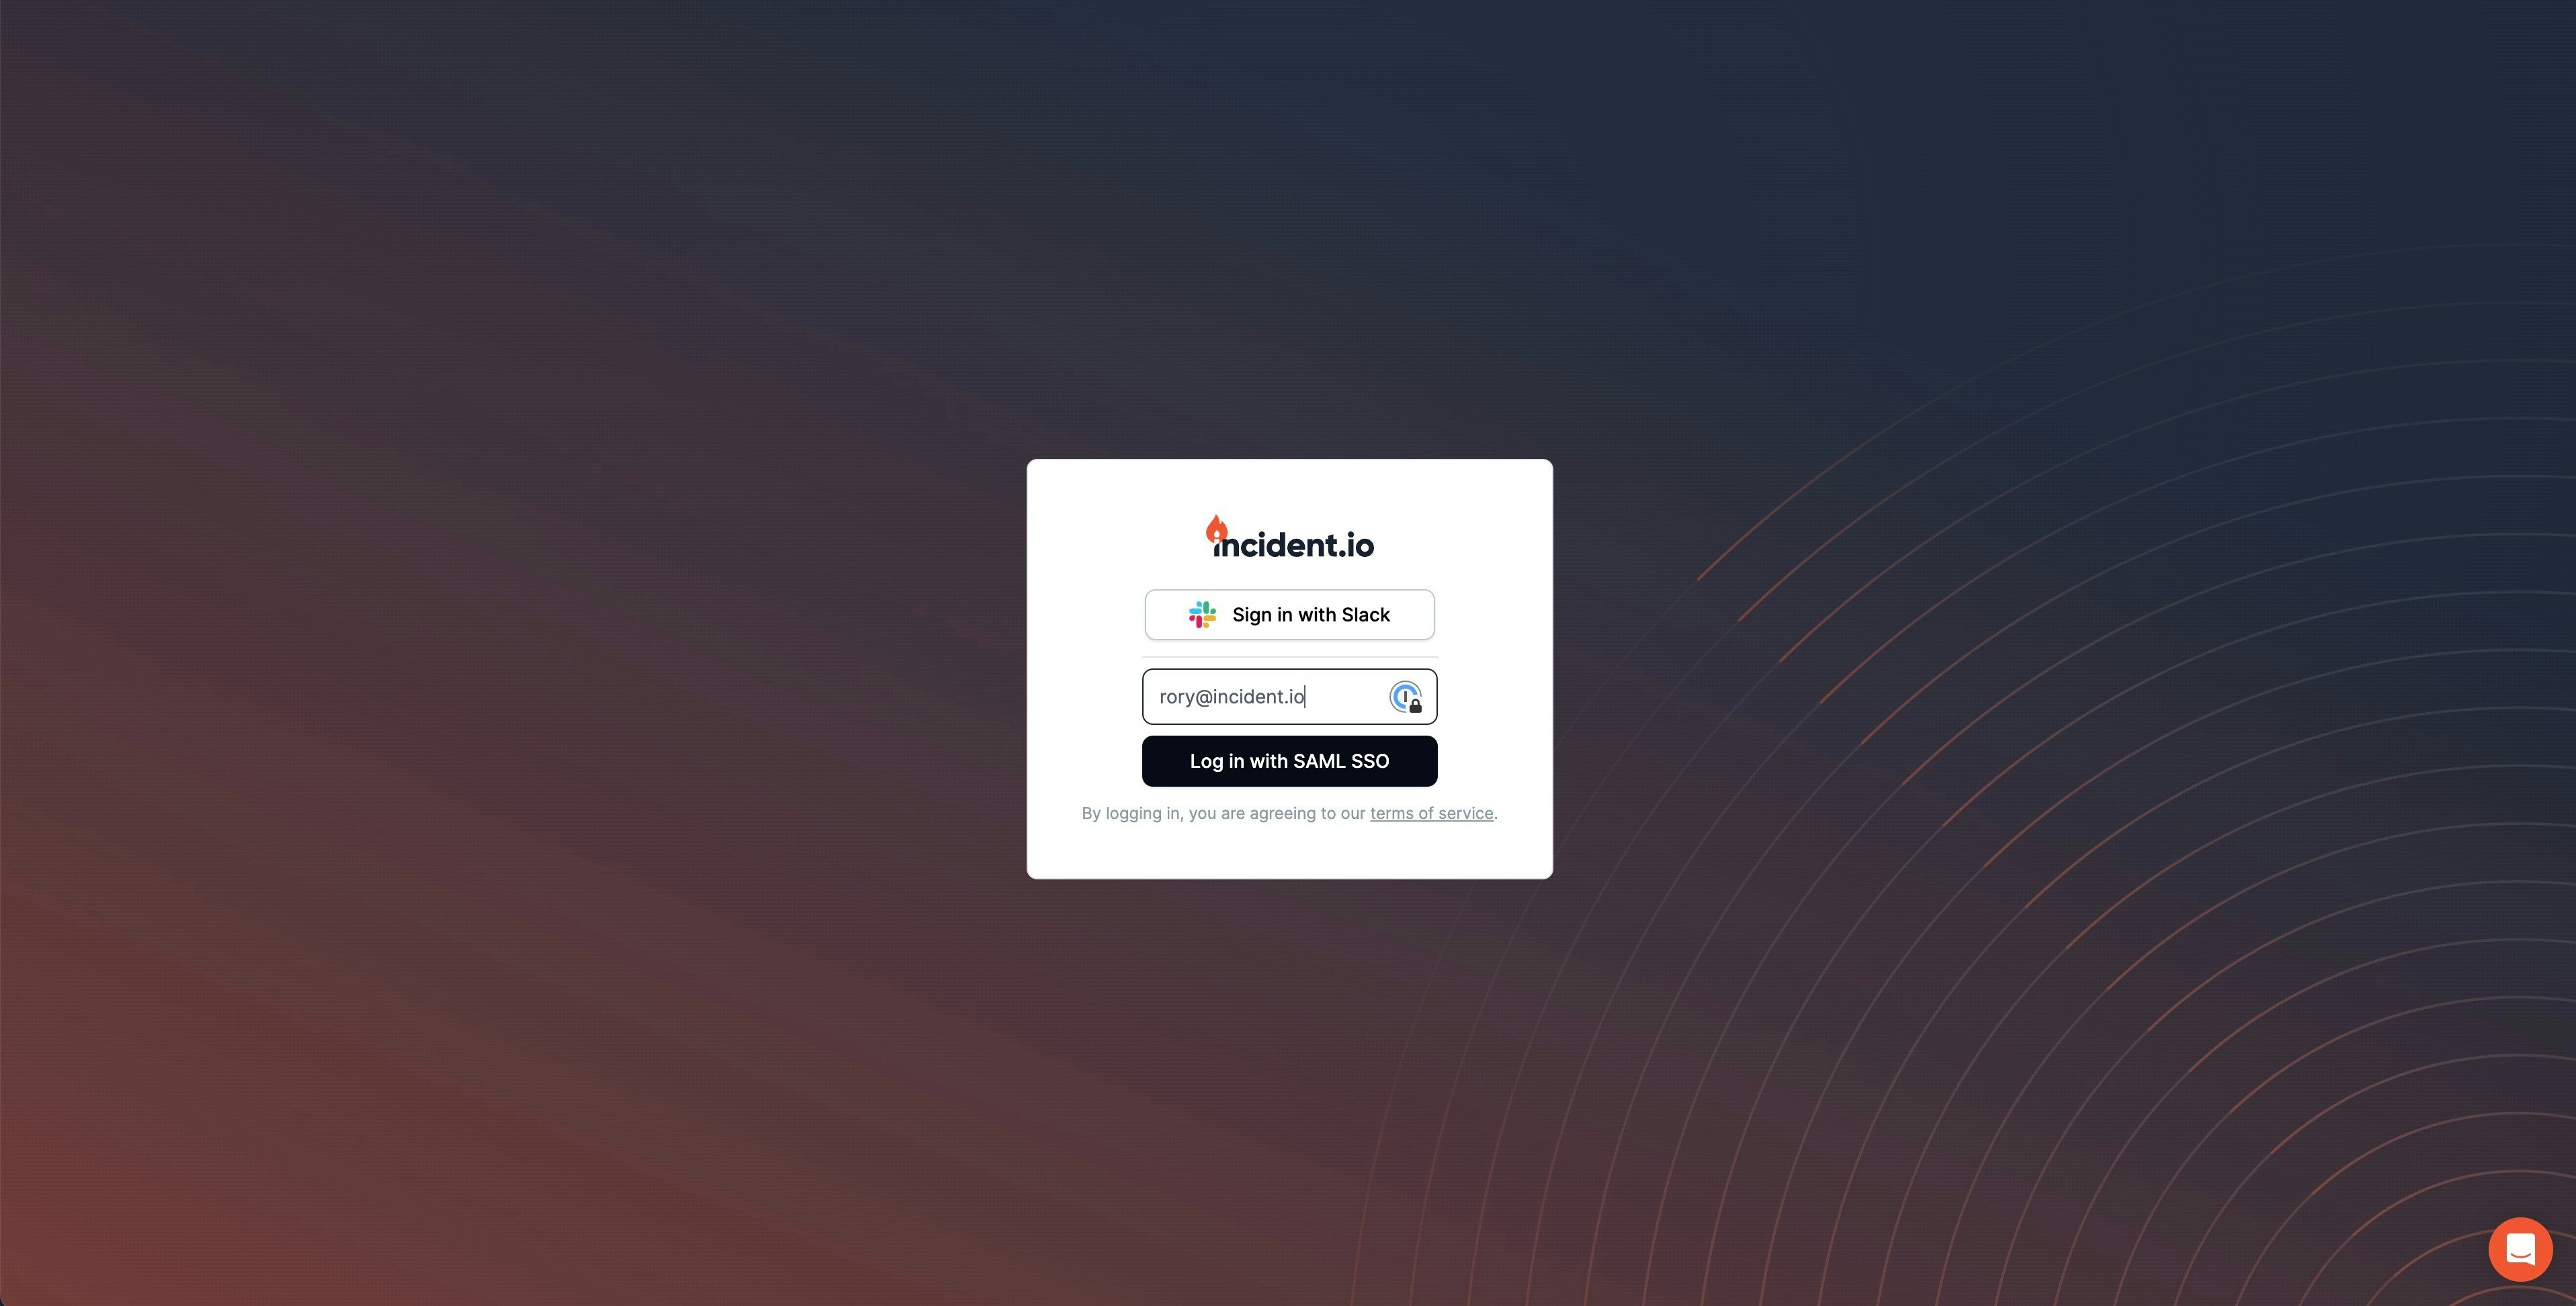
Dashboard-only users
When users sign in via SAML, incident.io attempts to find their associated Slack account in your workspace. If a user doesn’t have access to Slack, or their email addresses don’t match, they’re created as dashboard-only users. These users cannot be assigned roles, referenced in workflows, or receive subscriptions as Slack messages.Disabling SAML
Admins and organization owners can disable SAML in Settings → Security. To keep access during an identity provider outage, enable sign in with email before you need it. If you’ve locked yourself out, contact help@incident.io for assistance. If you remove the incident.io app in your IdP, also remove it in incident.io to prevent authentication issues.When you disable SAML, all users in your organization will need to sign back in using Slack.
Mobile app sign-in
When SAML is enabled, it is enforced for mobile app sign-in too. Users signing in on the mobile app — whether directly or by scanning a QR code from the web dashboard — are redirected through your identity provider. Admins can control whether QR code sign-in is available in Settings → Security under QR code mobile login. Disabling this prevents users from using the QR code flow, but does not affect direct sign-in through the mobile app.FAQs
What happens if I migrate to another SAML provider?
What happens if I migrate to another SAML provider?
We use WorkOS to provide SAML, which maps users by ID and email address. When logging in, we first check the user’s ID. If we don’t find a match, we look up by email address and associate the new ID for subsequent logins.This means that if the ID changes during a migration but the email stays the same, no duplicate users are created — the migration is seamless. However, if both the ID and email change (e.g. after a name change), the user will appear as a new account and we cannot merge them.
Can I use SCIM with SAML?
Can I use SCIM with SAML?
Yes — SCIM can be set up independently from SAML but can use the same identity provider. See SCIM provisioning for details.
Can I restrict mobile app access for unmanaged devices?
Can I restrict mobile app access for unmanaged devices?
Yes — if your organization uses managed device policies, you can configure a secondary SAML provider to redact sensitive data on the mobile app. See Mobile access restrictions for details.