Rather than going through reams of information and trying to pull together a narrative of what happened, we can automatically put together an incident document summarizing what happened.

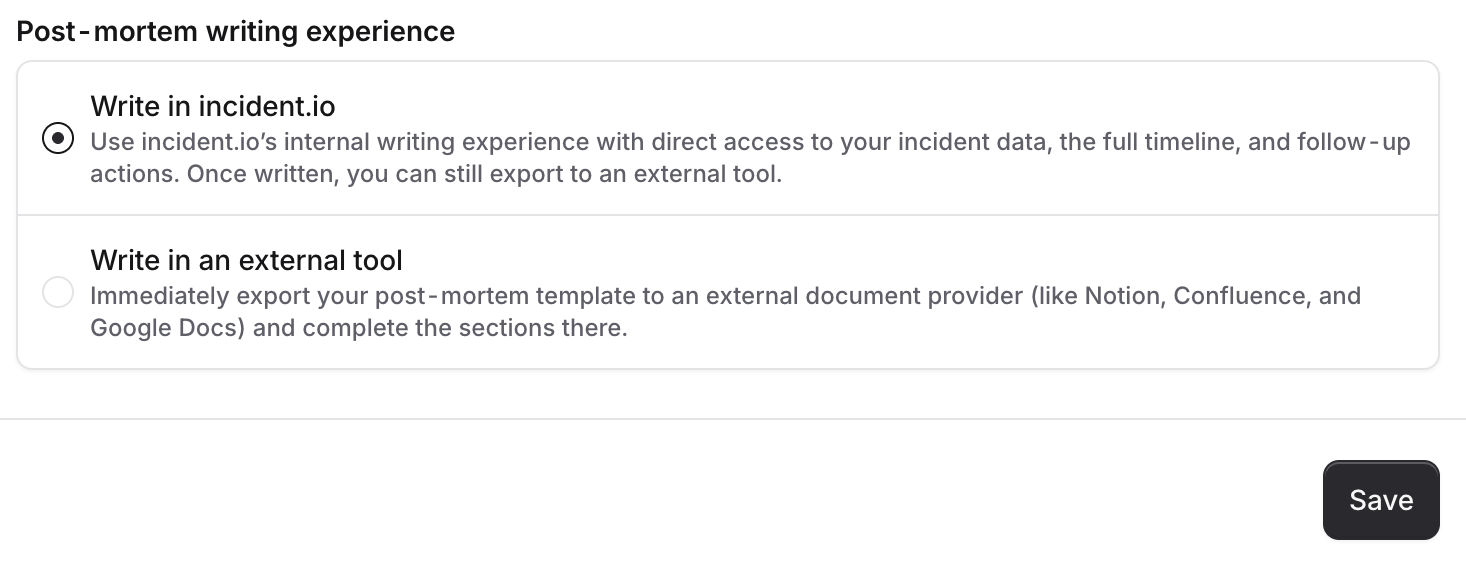
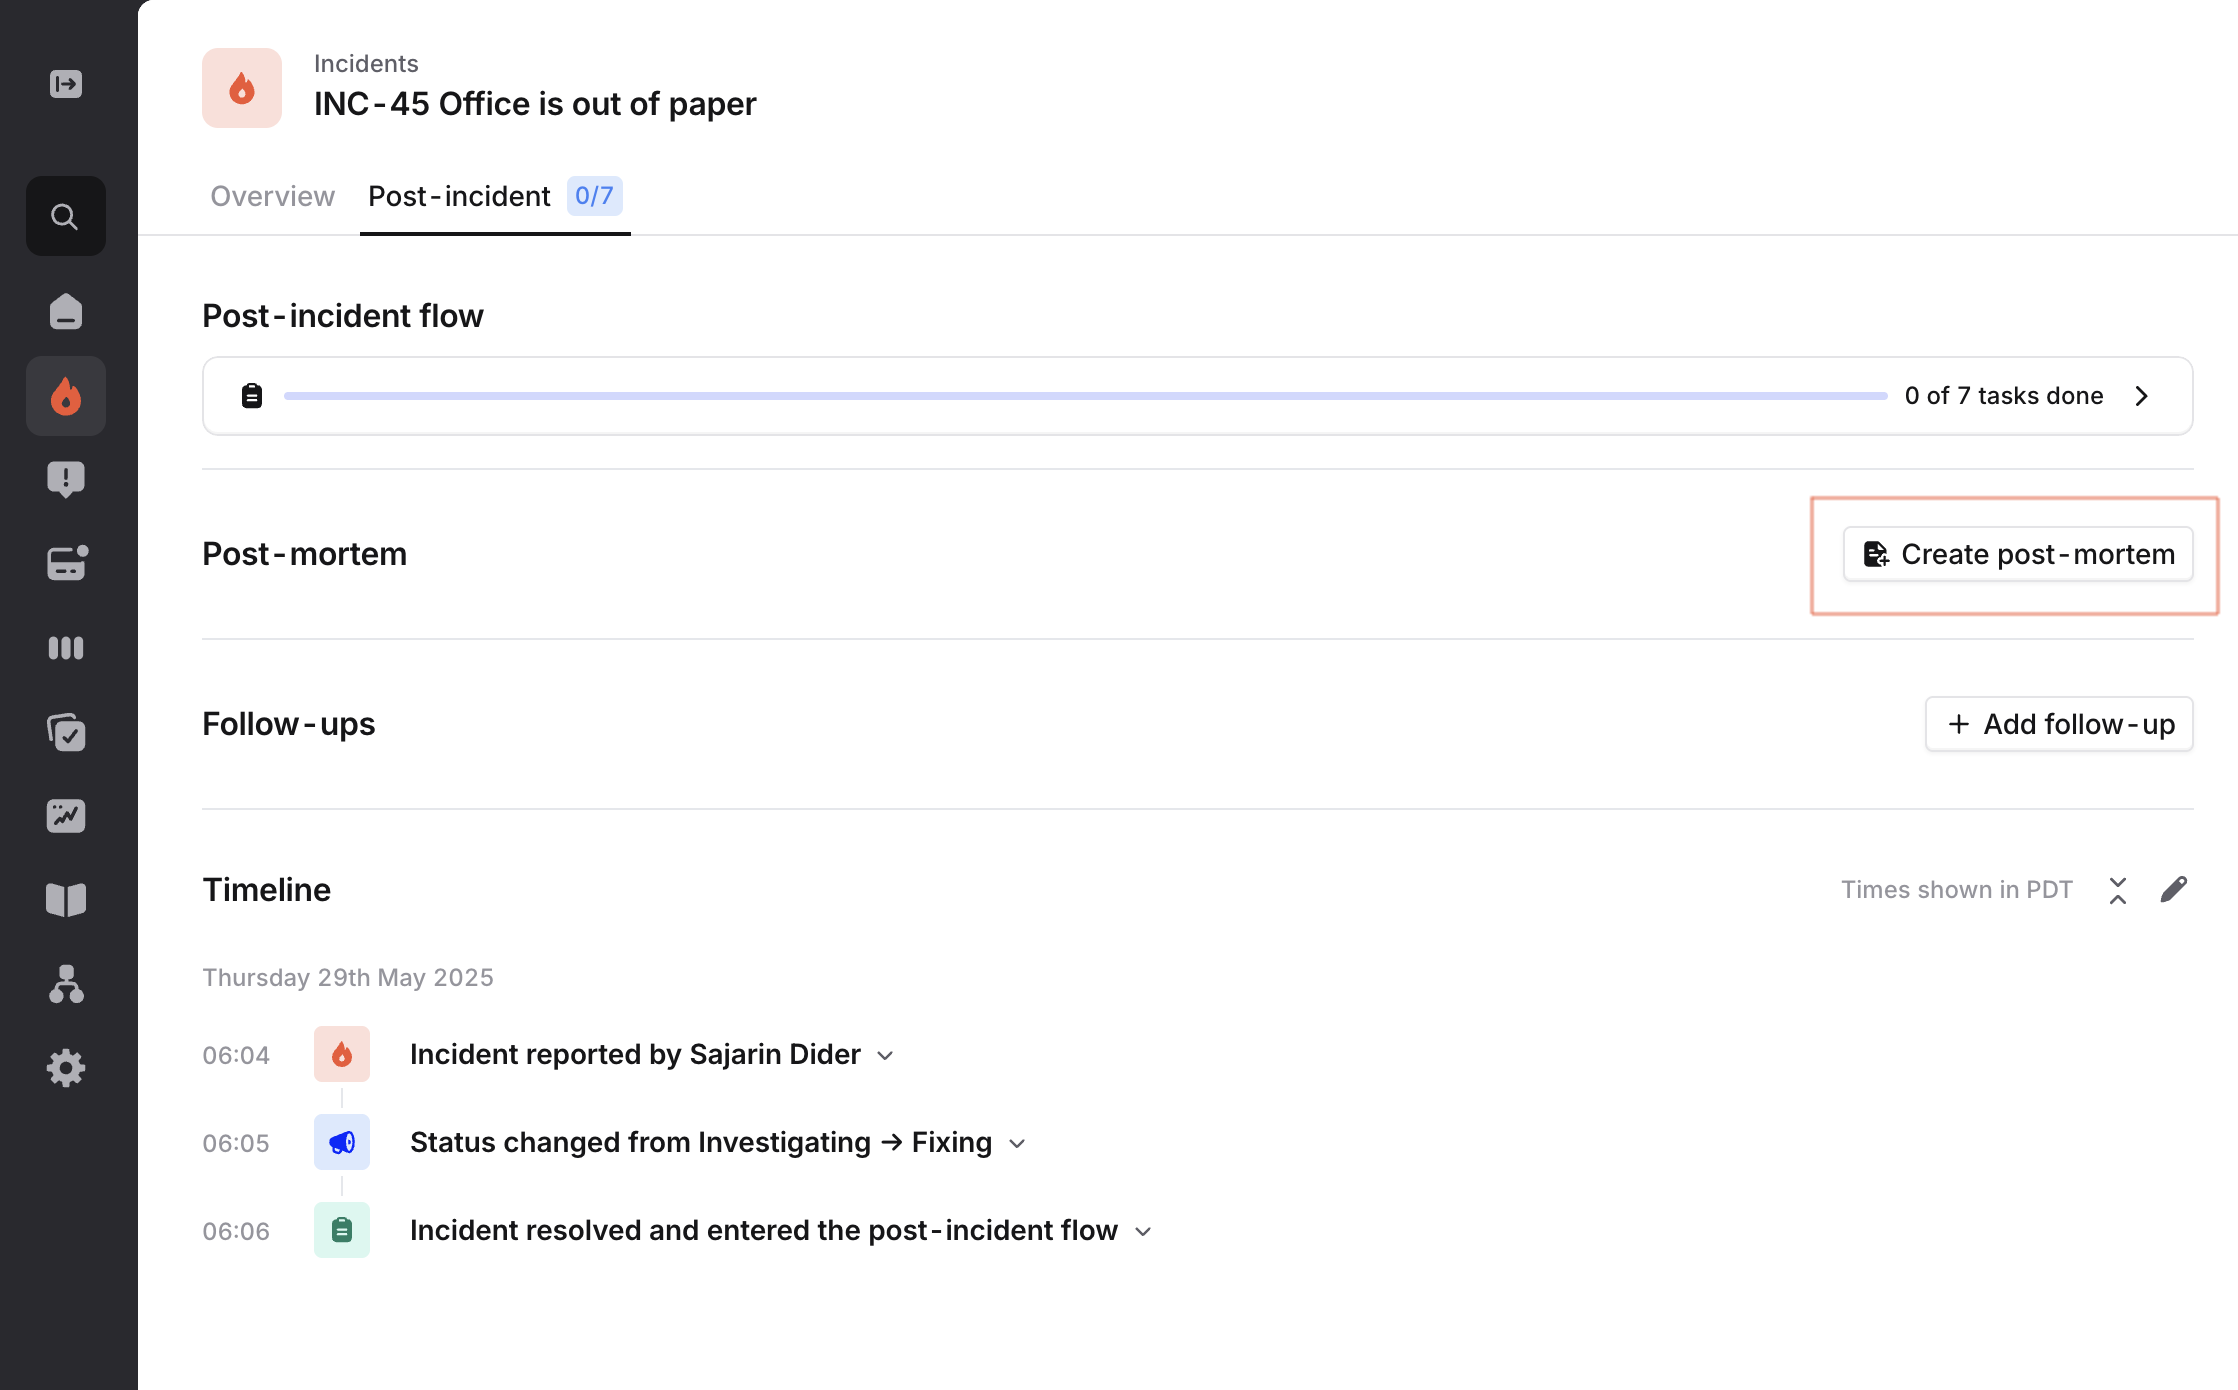
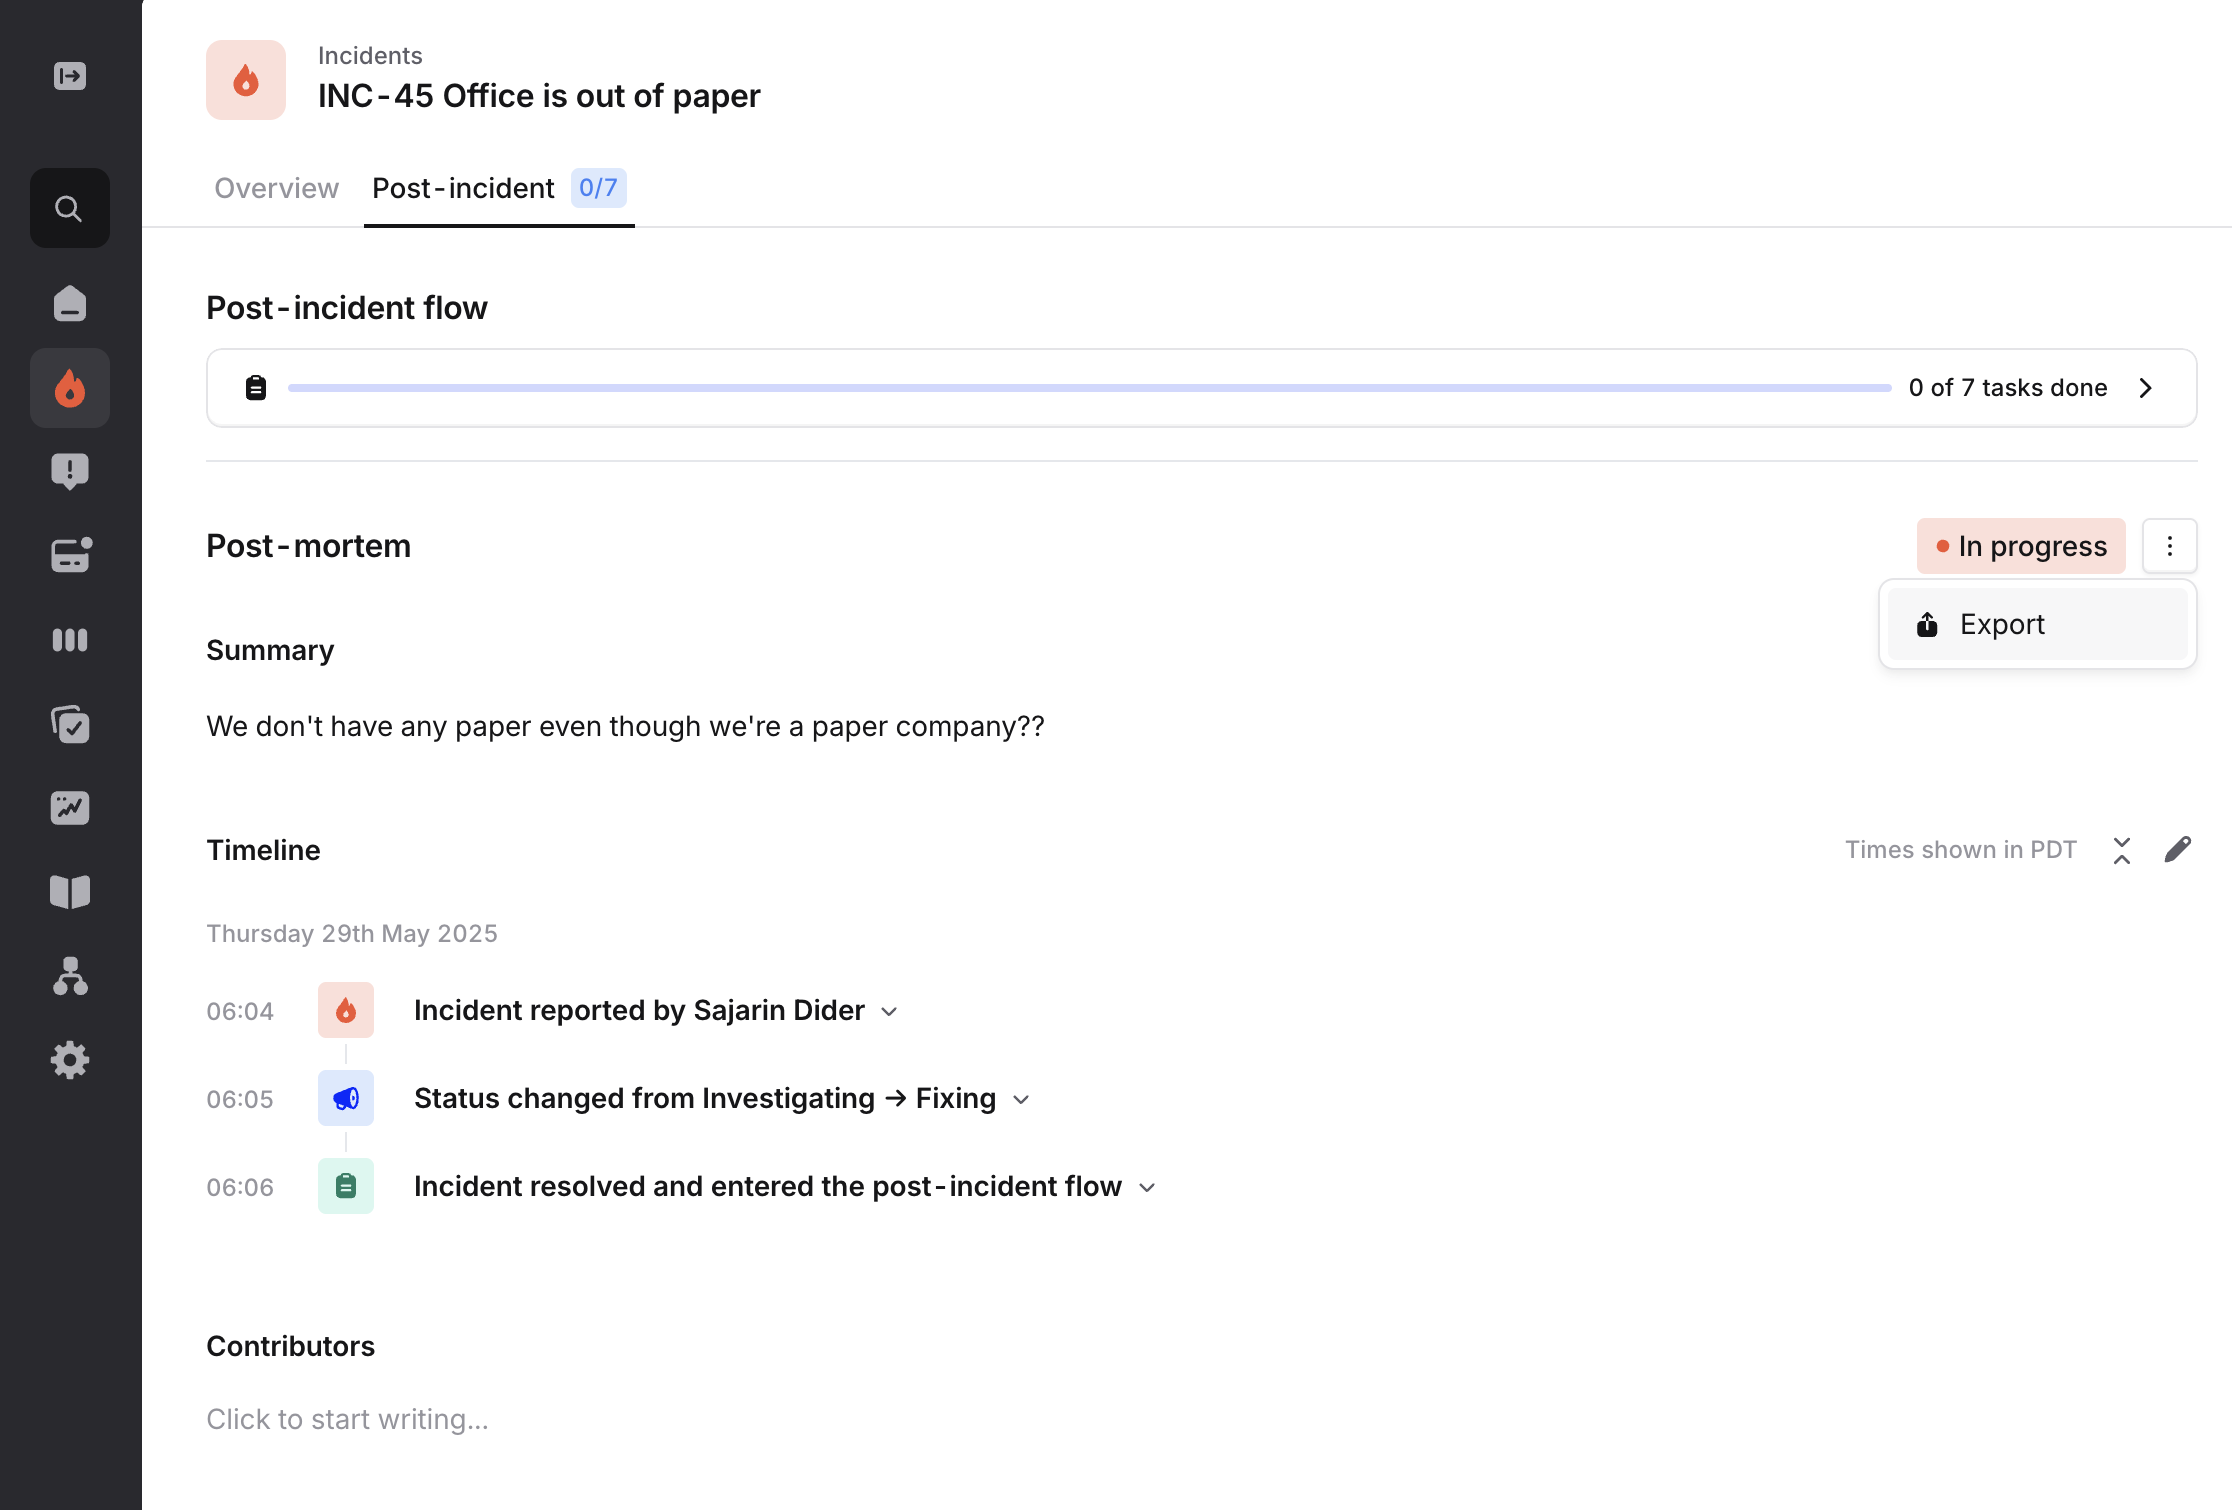
Generating your post-mortem

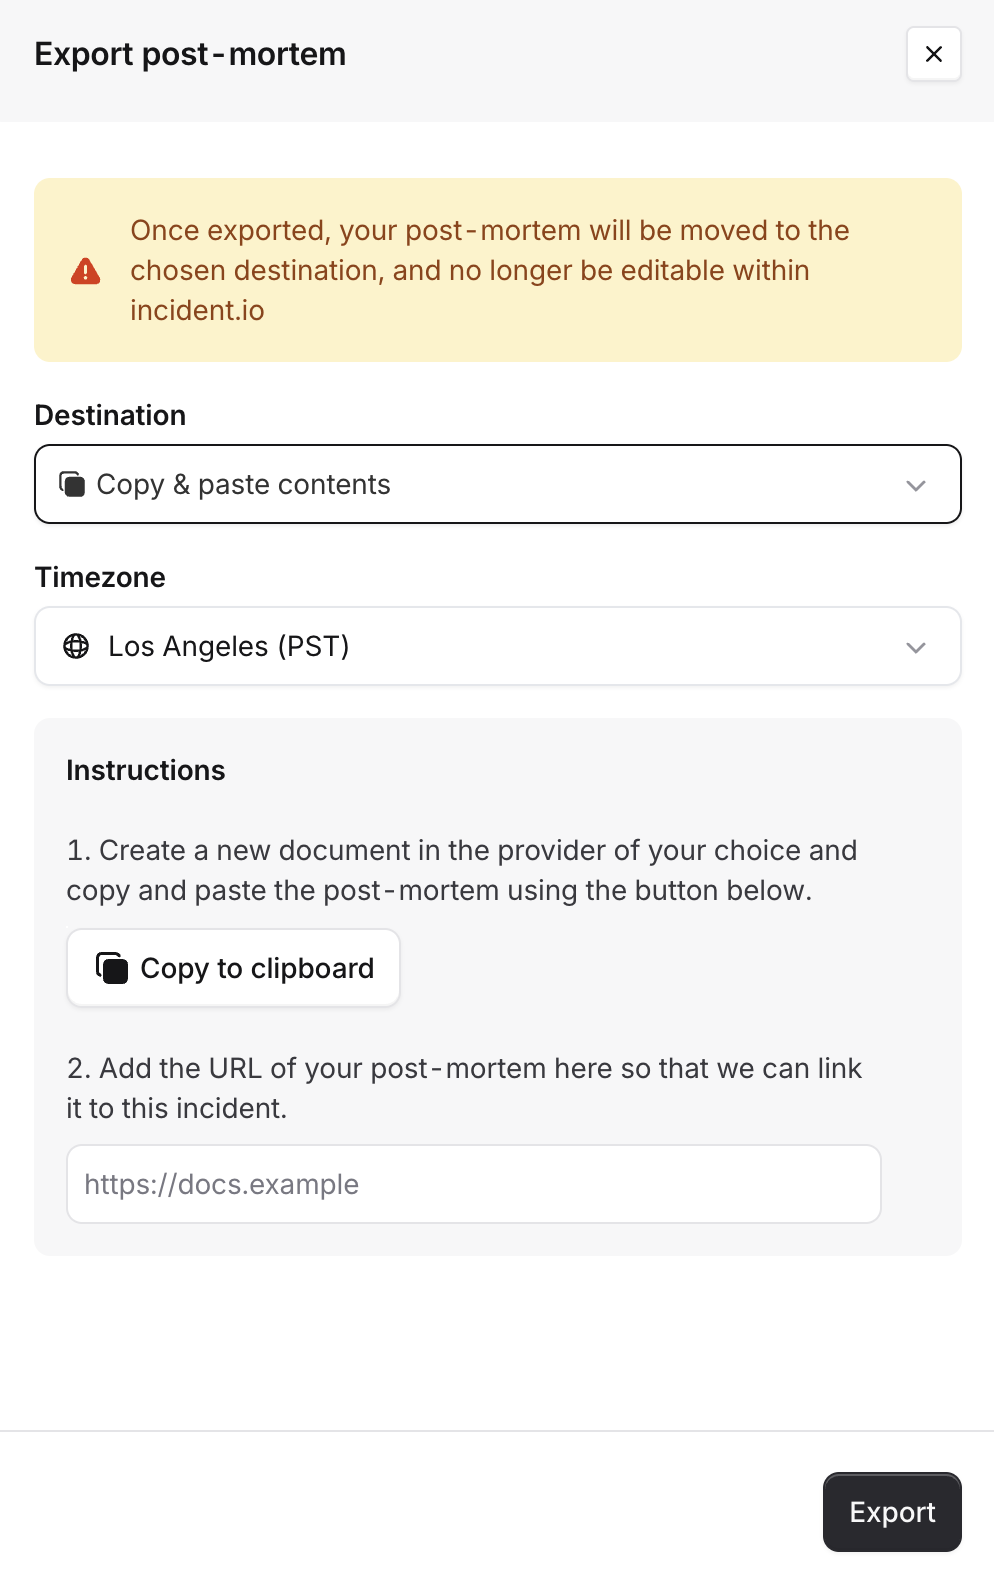
Right now, you can only generate a post-mortem for resolved incidents.
  1. From the Post-incidents page, click ‘Create post-mortem’
image.png From here, you can choose to edit the post-mortem using our in-house post-mortem editor or you can export it to an external provider using an integration like Google Docs, Notion or Confluence. image.png
  1. Paste into your editor
Alternatively, you can head on over to your editor of choice, create a new document and copy and paste the post-mortem document using the Copy to Clipboard option. This will work nicely in most modern editors (at the time of writing, Google Docs, Notion, Confluence, Jira, and Slab have all been confirmed to work fine).
  1. ‘Attach’ the postmortem to the incident
Finally, you can click the “Attach” button in the Post-mortem export form to link your external doc to the incident image.png

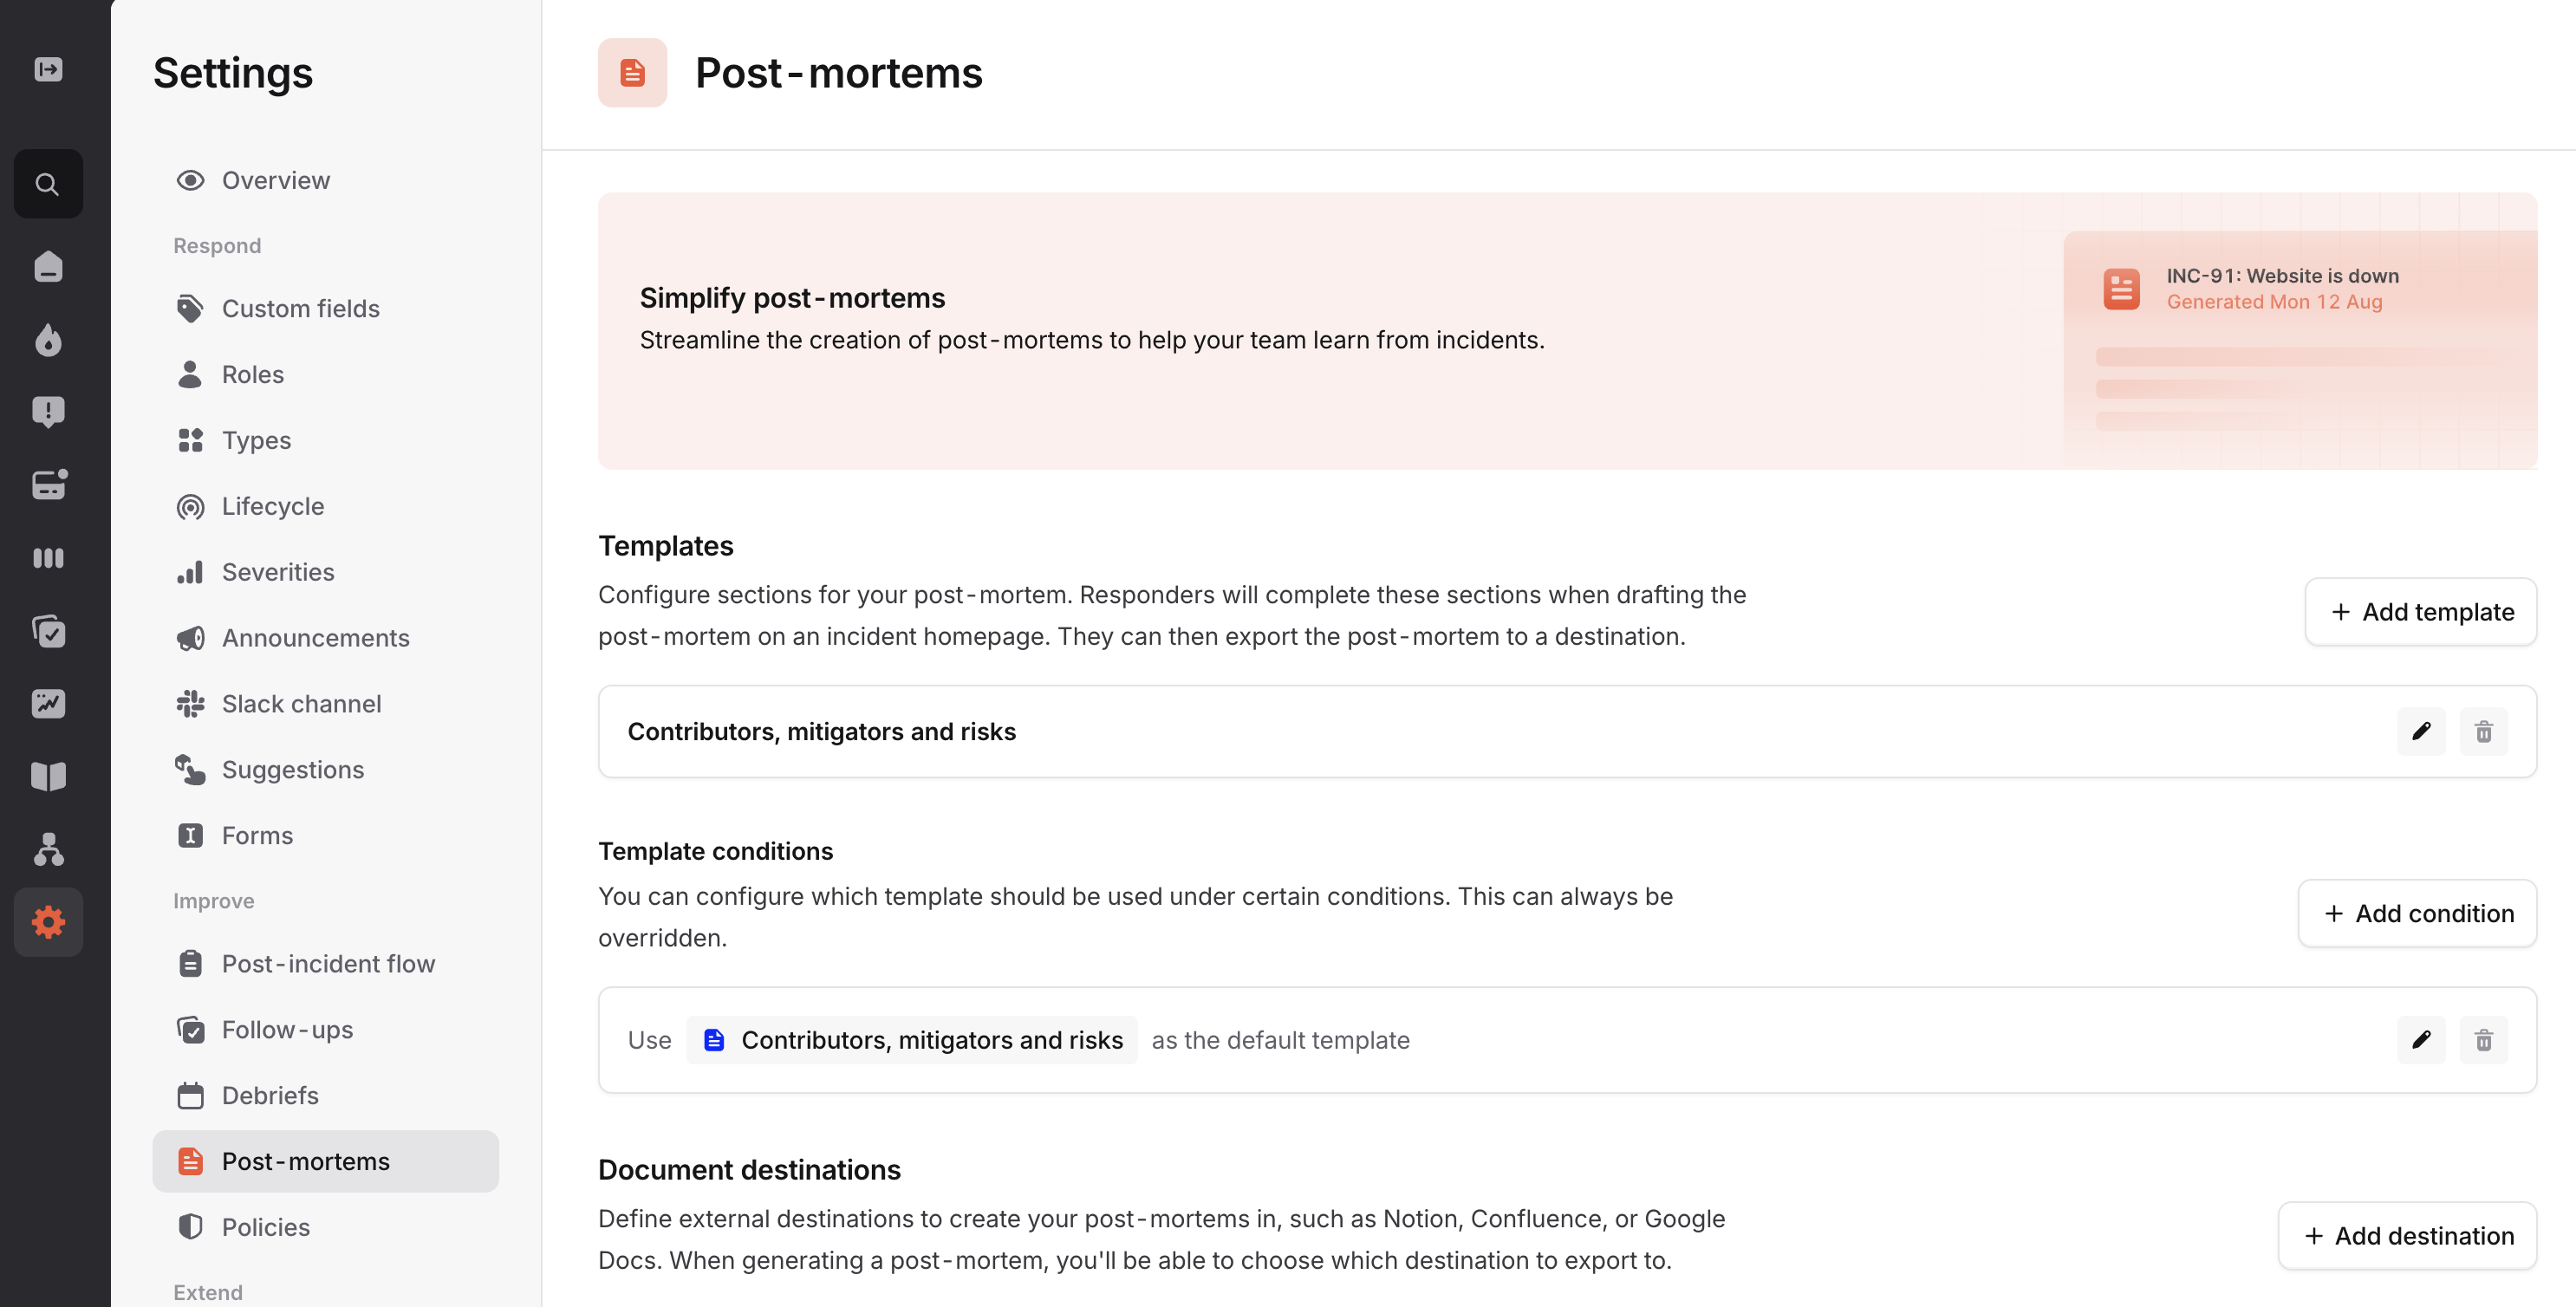
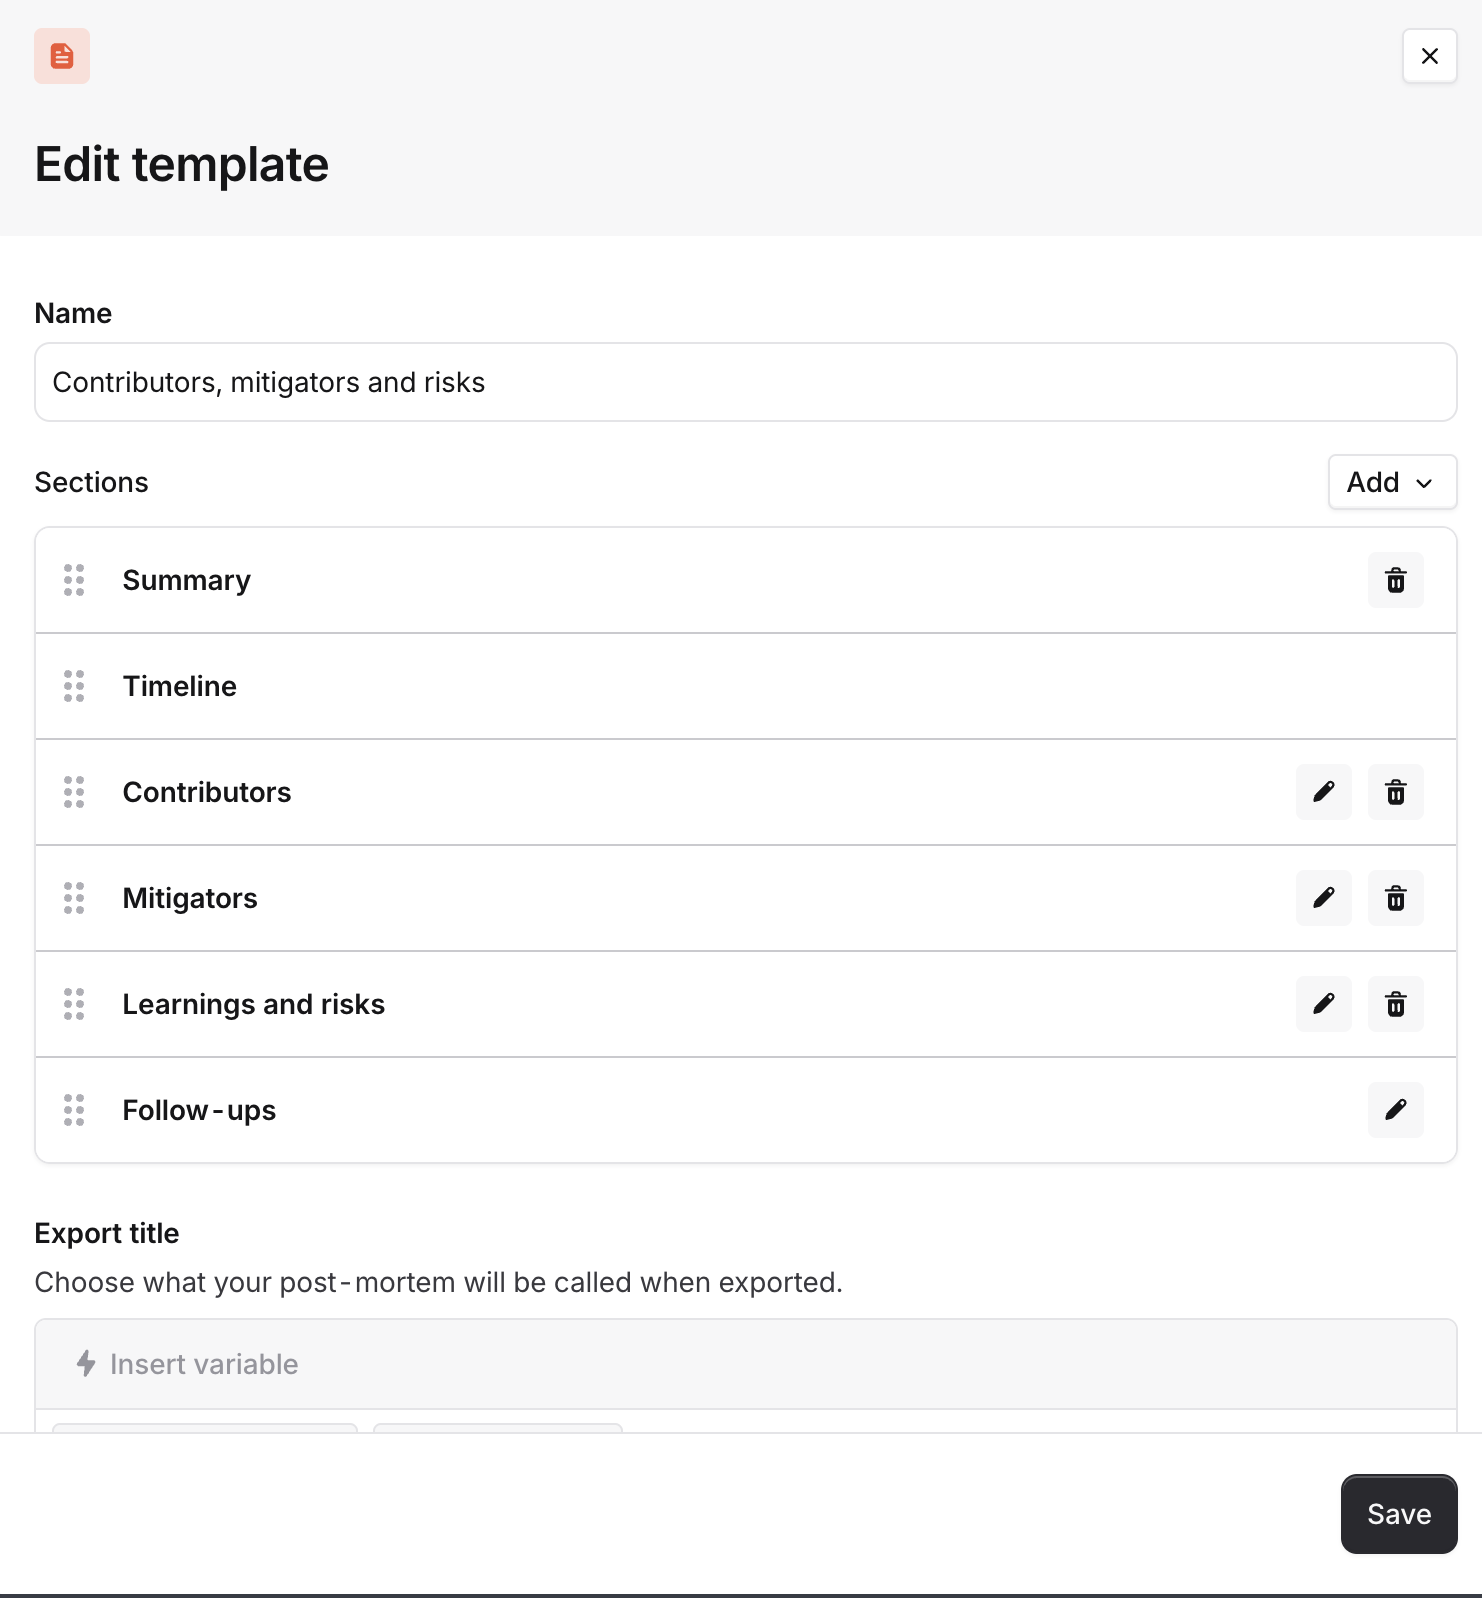
Customizing your postmortem

Do you already have a template your team follows, with prompts and sections that work for you? No problem!
  1. Go to Settings > Post-mortem
From here you can create templates and configure your own sections for the post-mortem image.png You can edit the name of the template, the name of the sections, the order of the sections and even use variables to specify the name of the exported document! image.png Finally, you can also choose whether you want to immediately export your template to an external document provider, or whether you want to use our in-house post-mortem editor. The choice is yours! image.png Looking for some Post-mortem best practices? We compiled some here with Gergely Orosz (The Pragmatic Engineer), and can share more - reach out or grab us for a 1:1!