Signing up
Step 1: Sign in with Microsoft

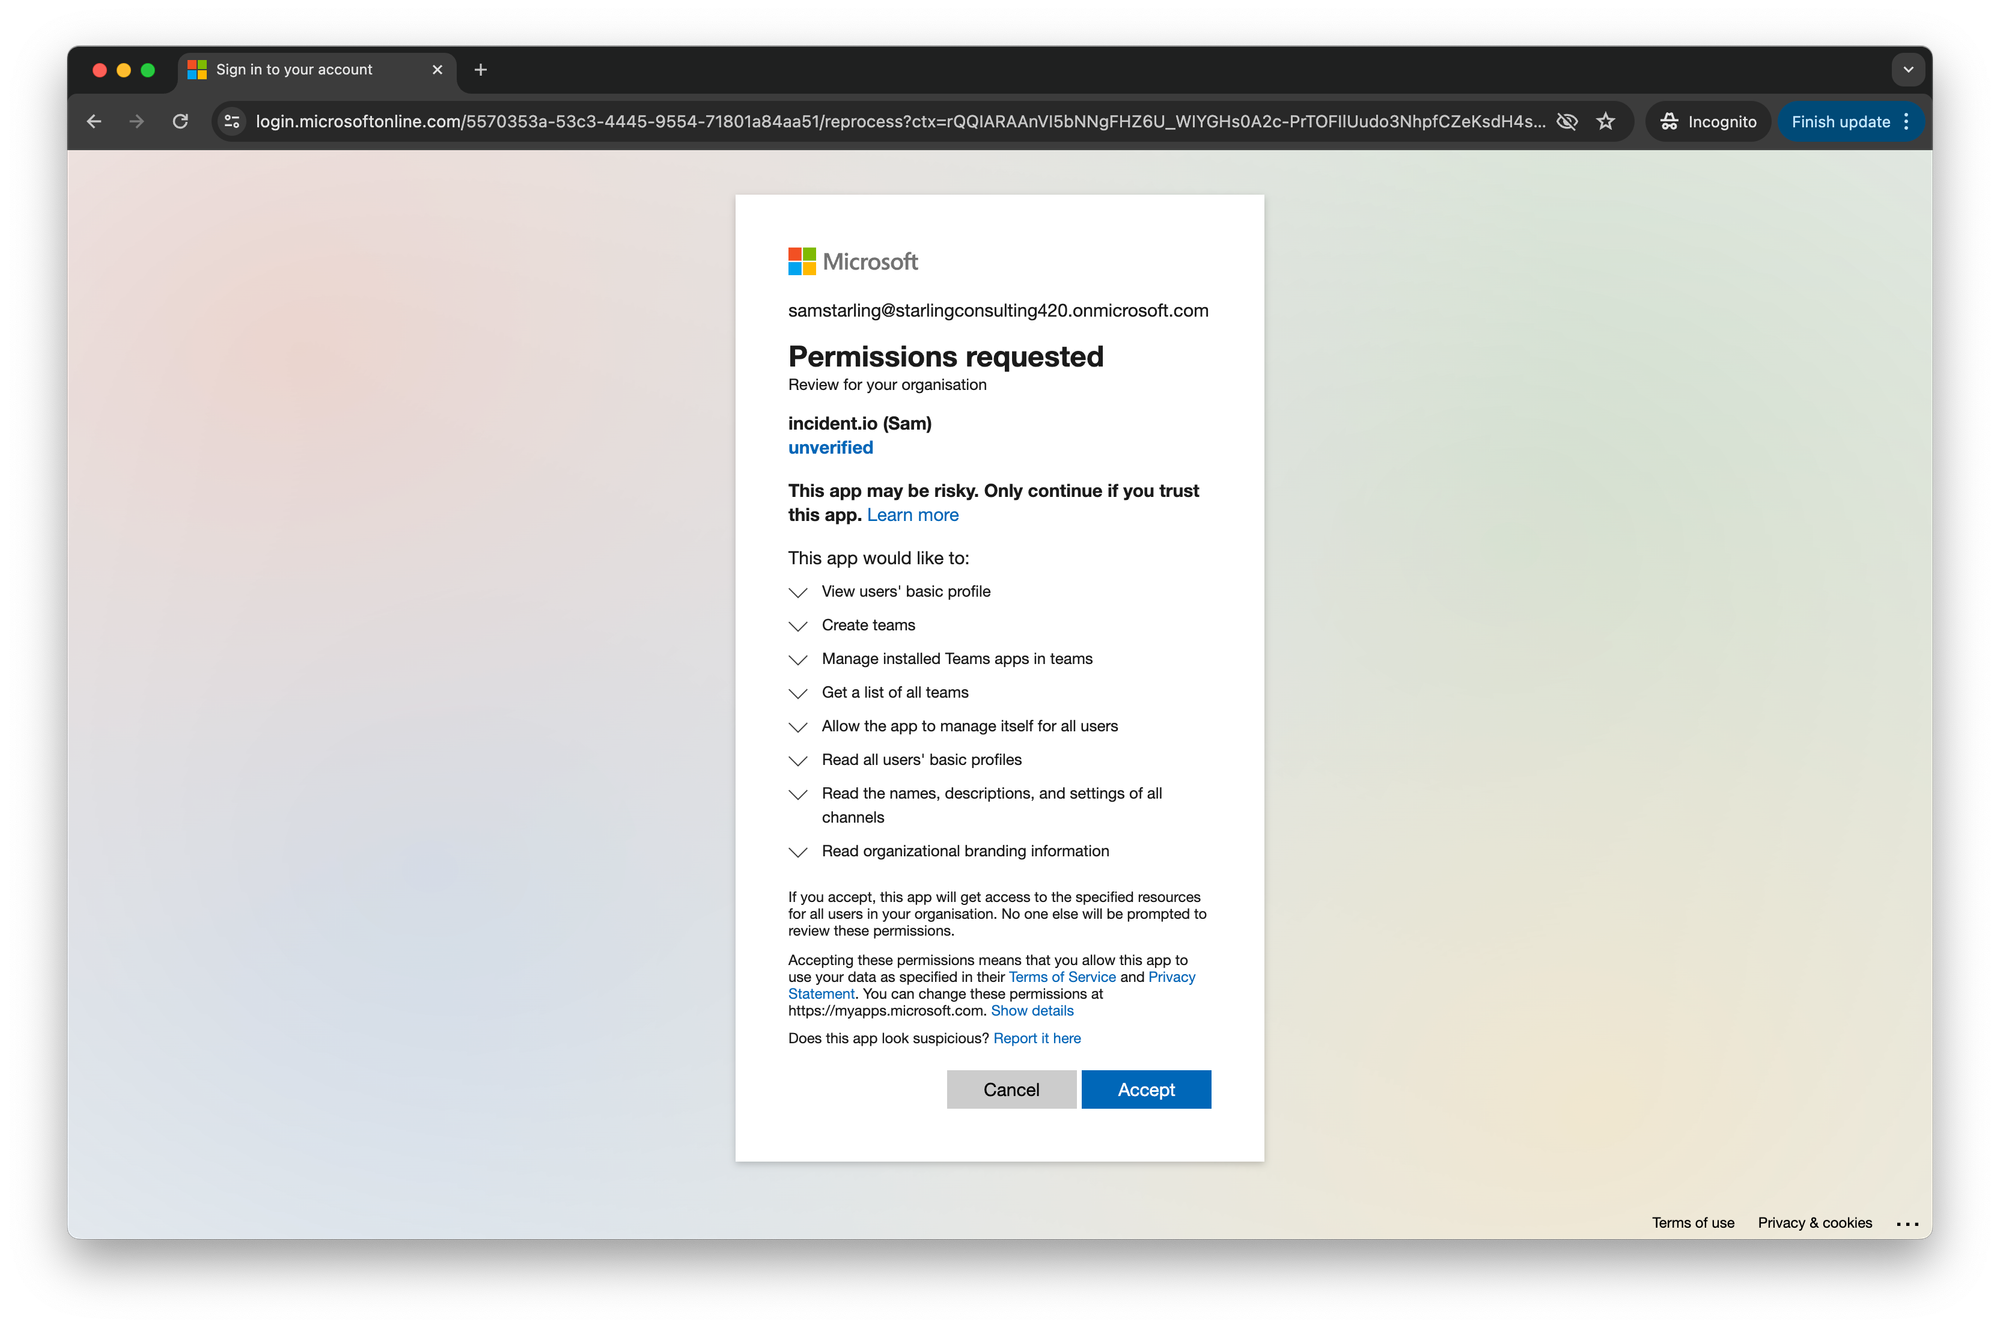
Step 2: Consent to permissions
We need these permissions to identify you, so you don’t need to tick “Consent on behalf of your organization”.
Step 3: Select a plan
Select a plan that would be a good fit for your organization. This will help us connect you with the right people on our team.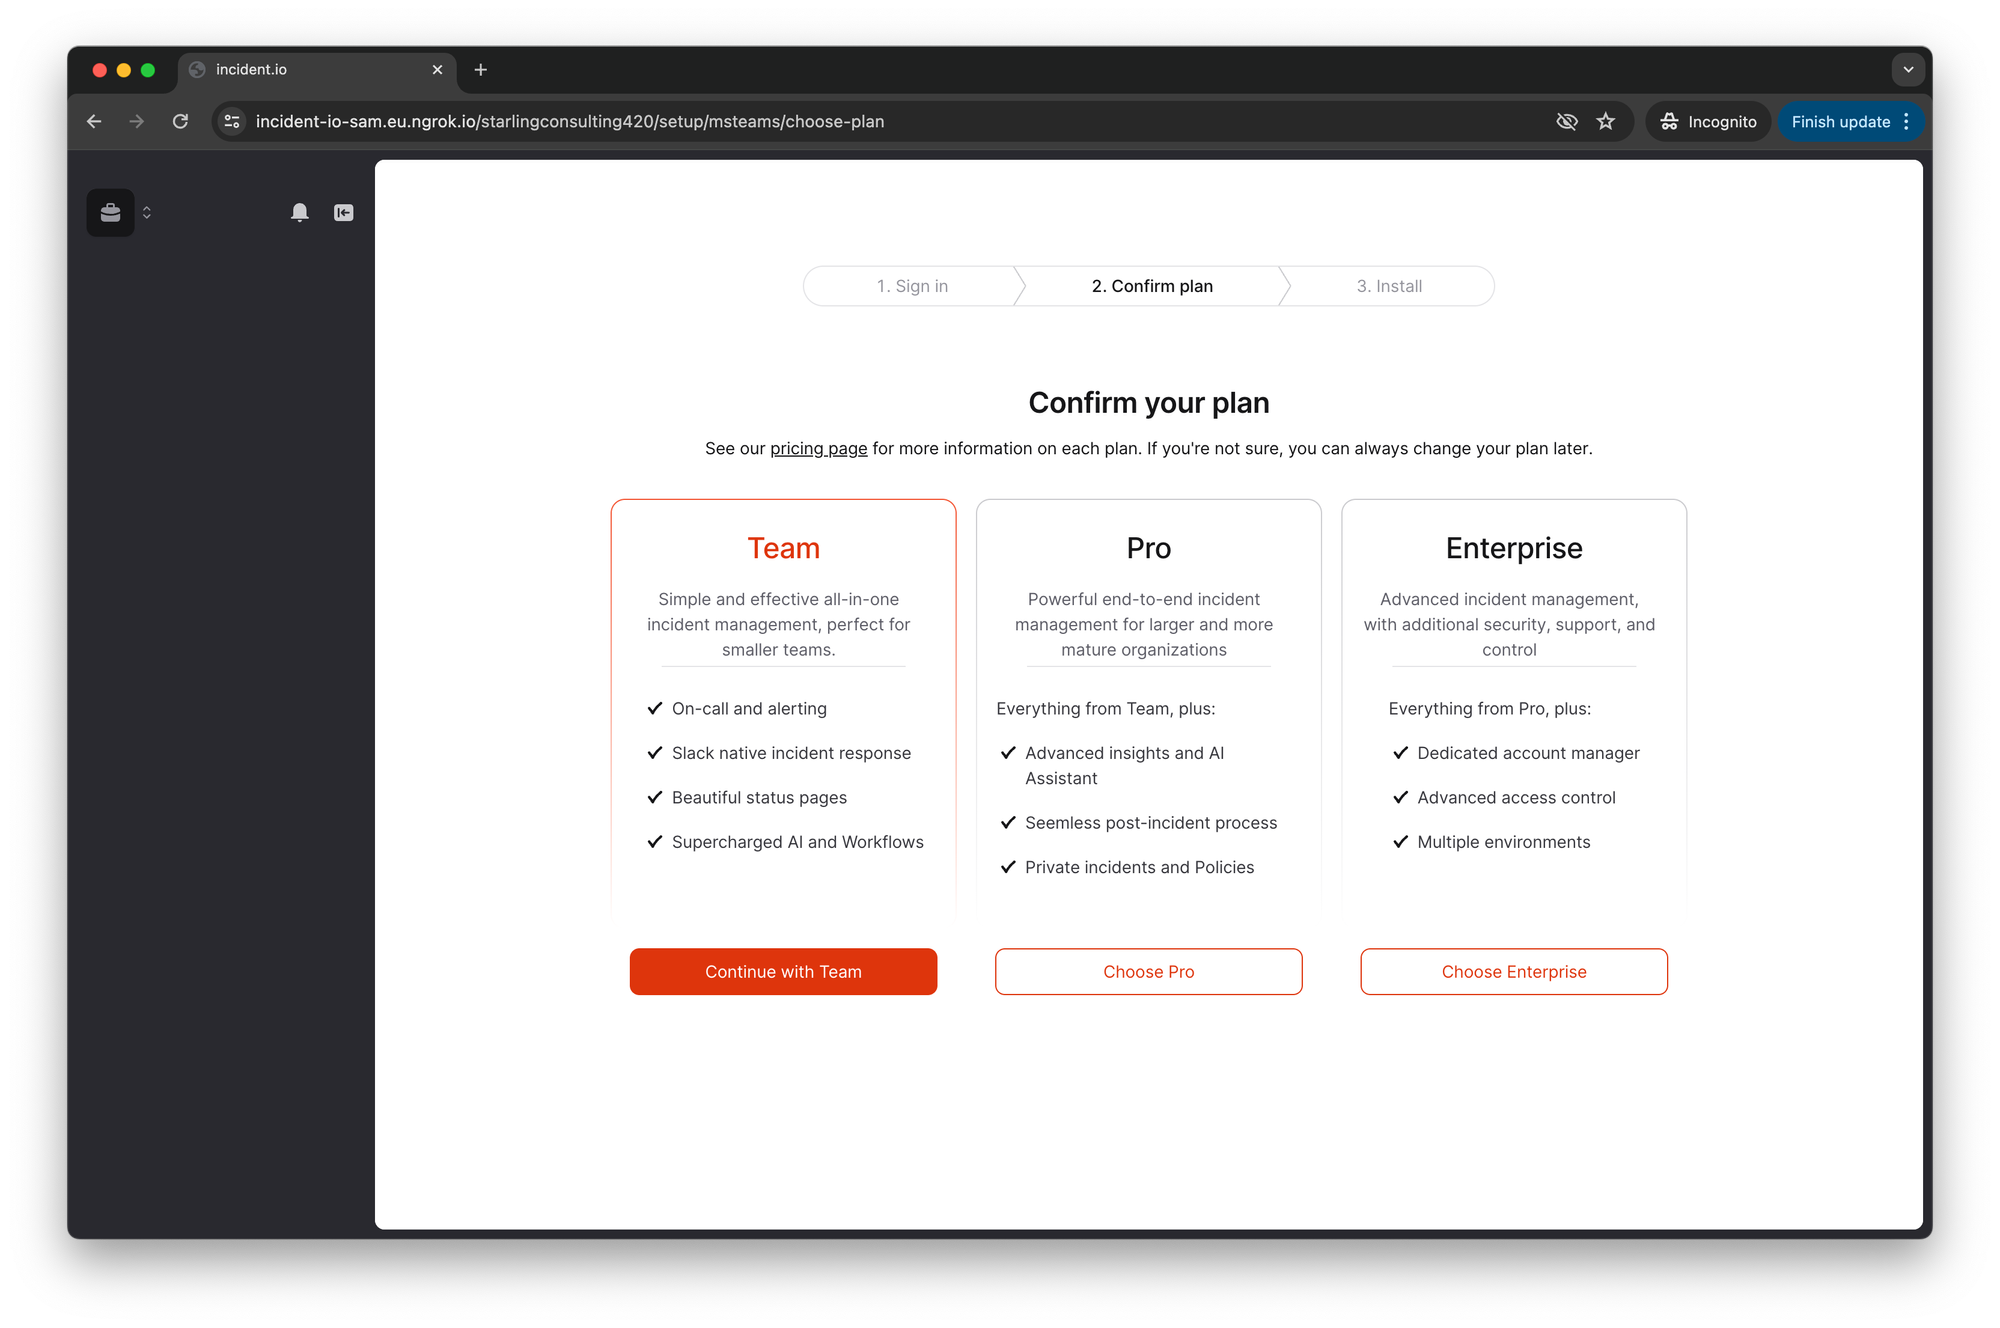
Step 4: Grant “global permissions”
You must be a Microsoft admin to proceed with this step. If you’d like to learn more about our permissions, we have an article. This is the first of two steps that both look fairly similar, beware!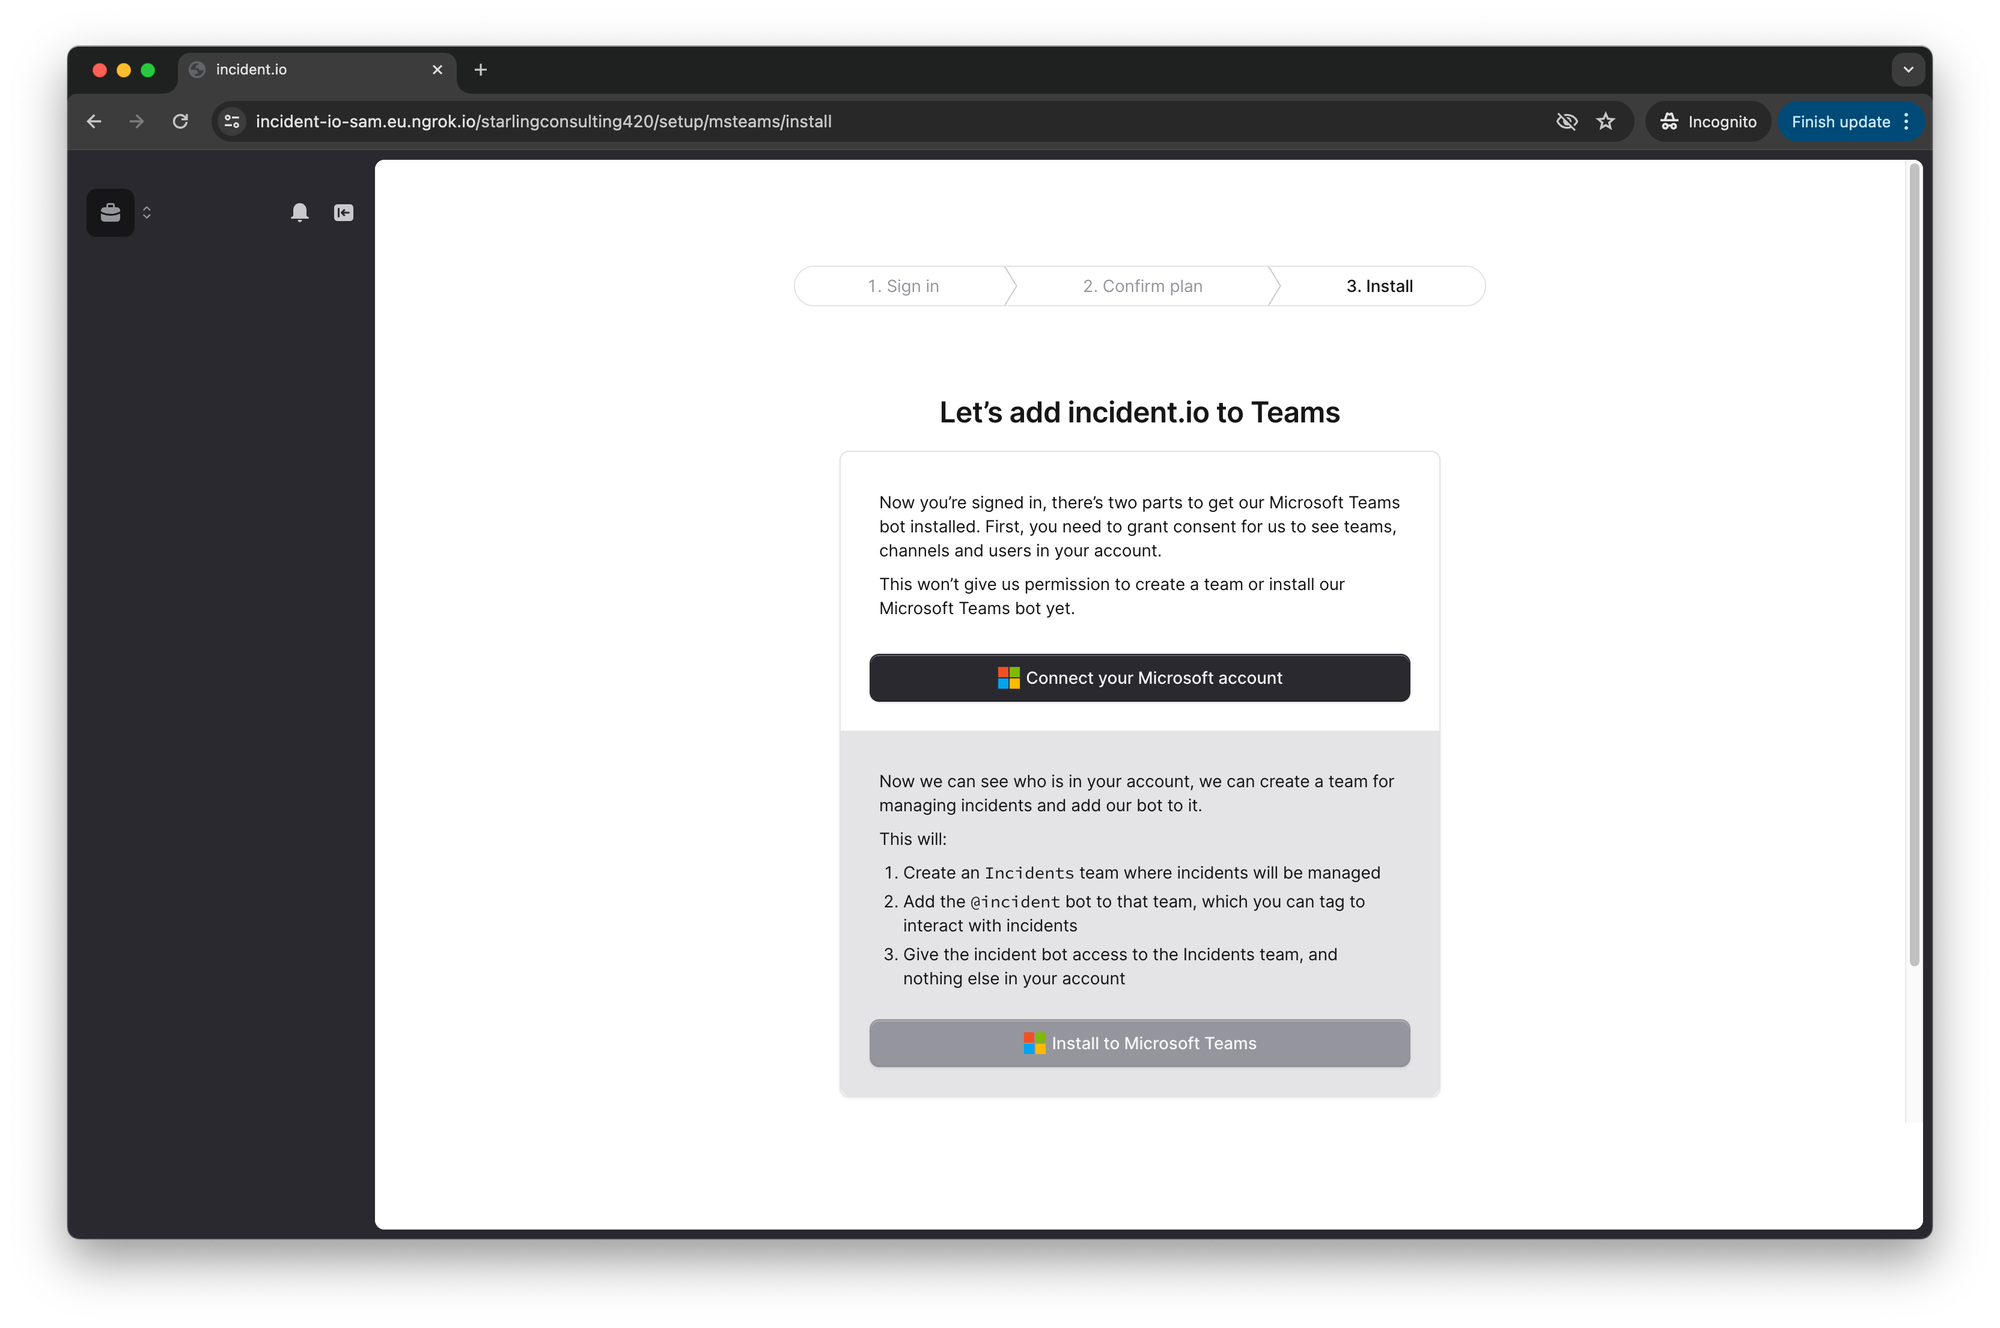
Installing our Teams app
Automatically
Step 1: Grant us temporary permissions In this part, we temporarily ask for permission to create a new “Incidents” team in Teams, and install our app to it. This may take a few minutes.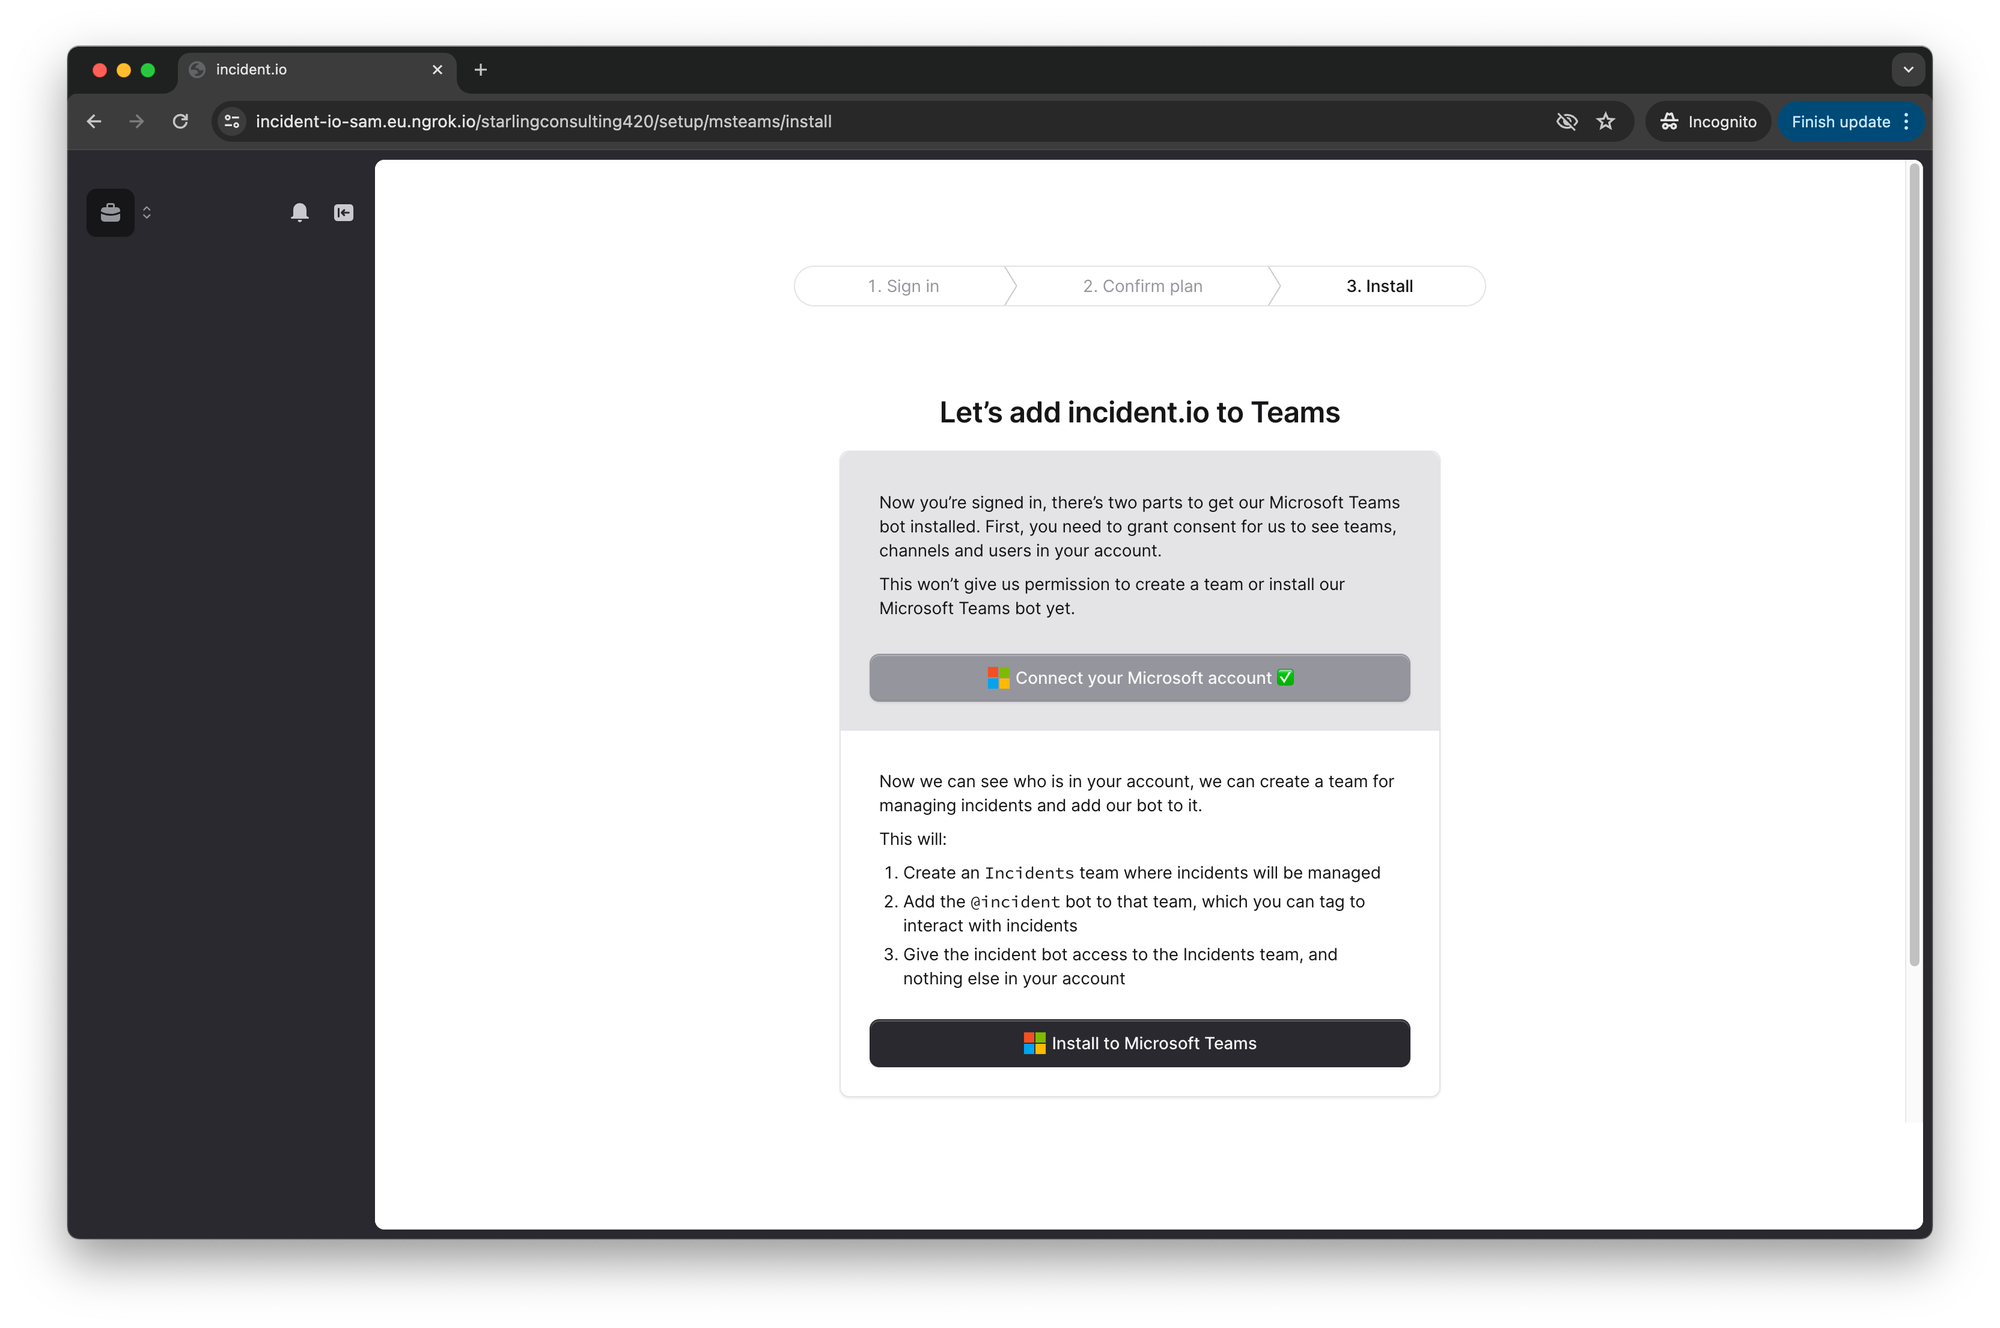
Manually
If you don’t want to give us permission, or your Microsoft tenant doesn’t allow us to install the application automatically, then:- Create a new “Incidents” team — or choose a team you wish to reuse.
- Right click on the team, and choose “Manage team”.
- Go to the “Apps” tab and click “Get more apps”.
- Search for “incident.io” and click through to our listing.
- In the “Add” dropdown, click “Add to team”.
- Choose the team to install us into.
- Click “Set up” at the bottom right.
Troubleshooting
Sign-in errors during installation
Sign-in errors during installation
If you encounter a sign-in error while setting up incident.io with Microsoft Teams:
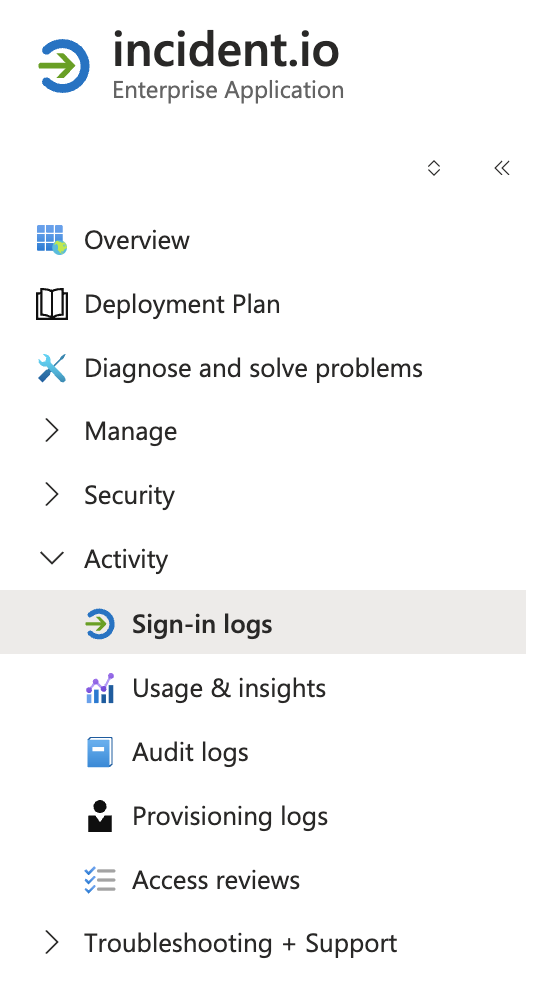
- Go to portal.azure.com
- Go to Enterprise applications and find the incident.io app
-
Check the Sign-in logs and Access reviews sections for details about why the sign-in failed — your admin may be able to help resolve these
Direct messages aren't working for a user
Direct messages aren't working for a user
For incident.io to DM a Microsoft Teams user (e.g. to notify an incident lead), the incident.io app must be installed at the user level. We request the If incident.io doesn’t appear in the output, we won’t be able to DM that user. Compare the output against a user who does receive DMs to identify differences.Install the app manually via PowerShellAny error returned here will indicate why the automatic installation failed.Ensure the app is installed via a Teams app policyTo prevent this issue across your organization:
TeamsAppInstallation.ReadWriteAndConsentSelfForUser.All permission to handle this automatically, but sometimes the installation still fails.Verify whether the app is installed for a userMicrosoft doesn’t provide a UI for this, but you can use PowerShell:- Sign in to admin.teams.microsoft.com
- Navigate to Teams apps → Setup policies
- Edit the Global policy (for all users) or create a new policy for specific users
- Under Installed apps, click Add apps, search for incident.io, and add it
- Save and assign the policy to the relevant users or groups
A user's role keeps reverting to Viewer, or they keep getting deactivated
A user's role keeps reverting to Viewer, or they keep getting deactivated
If a user loses their assigned role (for example, a Responder being reverted to Viewer) or appears as deactivated in incident.io despite still being active in Microsoft, this is most likely because we can’t tell that they’re still an active user in your Microsoft tenant.This doesn’t necessarily mean the user won’t be able to log in — but it does mean that they’ll periodically appear as deactivated and/or lose any roles they’ve been granted above Viewer.To make sure incident.io accounts get deactivated when the corresponding user leaves your Microsoft tenant or is deactivated in Microsoft, we periodically check each incident.io user against your Microsoft tenant. We do this by looking at the members of the Microsoft Teams team(s) where the incident.io bot is installed. If a user doesn’t appear in any of those teams — for example, because they only sign in to the incident.io dashboard, or only DM the bot — we won’t see them, and we’ll treat them as no longer active and deactivate their incident.io account.To resolve this, make sure the affected user is a member of a Microsoft Teams team that has the incident.io bot installed. You can do this either by:
- Adding the user to a team where the bot is already installed, or
- Installing the bot into a team that the user is already a member of.
You’re done!
There should be a new “Incidents” team with a “General” channel and an incident.io tab where you can declare an incident.
Installing our Teams app into an existing team
Once you’ve installed our app for the first time (e.g. you have followed the Installing our Teams app section and have an ‘Incidents’ team), you’re also able to install us into other teams in your Teams workspace. By installing incident.io into your other teams, you’ll be able to:- Declare incidents from the incident.io tab from within that team
- Create Announcement rules to send incident updates to that team
- Choose a team you wish to add us into.
- Right click on the team, and choose “Manage team”.
- Go to the “Apps” tab and click “Get more apps”.
- Search for “incident.io” and click through to our listing.
- In the “Add” dropdown, click “Add to team”.
- Choose the team to install us into.
- Click “Set up” at the bottom right.