> ## Documentation Index
> Fetch the complete documentation index at: https://docs.incident.io/llms.txt
> Use this file to discover all available pages before exploring further.
# Creating an internal status page
Get an internal status page set up in three steps:
1. **Choose a name**
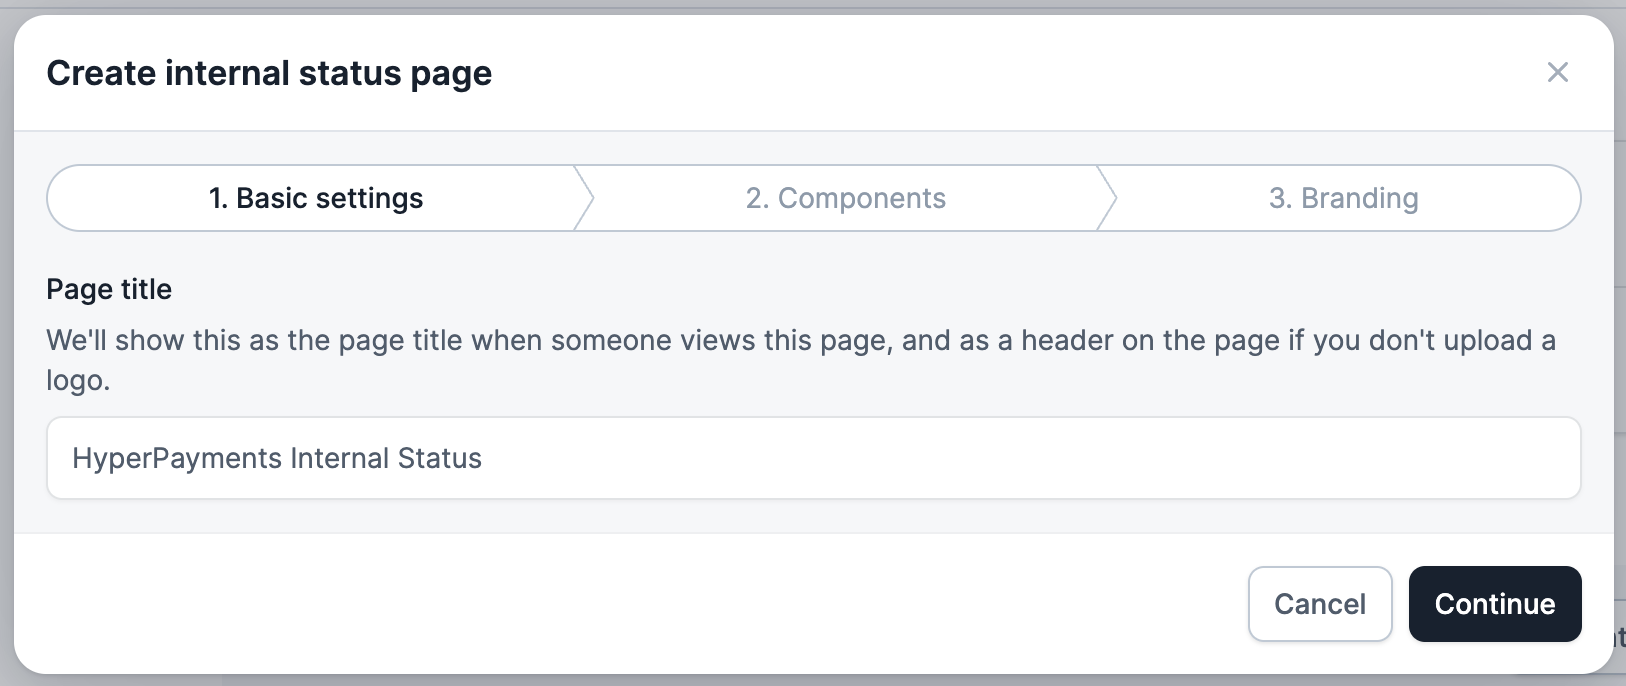 This name will be the page heading and the default bookmark name if people choose to bookmark the page in their browser or in Slack channels.
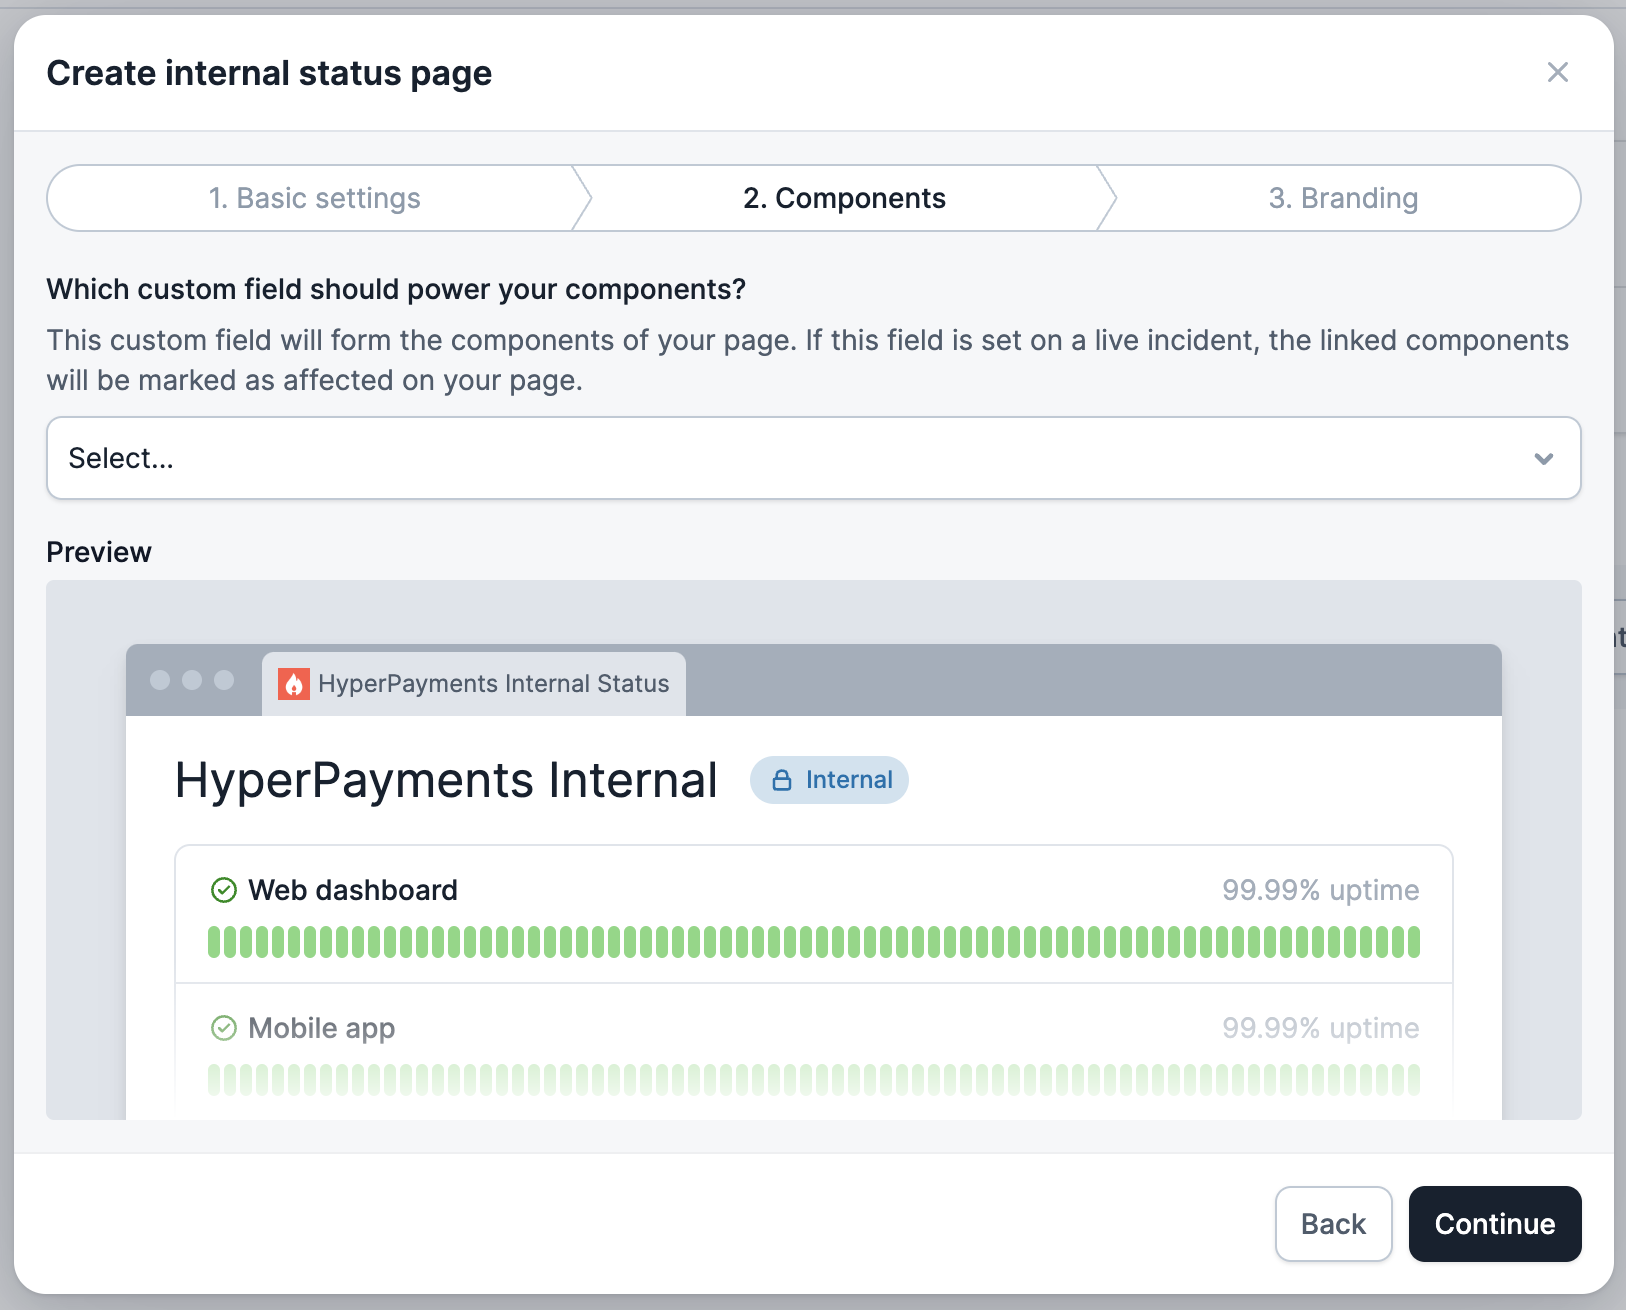
2. **Choose your components**
To keep things simple for responders, the components shown on the status page are based on a custom field. If you have a field like ‘Impacted Products’ or ‘Affected Services’, that’s probably a good place to start.
*Note: You can only use multi-select custom fields to power your components.*
This name will be the page heading and the default bookmark name if people choose to bookmark the page in their browser or in Slack channels.
2. **Choose your components**
To keep things simple for responders, the components shown on the status page are based on a custom field. If you have a field like ‘Impacted Products’ or ‘Affected Services’, that’s probably a good place to start.
*Note: You can only use multi-select custom fields to power your components.*
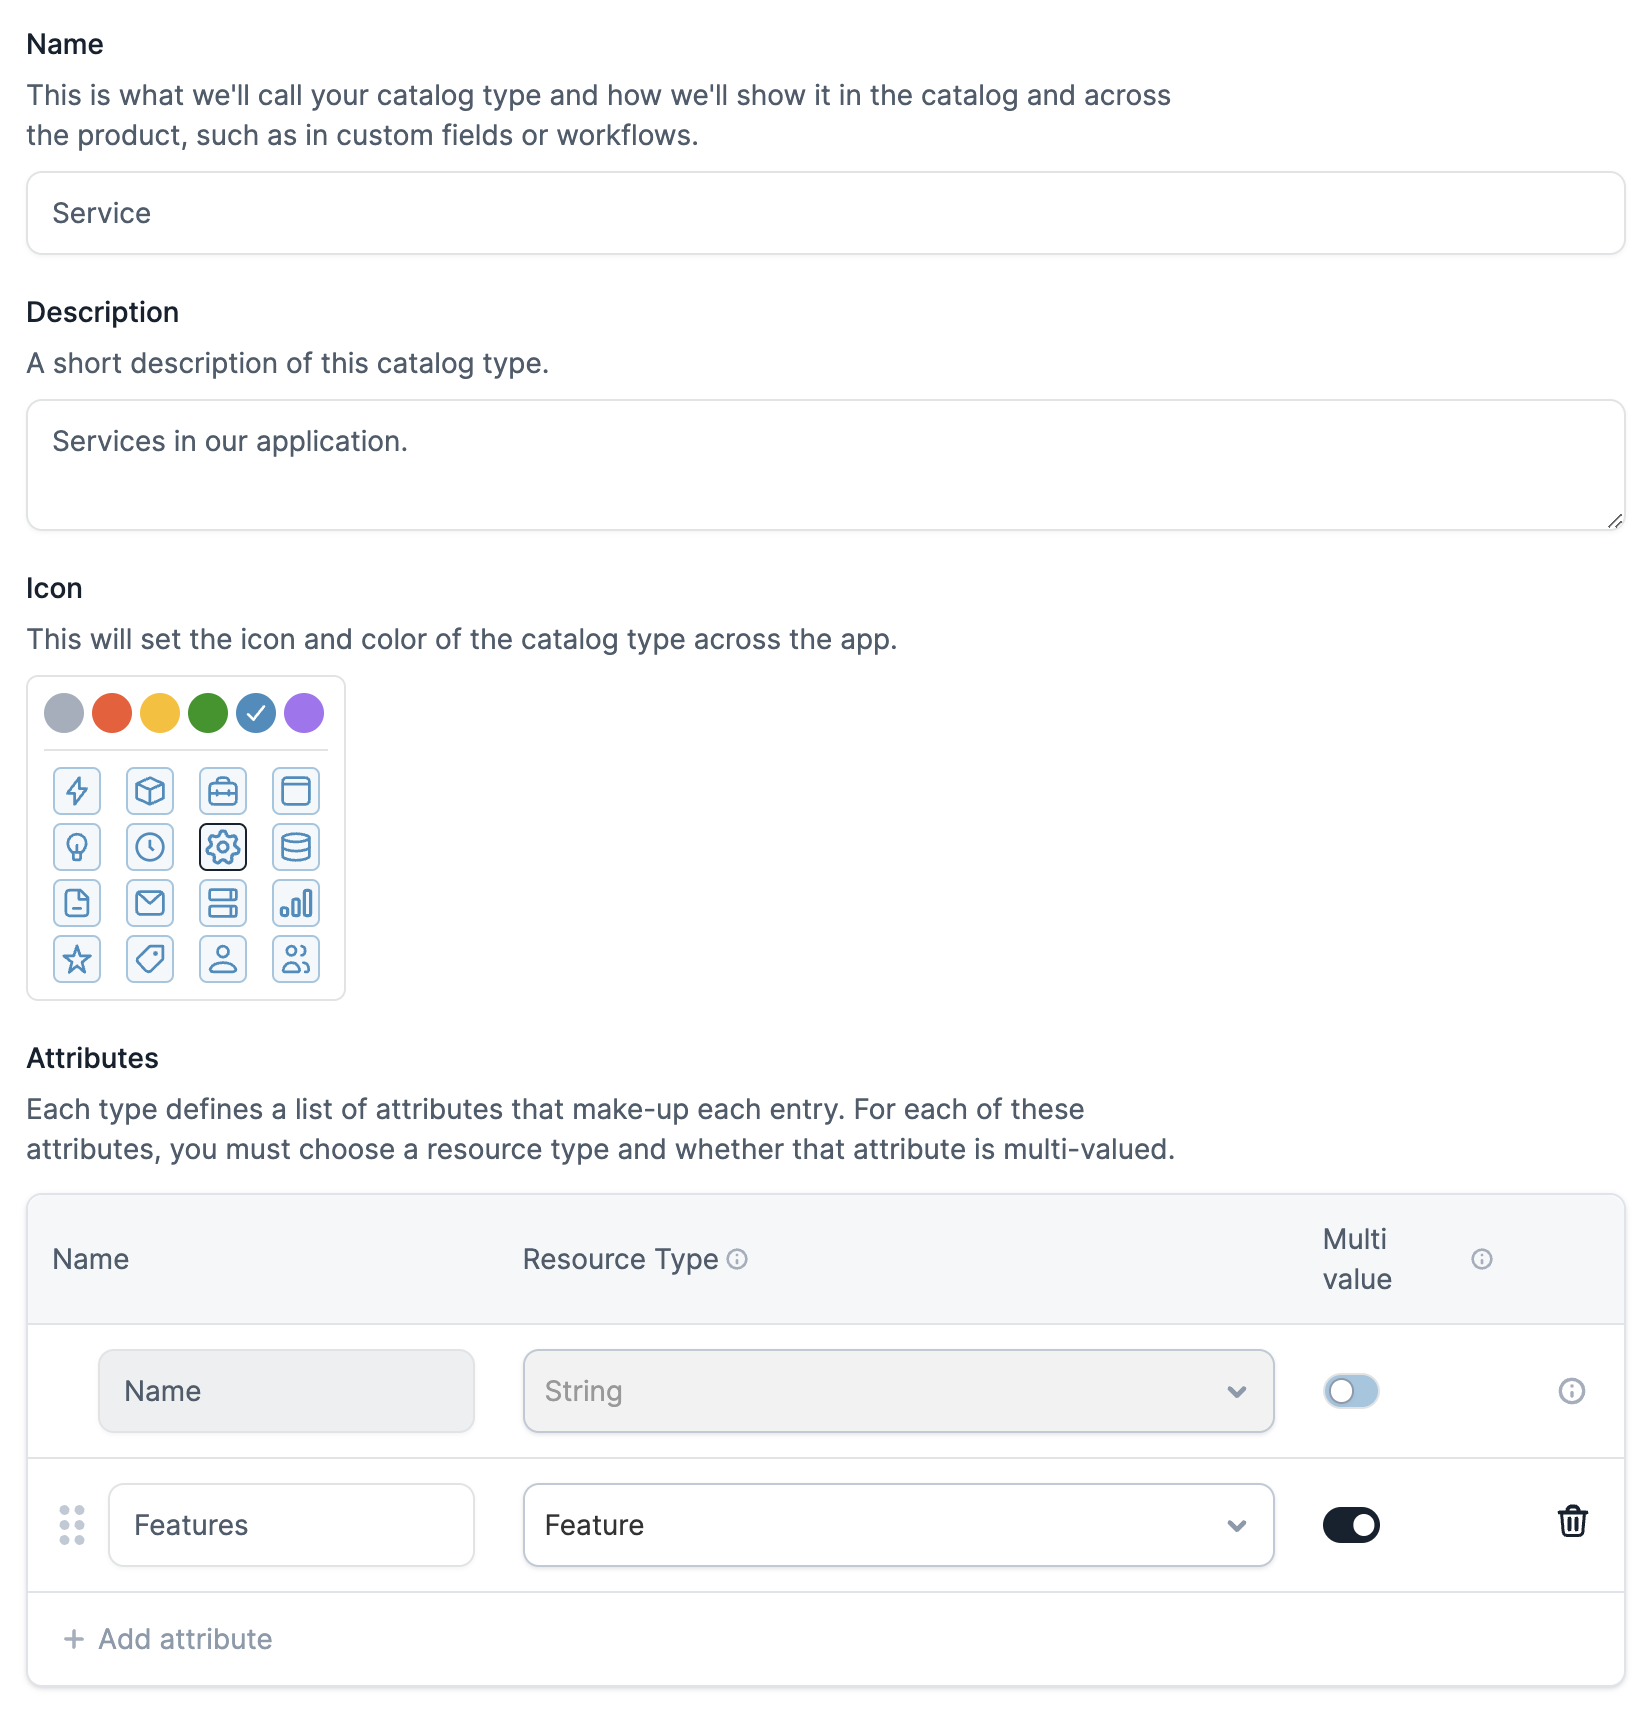
 If you want to simplify which components are shown on your internal page compared to the full list of options in the custom field, you can use an [Automated Custom Field](/catalog/catalog-setup) to combine options.
For example, if you have a list of ‘services’ and ‘features’ in your Catalog, you can add an attribute that lists which features are powered by each service:
If you want to simplify which components are shown on your internal page compared to the full list of options in the custom field, you can use an [Automated Custom Field](/catalog/catalog-setup) to combine options.
For example, if you have a list of ‘services’ and ‘features’ in your Catalog, you can add an attribute that lists which features are powered by each service:
 You can now create a ‘Features’ custom field that is set automatically when the ‘Services’ custom field is set, translating from the technical services to the product features impacted:
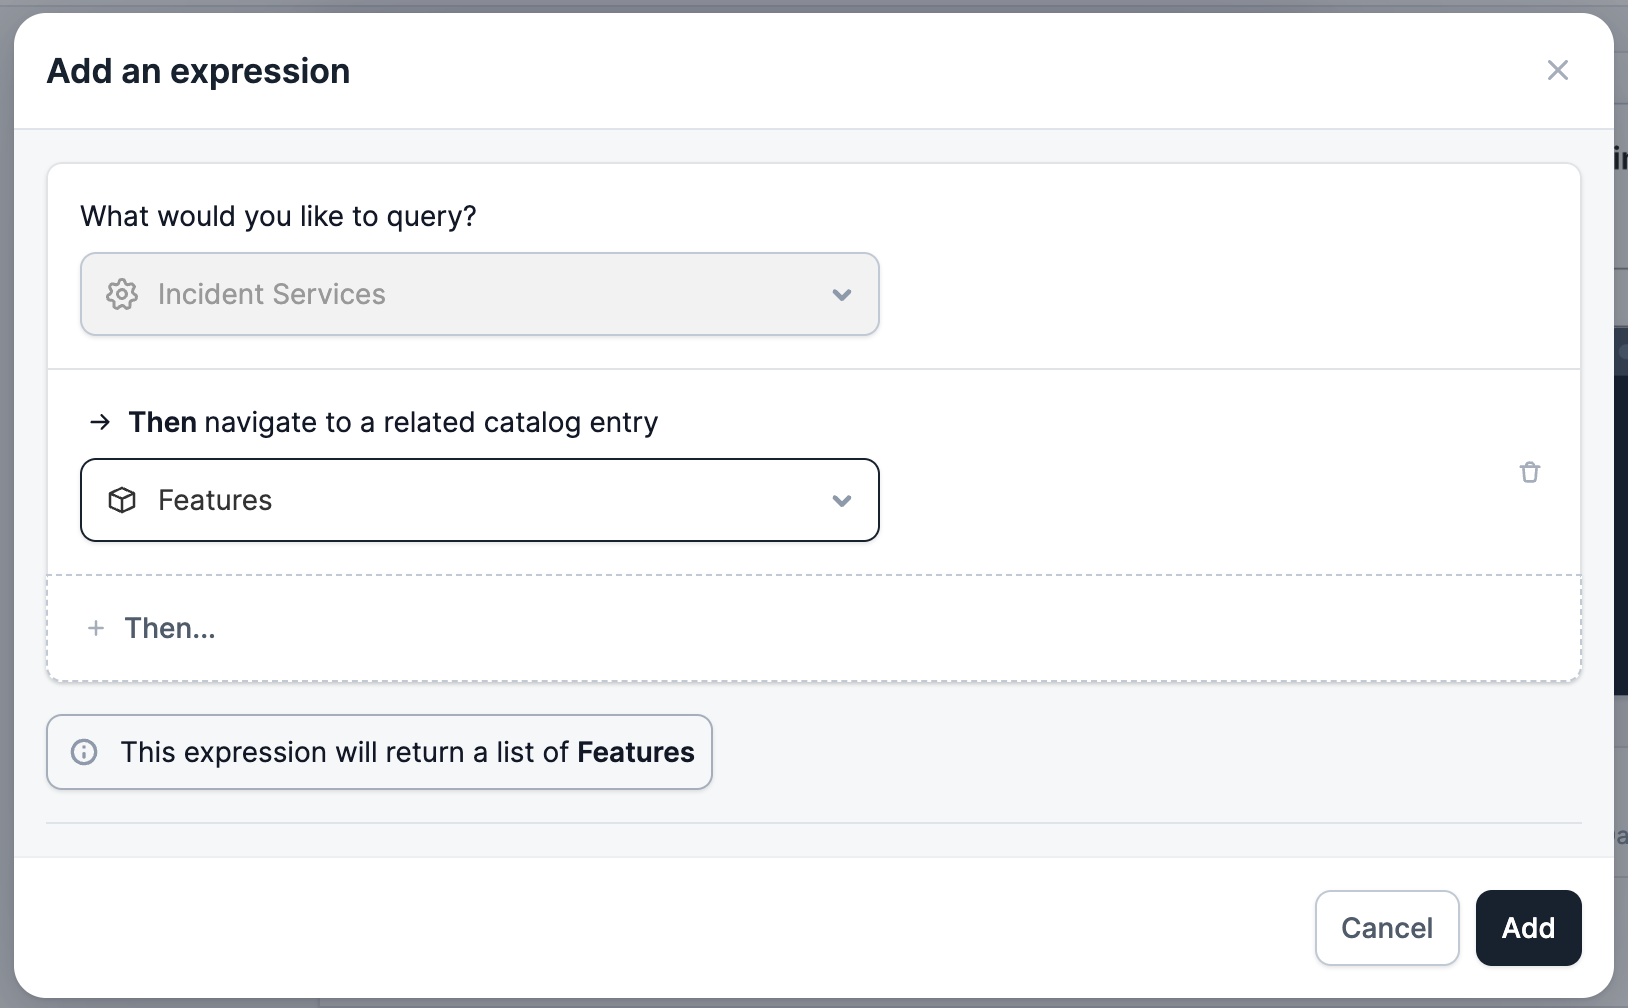 Using the ‘Features’ custom field to power your internal status page keeps the complexity of how different services impact your product in the background and lets your customer success team understand what customers will be seeing.
### Component Ordering
If the custom field used on the internal status page is backed by catalog type as in the example above, you have 2 options for the ordering of components:
* Alphabetically
* Ranked
more info in this [article](/status-pages/component-ordering).
If not using a catalog-backed custom field, the ordering will be shown as it is set in the custom field.
3. **Customize your branding**
Choose between light and dark themes and add your logo and you’re ready to go!
## → What’s next?
By default, live incidents will be automatically added to your internal status page if they affect any of the components listed on your page. You can configure this under ' *Settings > Automation* '.
You can also add additional context to your internal status page by showing additional custom fields. Configure this under ‘Basic settings’ in the Settings tab.
Using the ‘Features’ custom field to power your internal status page keeps the complexity of how different services impact your product in the background and lets your customer success team understand what customers will be seeing.
### Component Ordering
If the custom field used on the internal status page is backed by catalog type as in the example above, you have 2 options for the ordering of components:
* Alphabetically
* Ranked
more info in this [article](/status-pages/component-ordering).
If not using a catalog-backed custom field, the ordering will be shown as it is set in the custom field.
3. **Customize your branding**
Choose between light and dark themes and add your logo and you’re ready to go!
## → What’s next?
By default, live incidents will be automatically added to your internal status page if they affect any of the components listed on your page. You can configure this under ' *Settings > Automation* '.
You can also add additional context to your internal status page by showing additional custom fields. Configure this under ‘Basic settings’ in the Settings tab.