> ## Documentation Index
> Fetch the complete documentation index at: https://docs.incident.io/llms.txt
> Use this file to discover all available pages before exploring further.
# SharePoint
After your incident is over, it can be useful to dig into what happened in an incident, why, and how it can be prevented in future.
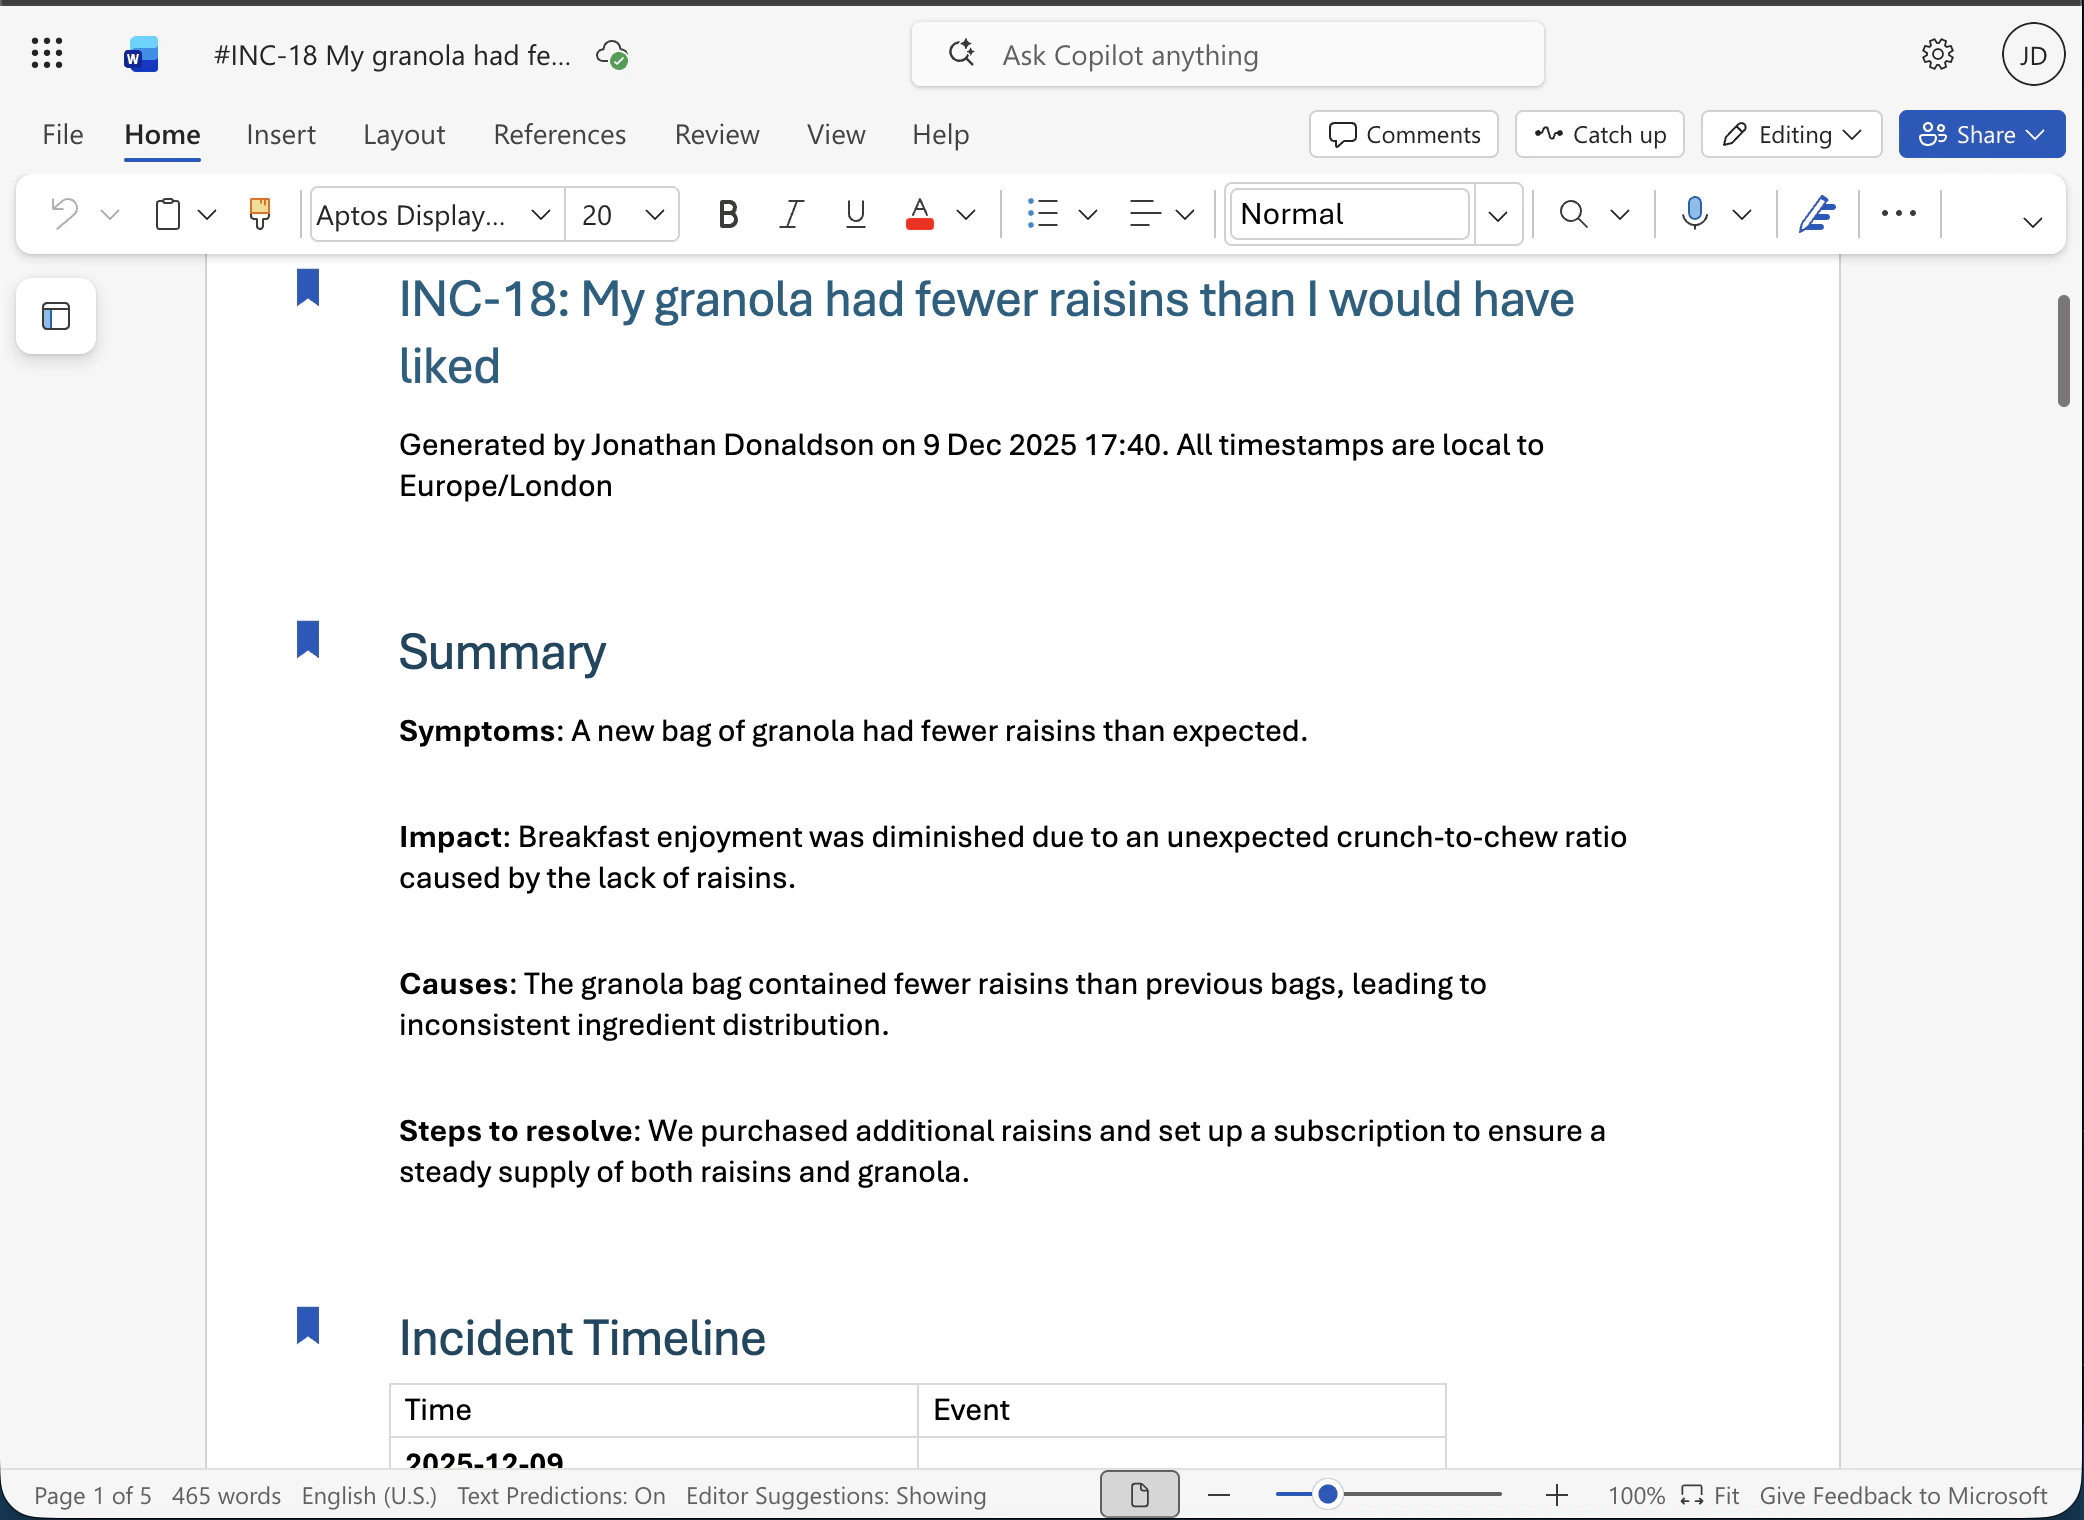
Our SharePoint Integration allows you to export post-mortems into SharePoint. Which you can then use to collaborate with your team.
 ***
It's important to know that when the integration is installed, the connection to incident.io will belong to **the user
that installed it**. SharePoint connections like this, which use OAuth, belong to a specific user — for this reason,
you may wish to set up a dedicated service or "bot" account. We use the same user account connection for all our
Microsoft integrations. Therefore, the account you use to connect this integration will need to be the same for
Microsoft Teams and Outlook.
## 1. Installing the Integration
Go to [Settings → Integrations](https://app.incident.io/~/settings/integrations), find "SharePoint".
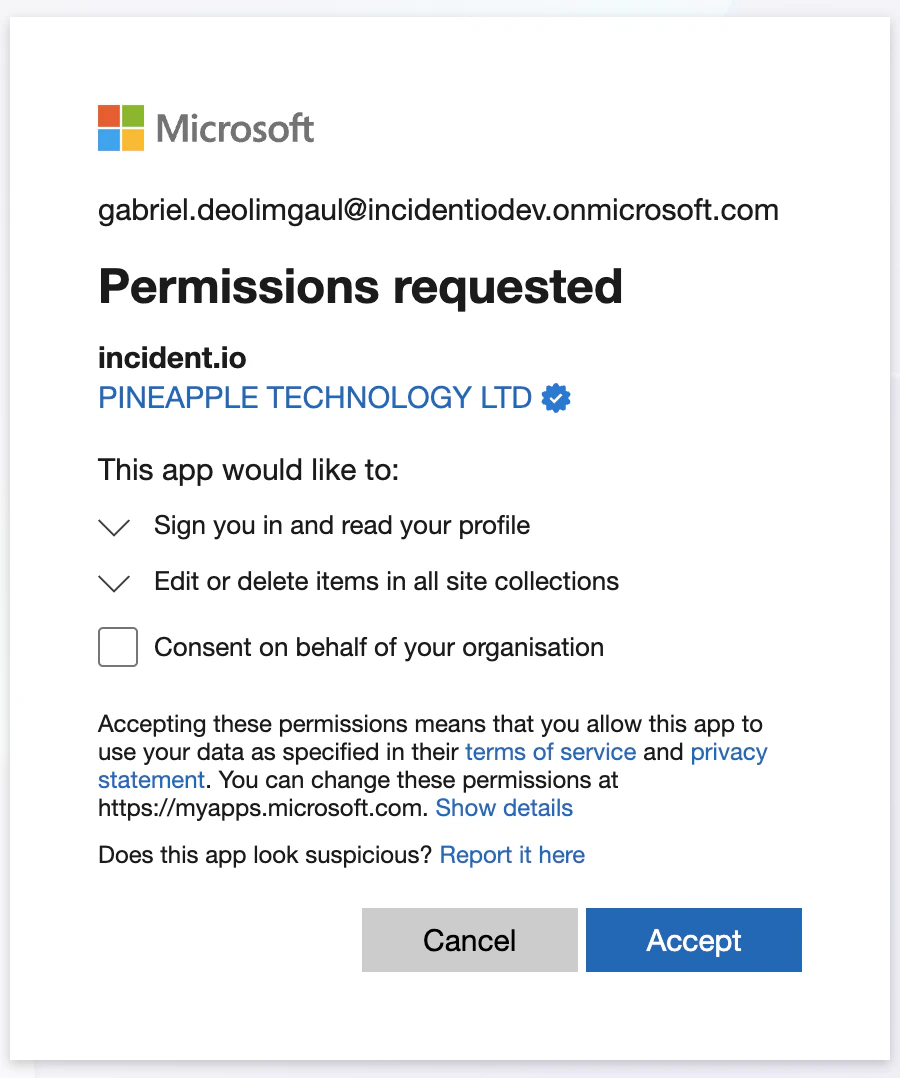
Click "Install" and you'll be redirected to the Microsoft installation flow. Review the permissions we're requesting and click "Accept":
***
It's important to know that when the integration is installed, the connection to incident.io will belong to **the user
that installed it**. SharePoint connections like this, which use OAuth, belong to a specific user — for this reason,
you may wish to set up a dedicated service or "bot" account. We use the same user account connection for all our
Microsoft integrations. Therefore, the account you use to connect this integration will need to be the same for
Microsoft Teams and Outlook.
## 1. Installing the Integration
Go to [Settings → Integrations](https://app.incident.io/~/settings/integrations), find "SharePoint".
Click "Install" and you'll be redirected to the Microsoft installation flow. Review the permissions we're requesting and click "Accept":
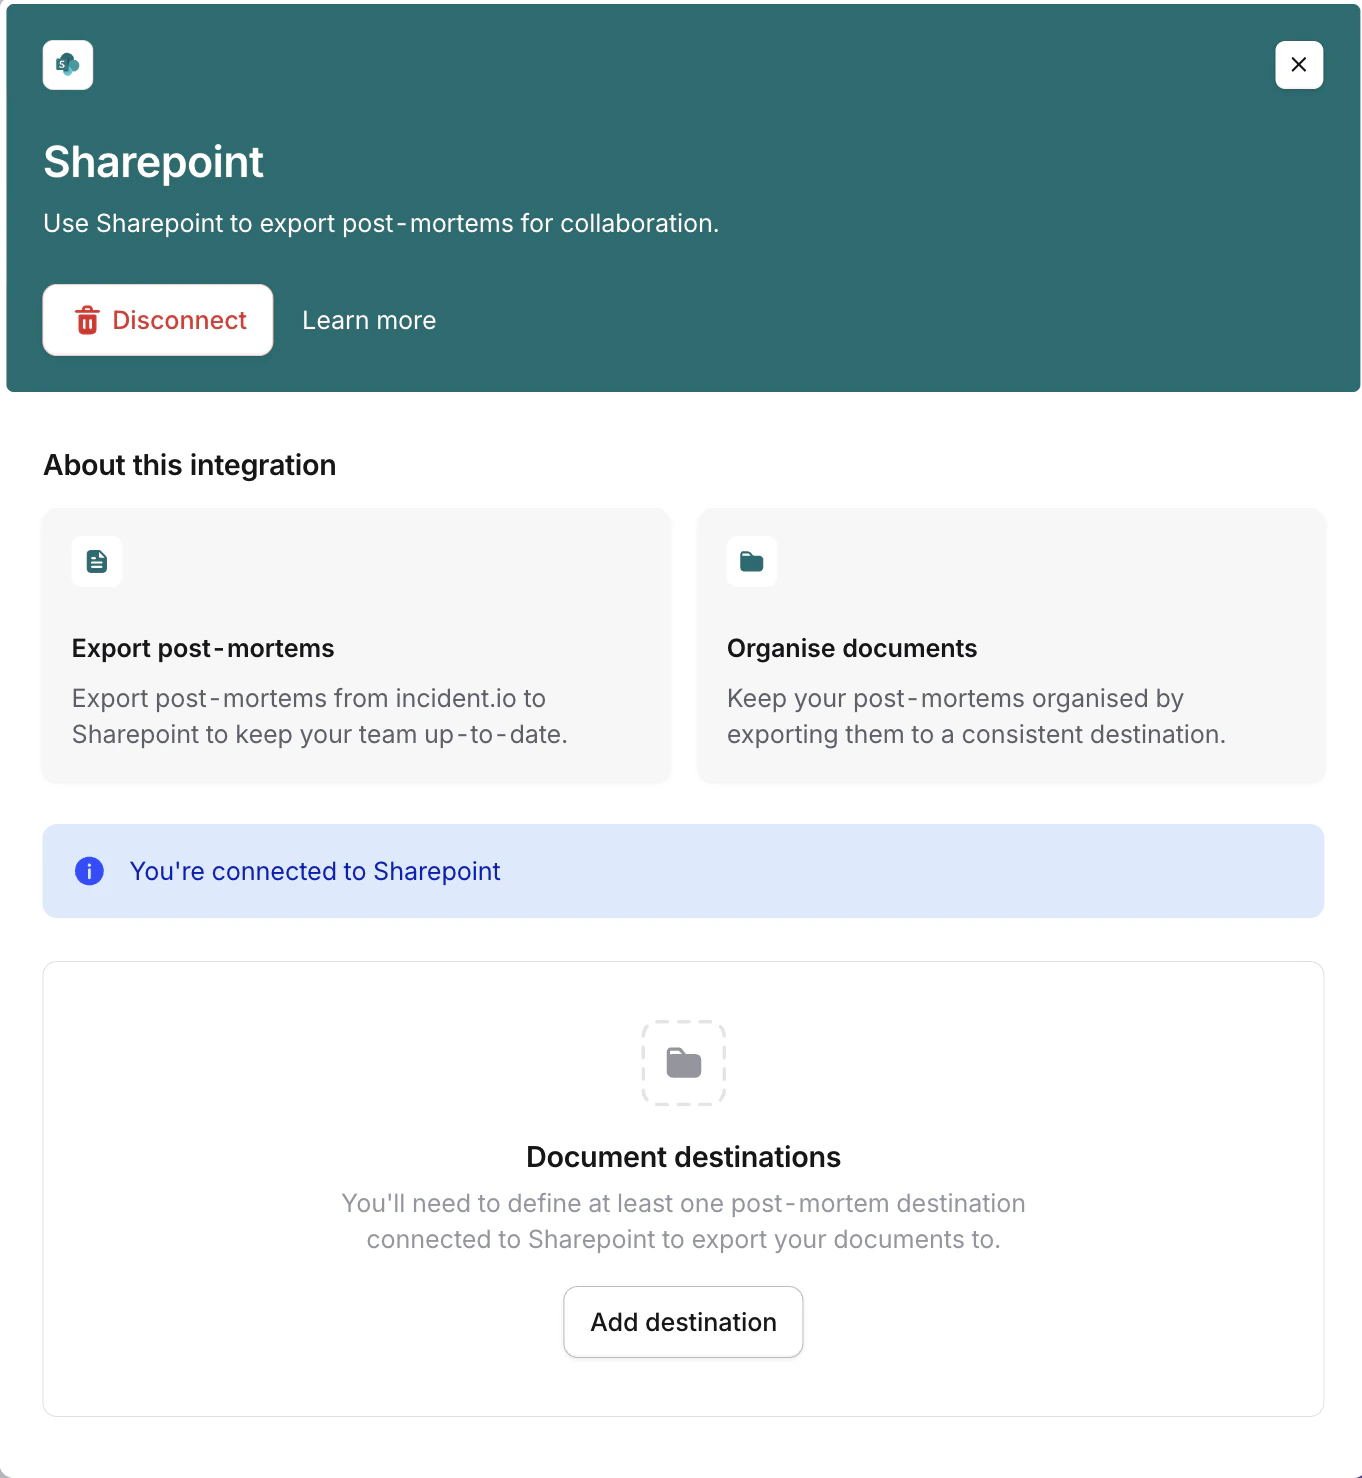
 Once you've completed the Microsoft authentication flow, you'll be redirected back to incident.io:
 ## 2. Setting up a post-mortem destination
incident.io has now been connected to SharePoint. Next, we need to specify where in your SharePoint you'd like to export post-mortems to.
Go to [Settings → Post-mortems](https://app.incident.io/~/settings/post-mortem), then click "Add destination"
## 2. Setting up a post-mortem destination
incident.io has now been connected to SharePoint. Next, we need to specify where in your SharePoint you'd like to export post-mortems to.
Go to [Settings → Post-mortems](https://app.incident.io/~/settings/post-mortem), then click "Add destination"
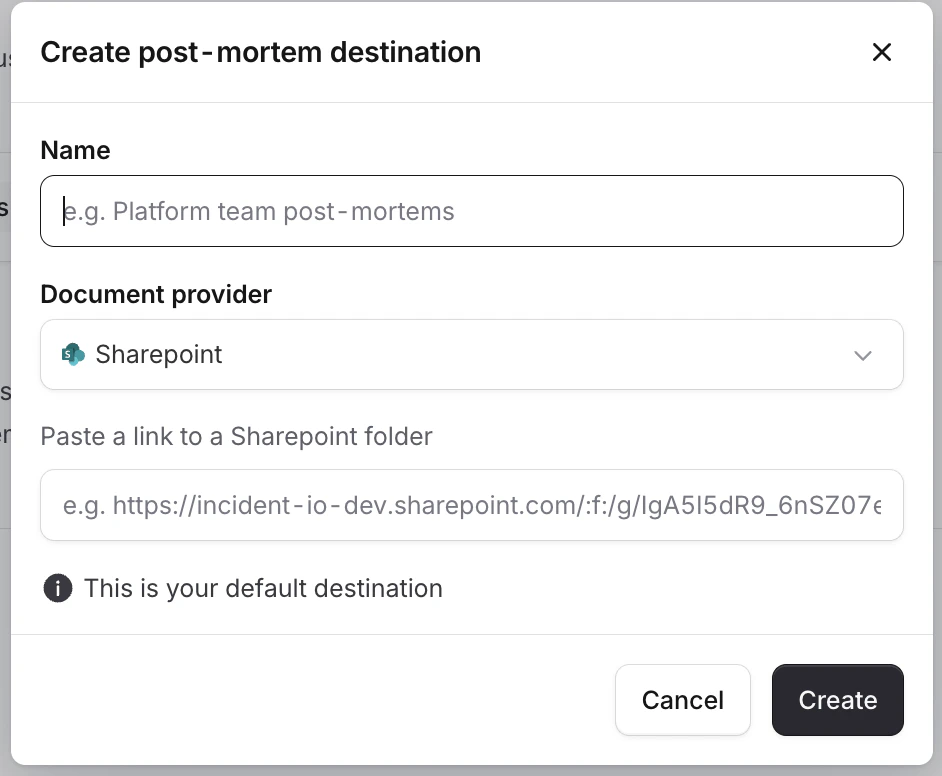 Within your web browser, navigate to the folder in SharePoint where you'd like to export post-mortems to.
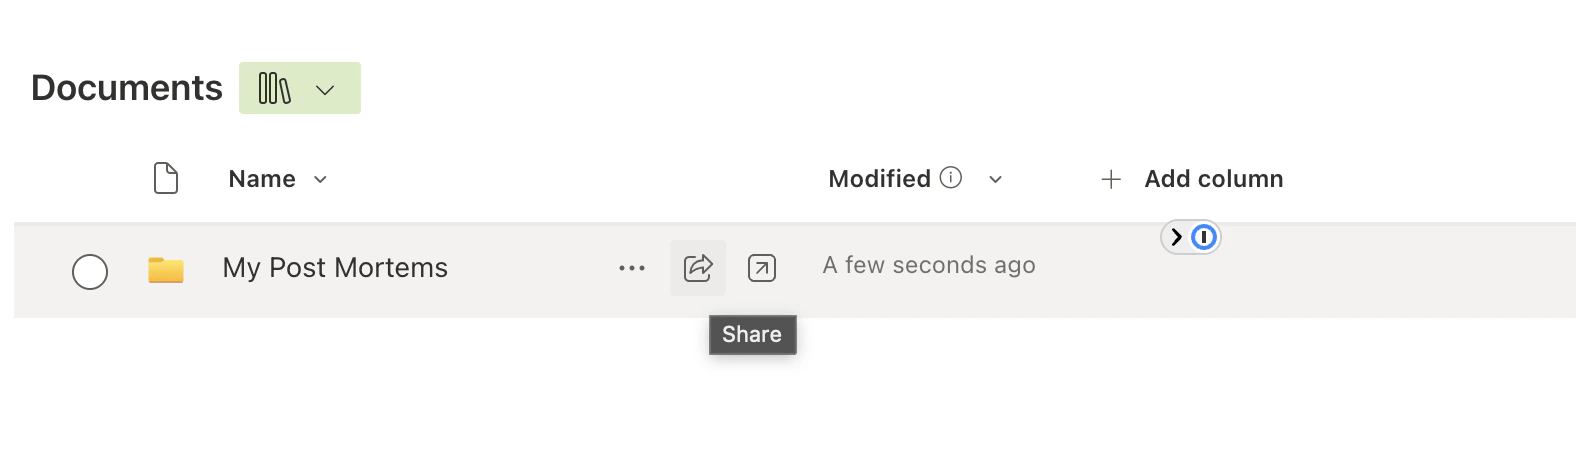 Click the share button
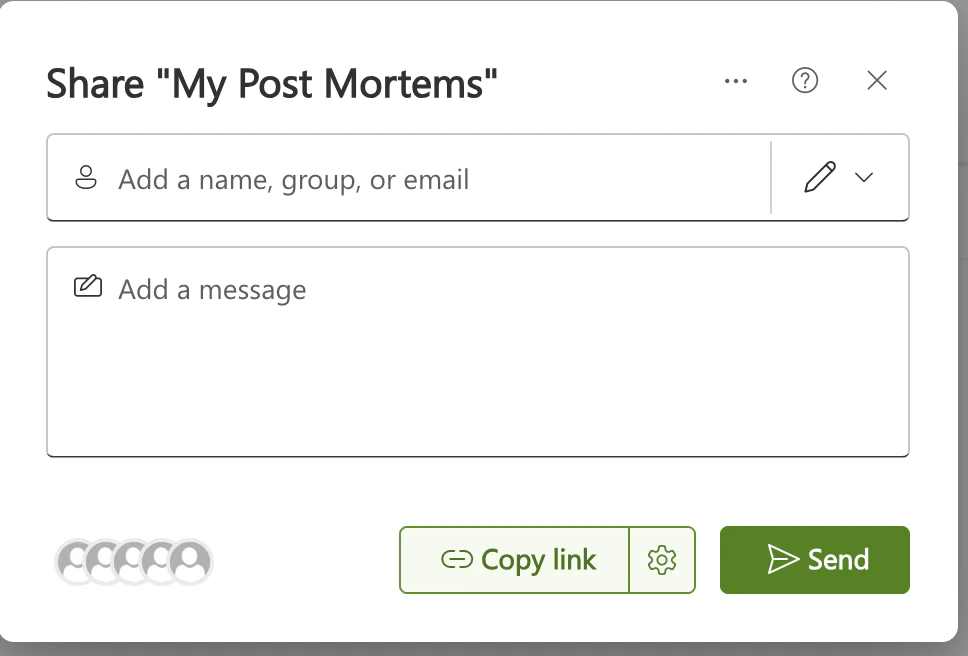 Click "Copy link".
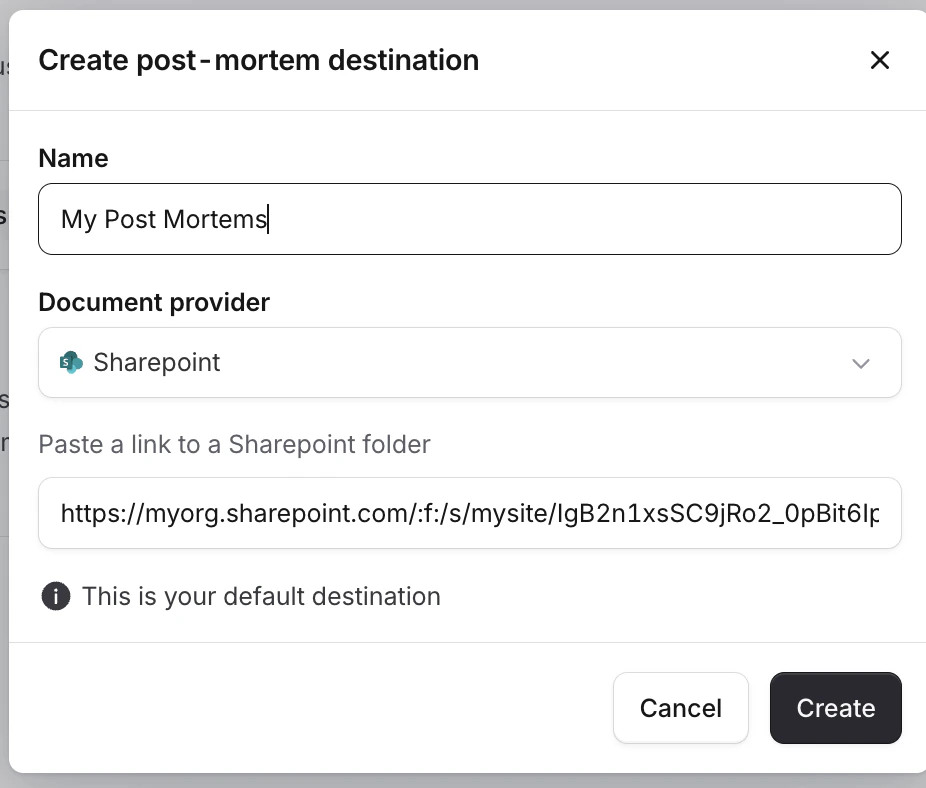 Paste the link in, give it a sensible name, and click "Create".
You should now be good to go!
## Permissions
* `Sites.ReadWrite.All` - Enables us to read the site/document library/folder structure so users can pick a target location for exports, and to write post-mortem documents to the selected SharePoint location.
Paste the link in, give it a sensible name, and click "Create".
You should now be good to go!
## Permissions
* `Sites.ReadWrite.All` - Enables us to read the site/document library/folder structure so users can pick a target location for exports, and to write post-mortem documents to the selected SharePoint location.